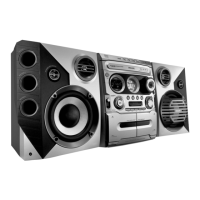
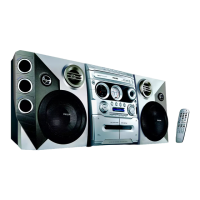
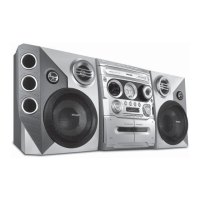
Connections
Step 4: Connecting FM/MW
antennas
Connect the supplied MW loop antenna to the
MW jack. Place the MW loop antenna on a
shelf or attach it to a stand or wall.
Connect the supplied FM antenna to the FM
jack. Extend the FM antenna and fix its end to
the wall.
For better FM stereo reception, connect an
outdoor FM antenna to the FM ANTENNA
terminal.
Notes:
– Adjust the position of the antennas for optimal
reception.
–Position the antennas as far as possible from
your TV set, VCR or other radiation sources to
prevent unwanted interference.
Step 5: Connecting the power
cord
After everything is connected properly,
plug in the AC power cord to the power
outlet.
Never make or change any connection with the
power switched on.
On the DVD Mini Hi-Fi System
“AUTO INSTALL-PRESS PLAY” may appear
on the display panel. Press 2; on the front panel
to search and store all available radio stations or
press 9 to exit (See page 37, Tuner Operations-
Presetting radio stations).
If your system is equipped with a
Voltage Selector, set the
VOLTAGE SELECTOR to the
local power line voltage.
FM
antenna
MW
antenna
fix the claw
into the slot
~ AC MAINS
AUDIO
OUT
Pr/Cr
Pb/Cb
Y
S-VIDEO
IN
VIDEO IN
COMPONENT
VIDEO IN
VOLTAGE
SELECTOR
110V~127V
220V~240V
Connections
Step 6: Connecting a VCR or
cable/satellite box
Viewing and listening to playback
1
Connect the VCR or Cable/Satellite Box to the
TV system as shown.
2
Connect the system’s AUX IN jacks to the
AUDIO OUT jacks on the VCR or Cable/
Satellite box.
Before starting operation, press AUX/GAME
on the remote control to select “AUX” in order
to activate the input source.
Using the VCR for recording DVDs
Some DVDs are copy-protected. You cannot
record or dub protected discs using a VCR.
3
Connect the system’s VIDEO jack to the VIDEO
IN jack on the VCR.
4
Connect the system’s LINE OUT (R/L) jacks
to the AUDIO IN jacks on the VCR. This will
allow you to make analog stereo (two channel,
right and left) recording.
To view DVD playback while recording
You must connect the system to your TV system
using the S-VIDEO (as shown above) or the
Component (Pr Pb Y) video connection.
Step 7: Connecting digital audio
equipment
Recording (digital)
Connect the system’s DIGITAL OUT jack to the
DIGITAL IN jack on a digital recording device
(DTS-Digital Theater System compatible, with a
Dolby Digital decoder, for example).
Before operation, set the DIGITAL OUTPUT
according to the audio connection. (See Using
the Setup Menu – Setting the digital output).
Step 8: Connecting to game
console
IMPORTANT!
– Gameport inputs are for the game
console only.
Use the game console’s video cable (not
supplied) to connect its video output to the
GAMEPORT- VIDEO terminal.
Use the game console’s audio cable (not
supplied) to connect its audio output to the
GAMEPORT- AUDIO L./ AUDIO R. terminals.
Use the video cable (yellow) to connect the
VIDEO OUT terminal to the video input on the
TV for viewing.
Notes:
- On the TV, the Video Input jack is usually yellow
and might be labeled A/V In, CVBS, composite or
Baseband.
- To avoid magnetic interference, do not position the
front speakers too close to your TV.
COMPONENT
VIDEO IN
AUDIO
OUT
VIDEO IN
S-VIDEO
Pr/Cr
Pb/Cb
Y
1
3
2
4
A
 Loading...