5 Put a bowl with a capacity of at least 1500ml under the spout to
collect the descaling mixture.
6 Pressthe1-cupbuttonqandthe2-cupbuttonqqbrieyatthe
same time to start the descaling cycle.
, The CALC light and the light ring around the on/off button starts
ashingtoindicatethatthedescalingcyclehasstarted.
, Hot water comes out of the coffee spout in intervals. During the
descaling cycle, the machine stops descaling 3 to 4 times to let the
descaler mixture act and to heat up.
Let the machine complete the entire descaling cycle, which takes 4 to
5 minutes. Do not switch off the machine during the descaling cycle!
, Whenallthewaterinthewaterreservoirhasbeenusedup,therst
descalingcycleisnished.Thelightringaroundtheon/offbutton
startstoashrapidly.
7 Repeat the descaling procedure (steps 2 to 6) once. Replace the used
podwithanotherusedpodtolteroutthescaleresidue.
Note: Do not rell the water reservoir with the used descaling mixture.
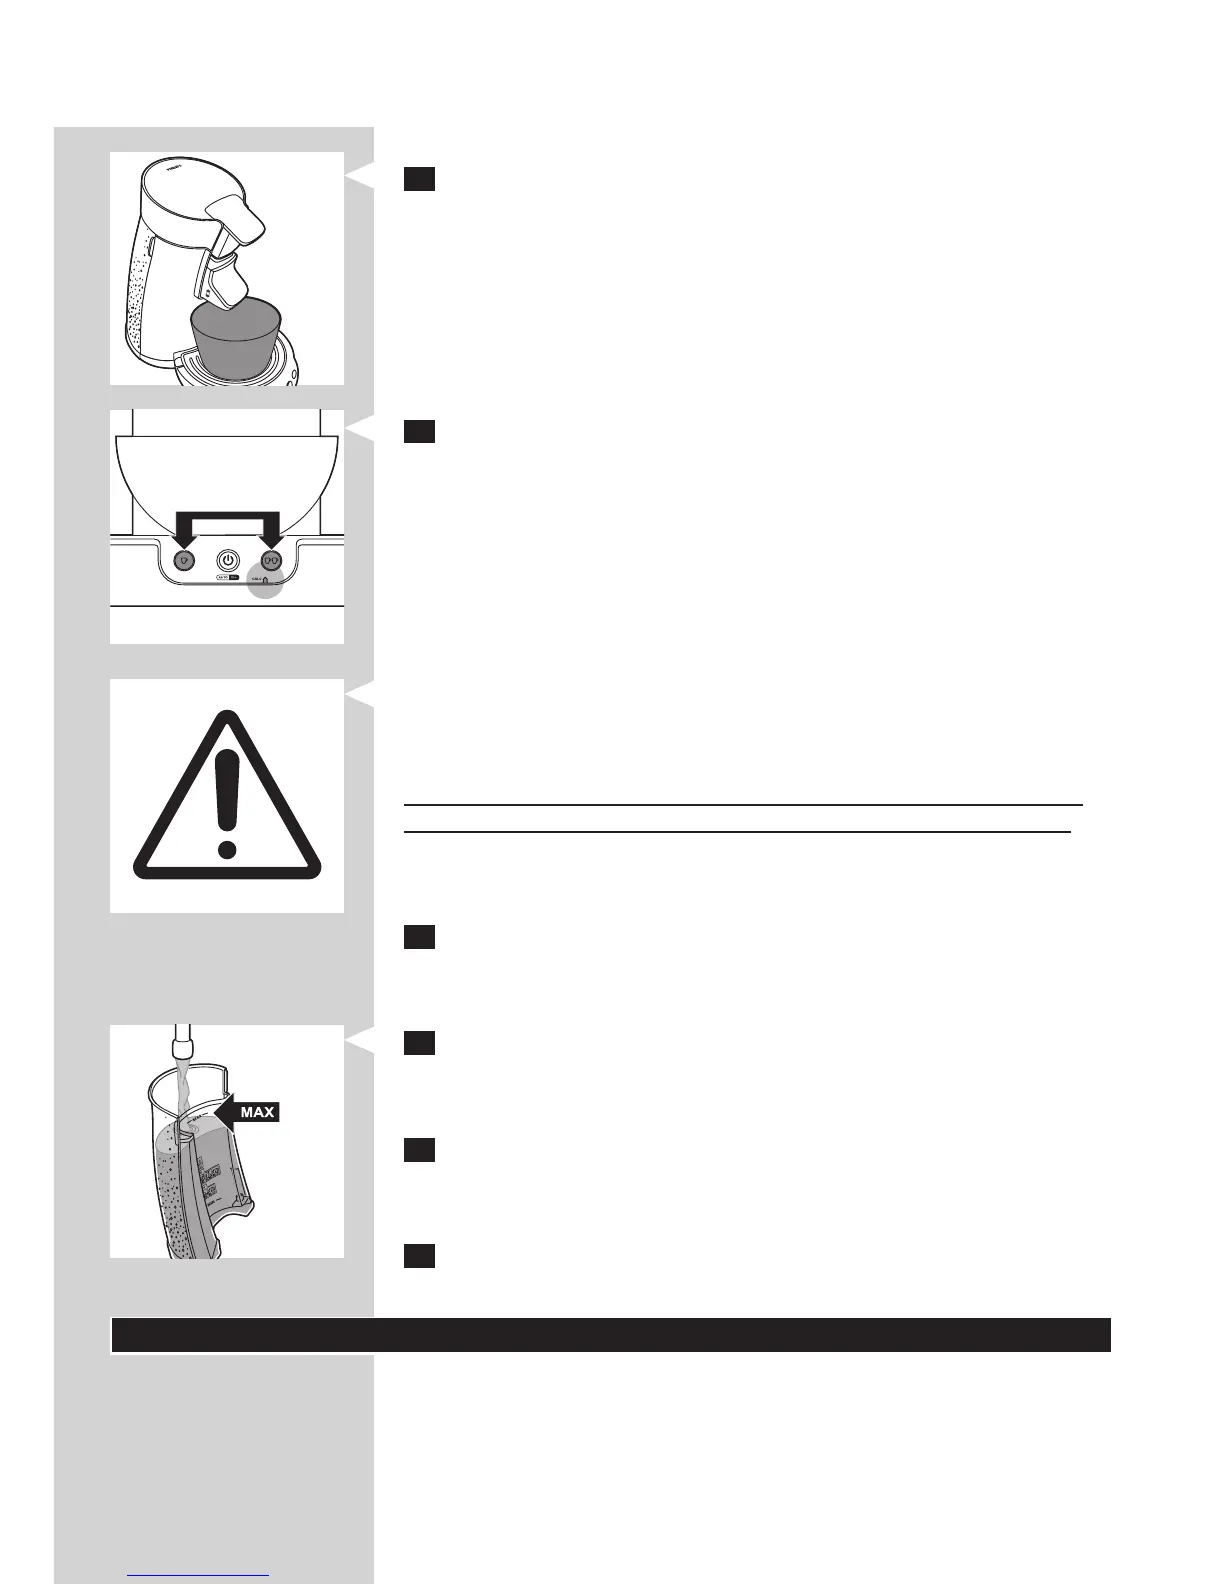
8 Rinse the water reservoir with tap water. Fill the water reservoir up
to the MAX indication with tap water and repeat steps 3 and 6.
Note: Do not rell the water reservoir with used hot water.
9 Fill the water reservoir with fresh tap water up to the MAX
indication again and repeat steps 5 and 6 once more.
Note: Always rinse the machine by letting it empty two full water reservoirs.
10 Remove the used pod and clean the pod holder after descaling to
prevent the sieve in the centre from getting clogged.
Frost-free storage
After you have ushed the machine for the rst time (see chapter
‘Before rst use’), it may only be used and stored in a frost-free place to
prevent damage.
ENGLISH18