Quick Start Guide
Need help?
User Manual
See the user manual that came with your Philips recorder.
3
Enjoy
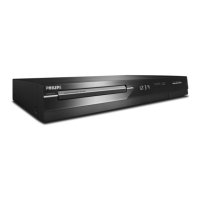
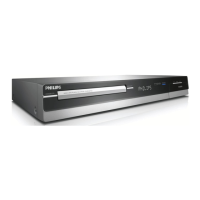
HDR3500
Connect
Set up
Enjoy
1
2
3
What’s in the box?
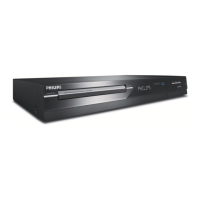
HDD/ DVD Recorder
Remote Control
and 2 batteries
User
Manual
About the time shift buffer
Once you turn on the recorder, the selected TV
programme will be stored in a temporary hard disk
storage called the Time Shift Buffer ‘TSB’.
Press DISPLAY to show the Time Shift video bar:
Start time of the
programme
Current time
Time of current
playback
Note The contents in the Time Shift Buffer will
be cleared once you press 2.
OR, if you press CAM twice to switch to DV IN
mode.
Start recording
A
Record TV programme
A
Press TUNER on the remote control.
B
Use CH
+/- keys to scroll through the
channels. OR, press 0 - 9 to select the channel
that you want to record.
C
Press RECORD
â to start recording.
Note To set a longer recording time, press
RECORD repeatedly to extend the recording
time in 30 minute increments.
D
To stop recording, press STOPÇ . The
recording will be saved to the hard disk.
Note To schedule a timer recording or record
from an external device, refer to the
accompanying User Manual for details.
B
Copy TV programmes to DVD
You can copy recordings of TV programmes to a
recordable DVD disc for future playback.
A
Insert a recordable DVD into the recorder.
B
Press HDD LIST to access the title menu.
C
Use W XST keys to reach the preferred title
and press OK.
D
Use ST keys to select [ Copy ] and press OK.
E
A confirmation message appears. Press OK to
proceed.
Note During the copying process, the Time
Shift Buffer will not store any content.
Start playback
A
Playback a HDD title
A
Press HDD LIST to access the title menu.
B
Use W XST keys to reach the preferred title
and press
u.
B
Playback from disc
A
Press OPEN/CLOSE
ç to open the disc tray.
Load a disc and close the disc tray.
B
Press DISC MENU to access the disc menu.
C
Use W XST keys to reach the preferred title/
file and press
u to start.
C
Playback from USB device
A
Insert the USB device to the USB port on the
front panel
B
Press USB to access the title menu.
C
Select the contents type and press X right.
D
Use W XST keys to reach the preferred data
file (MP3, WMA, DivX and JPEG) press
u to
start.
RF Antenna cable
Register your product and get support at:
www.philips.com/support
2008 © Koninklijke Philips N.V.
All rights reserved.
www.philips.com
12 NC 3139 245 30331