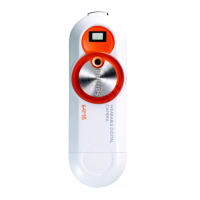
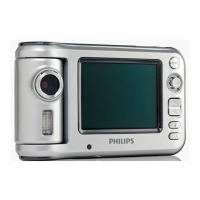
Controls
7
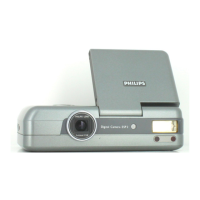
1 shutter button
press halfway down to help check
lighting levels.Press all the way
down to take your picture.
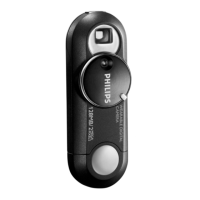
2 metal strap hole
attach the supplied neck strap
here.
3 viewfinder window
to help frame your picture subject
4 lens
automatically opens when power
on.The lens is closed when the
power is off.
TIP:
– Make sure the lens is not obstructed /
covered when taking snaps!
5 power on/ off
turn clockwise to switch on,
turn anti-clockwise to switch off.
6 grip
place your finger/ thumb here to
turn the power control.
7 USB port
Connect to your computer’s USB
port to charge the camera/
transfer files.
8 USB cover
detach the protective USB cover
to reveal the camera’s USB port.
9 Light level sensor
When you press the shutter
button halfway, the sensor lights
up red/ blinks/ remains unlit
according to surrounding light
level conditions.
0 POWER
indicator lights up green/ blinks
according to power status/ file
transfer.
! MEMORY
indicator lights up yellow/ blinks/
remains unlit according to the
available memory on the camera.
The model and production numbers can be found next to the USB port
(please remove the USB cover to see)