30
English
Appendix
2 Drill two 6mm diameter holes as marked
3 Secure the dowels and screws in the holes
respectively, leaving the screws 5mm proud of
the wall
4 To detach the stand,
a. As shown, hold down the 3 PRESS buttons
b. Move out the stand to detach
5 Hang the unit on the fastening screws
6 As shown, hook and mount the speakers in
place
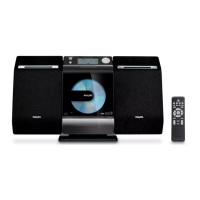
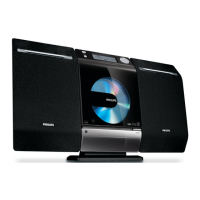
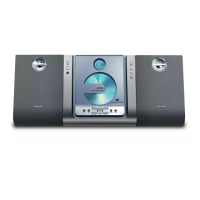
Speaker Right
Main Unit
Holes
Speaker Left
Mounting your MCM275
1 Align the template in the chosen location on a
wall. Use a pencil to mark the drilling positions
(as shown)
How to mount your MCM275
onto walls
IMPORTANT!
– The wall mounting instructions are for
the use of the qualified wall mounting
person only!
– Ask a qualified person to help you
with the wall mounting, which includes
drilling holes on the wall and
mounting the set onto walls.
2 x screws
What else you’ll need
– Drilling tools (e.g. electric drill)
Preparation
1 To find a suitable location for mounting, try
your necessary rear connections (see
the chapter Installation).
2 Ask a qualified person to help you with the
wall mounting, who should:
– to avoid unexpected damage, learn about the
piping, wiring and other relevant information
inside your walls;
– according to the drilling requirements, choose
suitable drilling tools;
– take other precautions necessary for the wall
mounting work.
What’s in the supplied mounting kits
210 mm (8.26")
1 x template1x
P001-P031_MCM275_37_Eng 12/20/2005, 09:4030

 Loading...