EN
8
Installation
Installing the WebCam software
The software supplied only works on PCs with the operating
systems Microsoft
®
Windows
®
98SE, ME, 2000 and XP.
Notes!
– Unplug all your USB devices (except USB keyboard and
USB mouse) before you start.
– Do not plug in your WebCam yet. Run the Installation CD-ROM
first.
– Have your Windows
®
CD-ROM at hand.
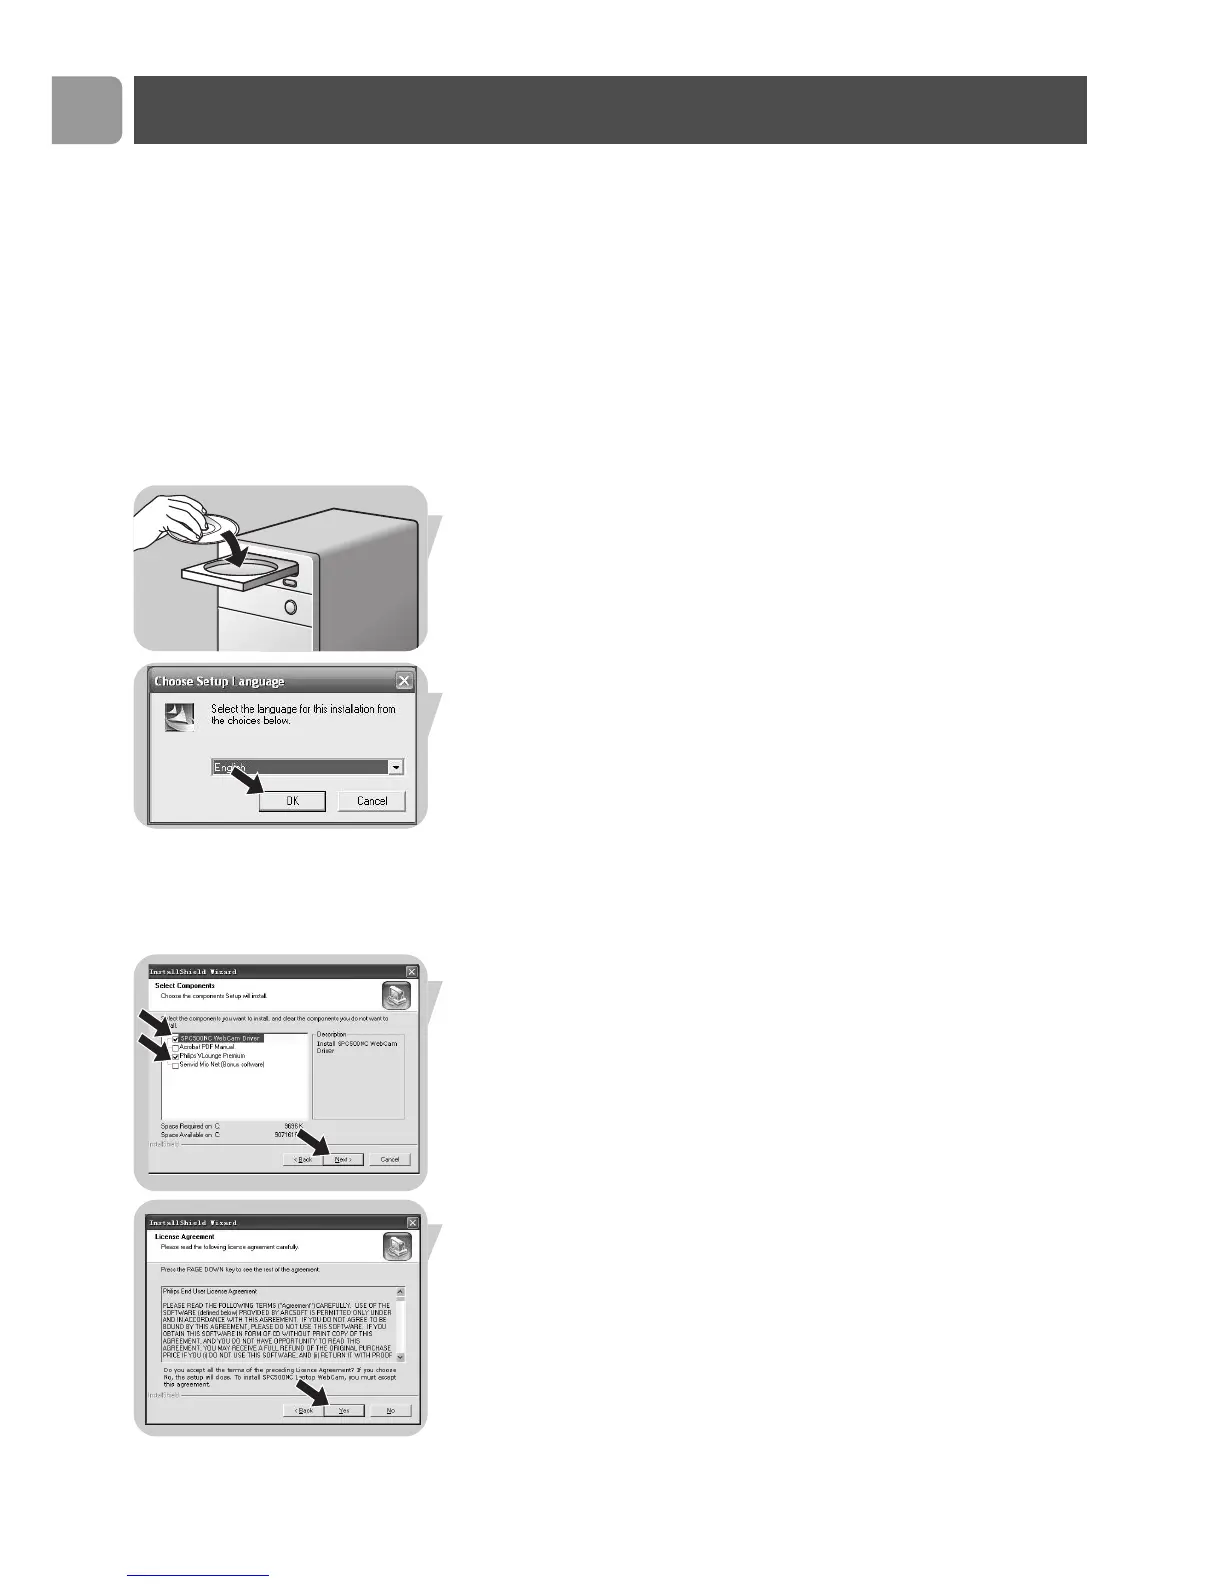
1 Place the installation CD-ROM in your PC’s / laptop’s
CD-ROM / DVD drive.
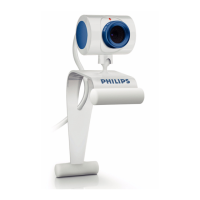
> After a couple of seconds the ‘Language selection’ screen
appears automatically.
Note!
If the 'Language selection' screen does not appear automatically,
open the Microsoft
®
Windows
®
Explorer and double click on the
'Set-up.exe' icon in the CD-ROM directory.
2 Select your language and click on the 'OK' button.
> The following screen appears.
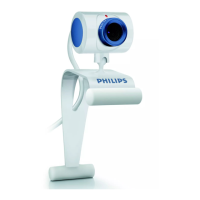
3 Select at least ‘SPC500NC WebCam Driver’ and ‘Philips
VLounge’ for SPC500NC WebCam as well as for SPC505NC
WebCam (software is the same for both WebCams). Click
the 'Next' button.
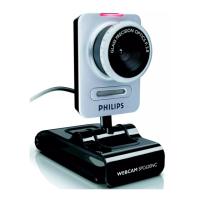
> The following software license agreement appears.
4 Click on 'Ye s' to continue the installation.