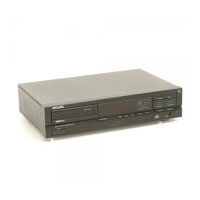
3-2
DISASSEMBLY OF TOP COVER
- Remove
the
4 screws out
of
side walls
of
top
cover.
- Take
top
cover from set.
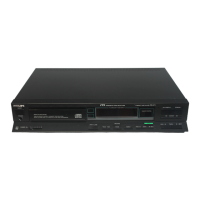
SERVICING OF THE FRONT PANEL
Disassembly of front panel
- Remove
top
cover.
- Remove the 3 fixing screws
at
upper side
of
fornt
panel.
- Now the front panel can
be
taken off.
- Ensure during mounting that the 3 bosses
of
the set
frame engage with the appropriate holes
of
the
frontpanel.
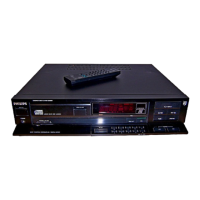
Disassembly of control + display panel
- The control and display PCB can
be
detached
by
removing the 7 screws
3Mx16
at
the bottom
of
the
display panel.
- Then the control
+ display panel can
be
taken
out
of
the front.
- When mounting, make sure that the 3 bosses on the
front slip into the appropriate holes in the PCB.
SERVICING OF THE TRAY MECHANISM
Demounting the tray mechanism.
- Remove the
top
cover.
- Remove the front.
- Push the tray
out
of
the mechanism.
- Remove the screw from the bottom
of
the
set.
- Undo the 3 screws with which the loading has been
mounted into the set. Two screws are situated
in
front
and one in the centre
at
the rear.
-
Lift
the
tray
mechanism a little and undo the flexible
PCB from the connector
by
lifting the upper part
of
the
connector and taking the flexible PCB
out
Short circuit
the connections
by
means
of
a papercllp.
- Undo the 2 stocko connectors.
- Now take the tray mechanism out
of
the set.
cs
9 983
DEMOUNTING THE CDM
- Remove the complete disk hold-down.
- Turn the loading upside down.
- Support
the
CDM.
- Loosen the 2 screws on the metal bracket with which
the CDM is suspended.
- The CDM can
now
be removed.
- For servicing the CDM see Service Manual
CDM2/0500.
- Mounting is done in reverse order.
SERVICING THE SERVO
+ DECODER PANEL
- Remove
top
cover.
- Remove the
front
panel.
- Remove the tray mechanism.
- Remove the screw with which the chassis part is fixed.
- Remove the screw
in
the rear with which the CINCH
sockets are fixed.
- Remove the 2 screws on the PCB.
- Remove the screws from the transformer.
- The PCB
now
can be taken out.
- Mounting is done
in
reverse order.
REPLACEMENT OF
TRANSFORMER FUSE
-
For
replacing the transformer fuse the transformer
must be desoldered from the main panel.
•
.C
0
C
 Loading...