Do you have a question about the Pioneer A9 and is the answer not in the manual?
Serial number location and security advice for the equipment.
User rights regarding unauthorized modifications to the equipment.
Lists accessories included with the receiver upon purchase.
Step-by-step guide for inserting the battery into the remote control.
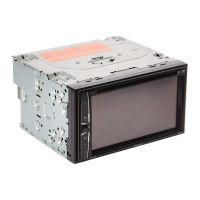
Guidelines for placing the receiver on a stable surface and avoiding unsuitable locations.
Advice on routing cables to prevent humming noise from transformers.
Connect audio sources like CD players and tape recorders to receiver inputs.
Connect AM loop and FM wire antennas for best reception quality.
Connect speakers to the appropriate terminals, matching polarity and impedance.
Improve FM/AM reception by connecting external antenna options.
Connect the AC power cord to the unit and plug into a wall outlet.
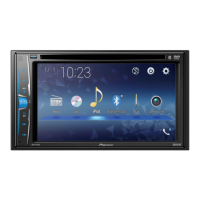
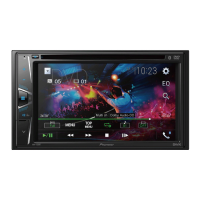
Overview of buttons, indicators, and ports on the receiver's front panel.
Details of buttons and functions available on the remote control.
Tips and considerations for effective operation of the remote control.
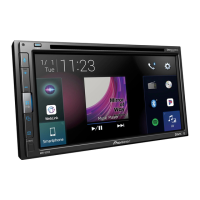
Explanation of indicators and information shown on the receiver's display screen.
Engage Direct listening for pure audio reproduction, bypassing signal processing.
Restore audio quality lost during compression using the Sound Retriever feature.
Adjust bass, treble, and balance for a desired sound profile.
Steps to select and play audio from connected external components.
Instructions for recording audio from connected sources to a recorder.
How to tune into FM and AM radio broadcasts using various methods.
Memorize up to 30 radio stations into banks for quick access.
Assign custom names to saved radio station presets for easier identification.
Access previously saved and named radio stations using preset functions.
Information on XM satellite radio service, features, and subscription.
Steps to connect and activate the XM Radio receiver and antenna.
How to select channels and navigate XM Radio broadcasts using the receiver.
Methods for finding XM Radio channels by genre and direct access.
Memorize XM radio channels into three banks (A, B, C) for easy recall.
Access previously saved XM radio channels using preset selection.
Connect your computer via USB to play audio through the receiver.
Connect an external amplifier to power speakers using receiver pre-out jacks.
Use an optional IR receiver for controlling components in a closed cabinet.
Link Pioneer components to use the unit's remote sensor for system control.
Automate power on/off for connected components via the 12V trigger connection.
Common operational problems and their solutions for the receiver.
Explanations for common messages displayed during XM radio operation.
Technical details and performance data, including amplifier output and frequency response.
Instructions for safely cleaning the receiver's exterior surfaces.
| Brand | Pioneer |
|---|---|
| Model | A9 |
| Category | Stereo Receiver |
| Language | English |