EasyManua.ls Logo

Pioneer AVIC-Z1000D11-CHU User Manual

Pioneer AVIC-Z1000D11-CHU
6 pages
To Next Page IconTo Next Page
Page #1 background imageLoading...
Page #1 background image
Installation guide for :
- AVIC-Z1000D11-CHU
- AVIC-Z1000D12-C
- AVIC-Z1000D16-C
Installation kit - metal brackets, plastic facia
and rotary command keys
Interface
Depending on the kit, the interface may look different
Original dashboard setup
Remove the two storage pockets
Remove four screws using a T20 screwdriver
Keep them a side for later
Remove the original frame from the dashboard
Remove the airvents left an right by pulling
They are attached with two pins
Pioneer installation manual - Fiat Ducato 8 - v1.03
Fiat Ducato model year ’21 - Open dash only
Question and Answer IconNeed help?

Do you have a question about the Pioneer AVIC-Z1000D11-CHU and is the answer not in the manual?
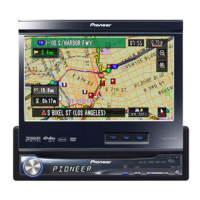
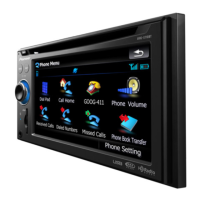
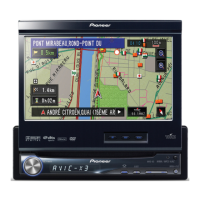
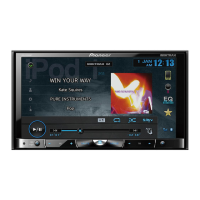
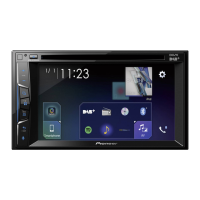
Pioneer AVIC-Z1000D11-CHU Specifications

General IconGeneral
Resolution800 x 480 Pixels
NavigationYes
BluetoothYes
Audio Formats SupportedMP3, WMA, AAC, FLAC, WAV
Radio TunerAM/FM
Apple CarPlayYes
Android AutoYes
DVD PlaybackYes
CD PlaybackYes
Rear View Camera InputYes
Video Formats SupportedMPEG-1, MPEG-2, MPEG-4, AVI
Screen TypeTouchscreen

Summary

Pioneer Fiat Ducato Installation

Dashboard Preparation and Disassembly

Remove dashboard storage pockets, air vents, and frame for installation access.

Unit Mounting and Tacho Visor Removal

Slide the Pioneer unit into the facia, mount brackets, and remove the tacho visor.

Wiring Connections for CHU Kit

Detailed steps for cutting, sliding, and connecting cables for the AVIC-Z1000D11-CHU kit.

Wiring for Other Kits and Rotary Commander

Fusebox access, connector manipulation, and rotary commander cable routing for specific kits.

Final Assembly and System Check

Secure the unit, reinstall air vents, connect rotary command, and verify final result.

Related product manuals