Do you have a question about the Pioneer Elite and is the answer not in the manual?
General safety guidelines for using the subwoofer, including warnings against water exposure and heat sources.
Instructions on how to handle the power cord safely and warnings regarding electric shock.
Warning about chemicals known to cause cancer or reproductive harm from handling the product's cords.
Recommended temperature, humidity, and location guidelines for installing the subwoofer.
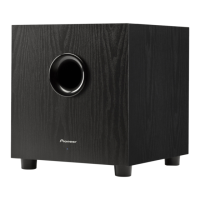
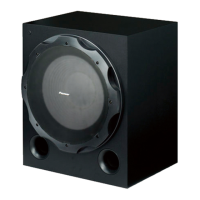
Explanation of the Power switch, Level knob, and Lowpass (Hz) control.
Details on LFE/Left Input, Right Input, and AC Power Input ports.
Description of the LED indicator on the front panel and its function.
Guidance on adjusting the subwoofer's phase for system integration.
Instructions for connecting the subwoofer to an A/V receiver or surround processor.
Instructions for connecting the subwoofer to a stereo receiver or preamp.
Guidance on optimal placement locations for the subwoofer in a room.
Steps for fine-tuning the subwoofer's level, crossover, and phase.
Warnings regarding subwoofer placement near heat sources or electronic screens.
Instructions for cleaning and maintaining the subwoofer's cabinet.
Technical details including frequency range, power, dimensions, and weight.
Details on the limited warranty, coverage period, and exclusions.
Procedures for contacting customer support and authorized service centers.
Information on the Complaint Resolution Program for resolving disputes.
Advice on setting a comfortable and safe listening volume.
Recommendations for observing safe listening practices and caution in hazardous situations.
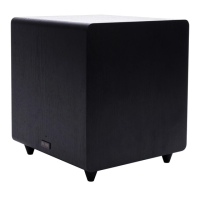
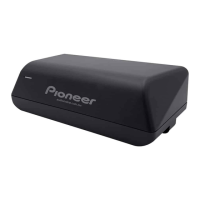
The Pioneer Elite SW-E10 is a high-performance subwoofer designed to enhance the low-frequency response of home audio systems, providing deep and impactful bass for both home theater and stereo music applications. This operating guide outlines its features, installation procedures, and maintenance recommendations to ensure optimal performance and longevity.
The SW-E10 subwoofer is an active, self-powered unit that reproduces low-frequency sounds, often referred to as bass. It is designed to complement existing speaker systems by extending their frequency range downwards, creating a more immersive and dynamic audio experience. The subwoofer can be integrated into various setups, including A/V receiver-based home theater systems and stereo music systems with preamps or receivers. Its primary function is to handle the demanding low-end frequencies that smaller main speakers may struggle to reproduce accurately, thereby relieving them of this task and allowing them to perform better in their intended frequency range. The unit features several controls for fine-tuning its output, including level, low-pass filter (crossover frequency), and phase, which allow users to seamlessly blend the subwoofer's sound with the rest of their audio system. The "AUTO" power mode provides convenience by automatically turning the subwoofer on when an audio signal is detected and off after a period of inactivity, conserving energy.