en Installation and connection
12
1. Remove any packaging and pro-
tective covers completely from the
appliance.
→"Disposing of packaging",
Page11
2. Check the appliance for visible
damage.
3. Open the appliance door.
→"Basic operation", Page28
4. Remove any accessories from the
drum.
5. Close the appliance door.
4.2 Contents of package
After unpacking all parts, check for
any damage in transit and complete-
ness of the delivery.
ATTENTION!
If the appliance is operated with in-
complete or defective accessories,
the appliance may not be able to op-
erate properly, or this may result in
material damage or damage to the
appliance.
▶ Do not operate the appliance with
incomplete or defective accessor-
ies.
▶ Replace the accessories in ques-
tion before operating the appli-
ance.
→"Accessories", Page27
Note:The appliance has been tested
at the factory to check it is in working
order. As a result, water stains may
remain in the appliance. These marks
will disappear after the first wash
cycle.
The delivery consists of the following:
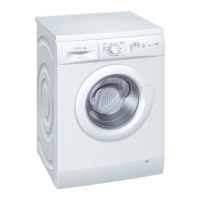
¡ Washing machine
¡ Accompanying documents
¡ Transit bolts
→"Removing the transit bolts",
Page13
¡ Cover caps
¡ Water inlet hose
→"Connecting the water inlet
hose", Page14
4.3 Requirements for the in-
stallation location
WARNING
Risk of electric shock!
The appliance contains live parts.
Touching live parts is dangerous.
▶ Do not operate the appliance
without a cover cap.
ATTENTION!
If residual water in the appliance
freezes, this may cause damage to
the appliance.
▶ Do not install or operate this appli-
ance anywhere that is liable to ex-
perience frost or outdoors.
If the appliance is tilted at an angle
greater than 40°, residual water may
leak out of the appliance and cause
material damage.
▶ Tilt the appliance carefully.
▶ Transport the appliance in an up-
right position.
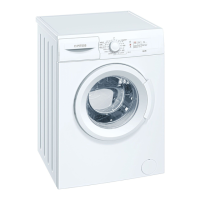
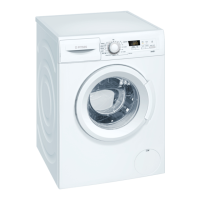
Installation loca-
tion
Requirements
Base Secure the appli-
ance with fixing
brackets.
Wooden joist
floor
Place the appli-
ance on a water-
resistant wooden
board (minimum
thickness of
30mm) which is
screwed tightly to
the floor.