2. Installation and Power On
First, plug the AC adapter at the back of the device, then plug the AC adapter to a power
outlet/socket.
To turn on the device, move the switch button located on back/bottom side of the device
next to the AC adapter plug. After a few seconds, the screen should display a logo.
Wait for about 20 seconds for the device to be ready for use.
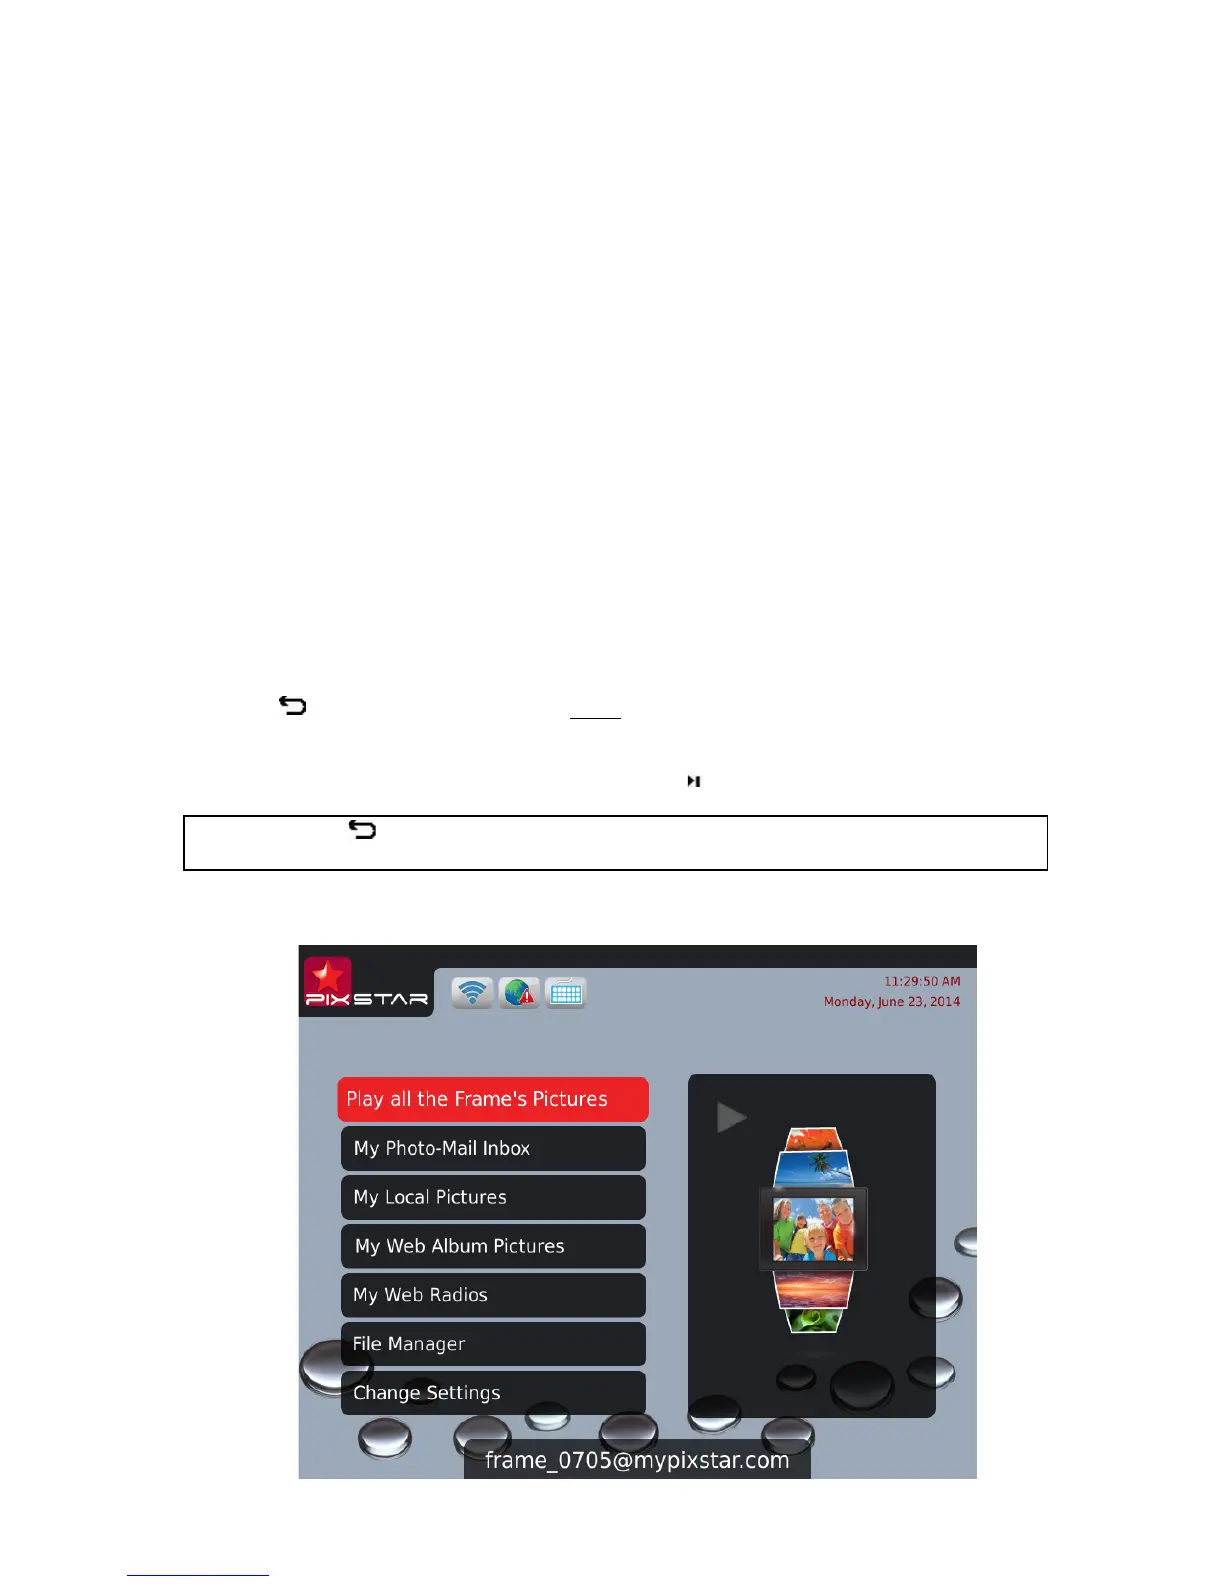
3. Introduction to the Main User Interface
After you power on the device and wait for approximately 20 seconds your Pix-Star will
display the main menu.
You can navigate the menus using the remote control or the buttons located behind the
device on the right side.
When the slide show is playing, to quit the slide show and go back to the main menu press
the Back button or the Menu button twice.
When the main menu is displaying on the Pix-star’s screen, select the menu you want to
enter using the UP and DOWN buttons then press the / OK button to enter it.
Note: The Back button on the remote control allows you to go back to the previous
menu (upper level menu)

 Loading...