Chase effects
This section describes each of the 31 internal chase
effects that are selectable either via the control menu
(PROG
>
C1/C2
>
EFEC) or using DMX values sent
from an external source. To use the internal effects, set
the MODE option either to EF M (to control effects via
the menu) or MAX2 (to control effects externally via
DMX).
DMX EFEC Chase effect description
value value
0-7
00
Off
8-15
01
Rainbow chase forward
16-23
02
Rainbow chase reverse
24-31
03
10/90 duty cycle strobe white
32-39
04
10/90 duty cycle strobe white
40-47
05
10/90 duty cycle strobe white
48-55
06
50/50 duty cycle strobe white
56-63
07
50/50 duty cycle strobe red
64-71
08
50/50 duty cycle strobe blue
72-79
09
50/50 duty cycle strobe yellow
80-87
10
50/50 duty cycle strobe green
88-95
11
Pulse strobe white
96-103
12
Pulse strobe blue
104-111
13
Pulse strobe rainbow
112-119
14
Pulse strobe red/green/blue
120-127
15
Rainbow chase
128-135
16
Rainbow chase
136-143
17
Yellow/blue chase
144-151
18
Rainbow chase
152-159
19
Yellow/blue chase
160-167
20
Red/blue chase
168-175
21
Red/green chase
176-183
22
Red/green/blue chase
184-191
23
Purple/white/green chase
192-199
24
Rainbow chase
200-207
25
Static orange
208-215
26
Static yellow
216-223
27
Static light blue
224-231
28
Static purple
232-239
29
Static red
240-247
30
Static green
248-255
31
Static blue
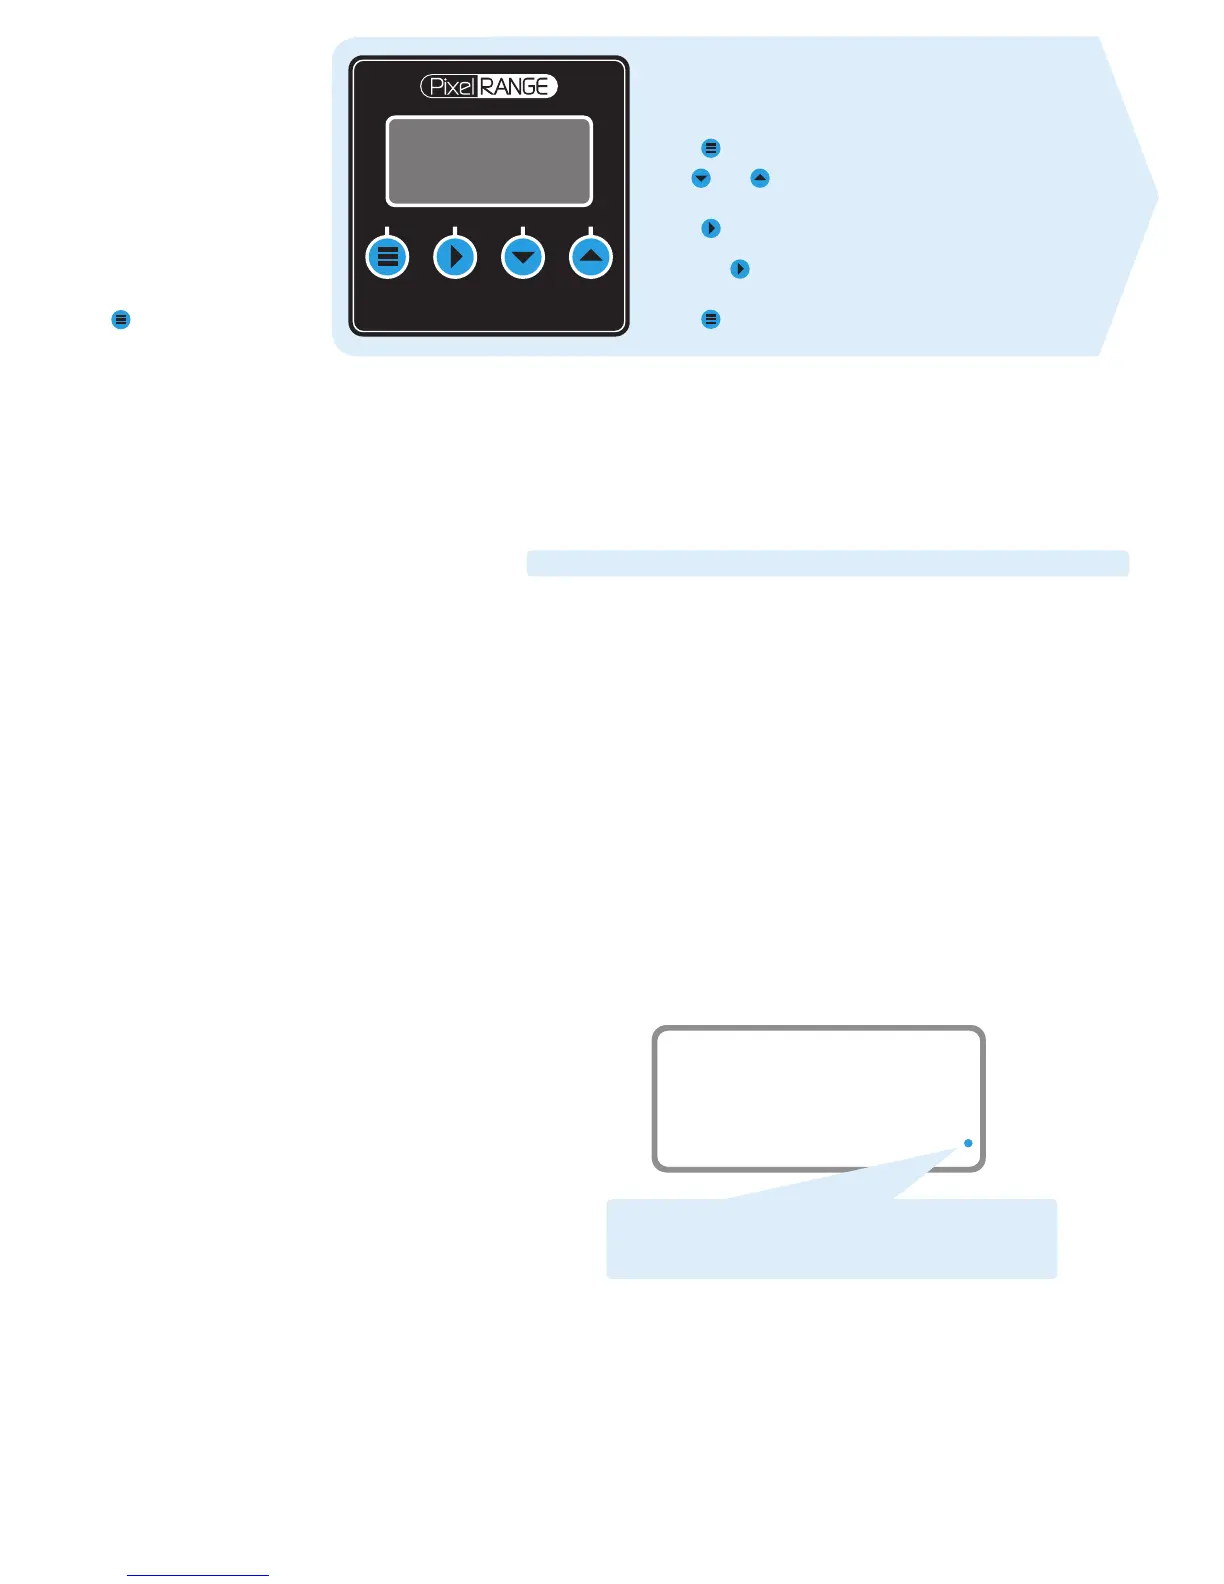
Using the menu
• When not in the menu, the four digit display scrolls the
current DMX address and mode. The display’s right hand
decimal point (data dot) is used to indicate status (see below).
• Press
to enter the menu. The four digit display will show ADDR.
• Use
and to move between menu options (or to change a
value within an option).
• Press
to enter an option (or to fix a changed value within an
option and return to the previous option level). Note: If you do
not press to fix a value, operation will revert to the
previously set mode at the next power on.
• Press
to exit from a menu option (and eventually
exit the menu completely).
General notes
• Ensure that only one DMX
device in the chain is set
as master (e.g. the lighting
desk). This fixture is usually
set to slave mode.
• This fixture is shipped with
the DMX address set to
001.
• The four digit display can
be set to switch off when
not in use. To restore, press
. To alter this mode use:
PERS
>
DISP.
Master/slave/data indication
The right hand decimal point (data dot) of the display is used to indicate the mas-
ter/slave settings and also the presence of a DMX input signal, as shown below:
Data dot ON Master mode
Data dot FLASHING Slave mode (DMX data input present)
Data dot OFF Slave mode (no DMX data present)
Notes:
• Ensure that only one DMX device in the chain is set as master (e.g. the desk).
• Use PERS > data to change between master and slave modes.
• When set to master mode, the fixture will scroll MASTER in place of a DMX
address (when not within the menu).
• If the display has been set to auto off (disp > aoff), the data dot will
remain active but at a lower brightness.
Channel layouts within operation modes
The table below shows how colour mixing, chase effects and master intensity
controls are mapped to DMX channels for each mode. The dmx and16bt modes
do not use chase effects. In all modes, the first channel of the fixture occurs at the
DMX address selected using
addr and successive channels for the fixture follow
from there.
Channel dmX 16bt) MAX2 EF d
1 Red Red (coarse) Red c1 Effect
2 Green Red (fine) Green
c1 Speed
3 Blue Green (coarse) Blue
c1 Xfade
4 Master intensity* Green (fine)
c1 Effect c2 Effect
5 - Blue (coarse)
c1 Speed c2 Speed
6 - Blue (fine)
c1 Xfade c2 Xfade
7 - Master intensity*
c2 Effect Master intensity
8 - - c2 Speed -
9 - - c2 Xfade -
10 - - Master intensity -
* Master intensity for dmx and16bt modes are available only when the
pers
>
mint option is set to on. Master intensity is always 8-bit.
coarse = High channel for 16-bit, fine = Low channel for 16-bit
 Loading...