Quick Installation Guide
- 9 - PLANET Technology Corp.2024
4. Hardware Installation
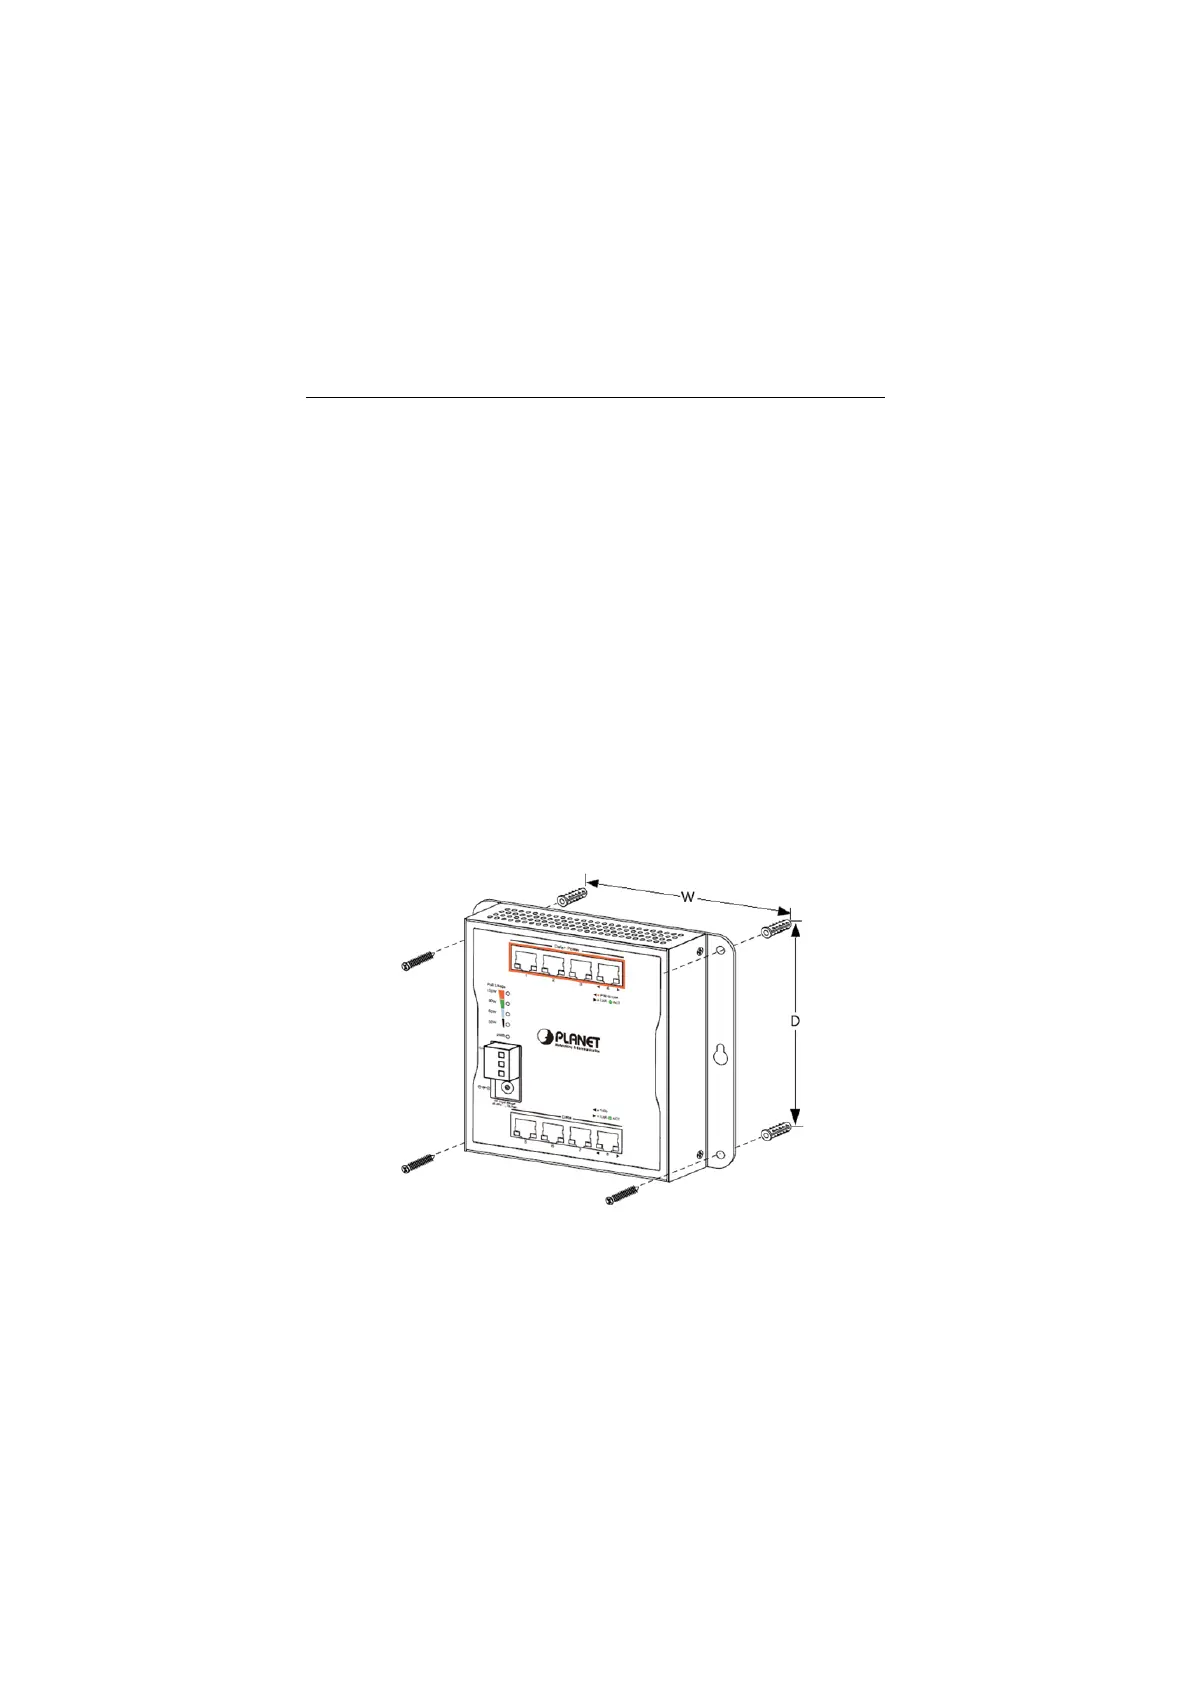
4.1 Wall-mount Installation
To install the Wall-mount Managed Switch on the wall, simply follow the
following steps:
Step 1: Drive four 8mm diameter holes into the wall horizontally with the
distance between the 2 holes is 133mm
(WGS-804HPT/WGS-4215-8T), 163mm
(WGS-4215-8T2S/WGS-4215-8P2S) and 230mm
(WGS-4215-16P2S)(Refer to the table below).
Step 2: Lightly hammer the wall anchors into the four holes.
Step 3: Place the unit on the wall where there are four walls, and screw
the bolts into the wall anchors to finish the installation.
 Loading...