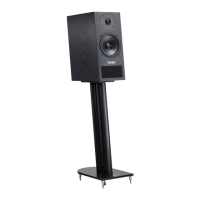
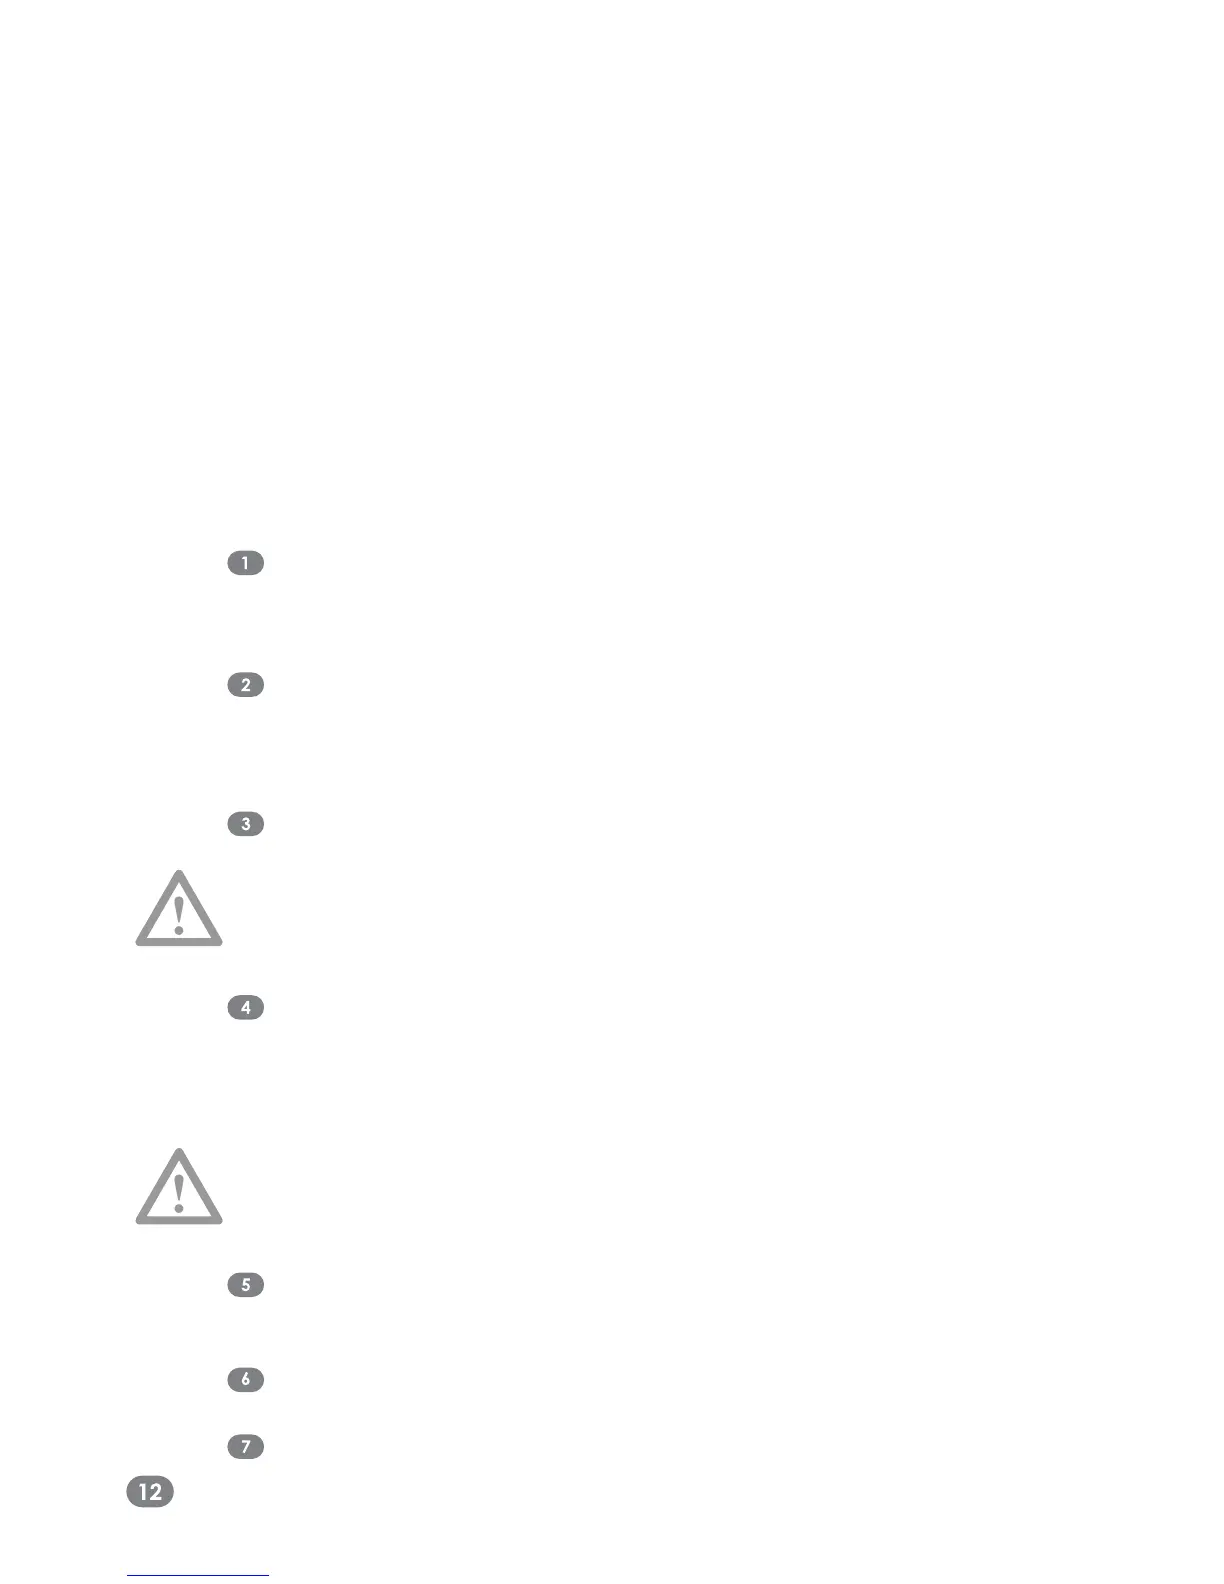
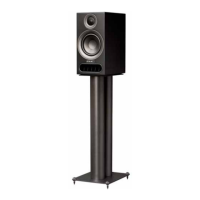
Resonance damping plinths and spikes enhance the performance and
stability of the oorstanding models in the range. The plinths attach to the
base of each speaker using M8 bolts. The twenty series spikes are reversible,
with spike or ball tips for use on either carpeted or more sensitive hard
ooring.
Carefully invert the loudspeaker so that its base is uppermost. Take
care not to damage the top of the loudspeaker when it is upside-
down, the use of a soft cloth or square of carpet is suggested.
Position the plinth on the bottom of the loudspeaker so that its large
curved edge is to the rear (same face as 4mm terminals/sockets).
Ensure that the corresponding inserts in the base of the cabinet are
aligned with the rebated holes in the plinth.
Locate the large M8 bolts and tighten them gently using the allen key
supplied until the heads of the bolts are ush with the plinth’s surface.
Once the bolts are ush carefully tighten each bolt by half a turn
N.B. Do not over tighten. Over tightening will reduce the effect of the
resonance absorbing material
Fully thread each spike with one of the supplied lock nuts. The spikes
can then be attached to the plinth; they should point upwards whilst
the cabinet is inverted.
Caution: the spikes are sharp and should be treated with great care
and may damage hard ooring if in direct contact
N.B. You have the option of using the ball tips for use on more sensitive
ooring
Re-invert the loudspeaker so that the spikes and plinth are at the
bottom.
Once in position, level the loudspeaker by adjusting each spike in turn.
The nal step is to tighten each spike’s lock nut with the spanner
provided; this will ensure that the spike and loudspeaker are as rigid as
possible.