Ensure that incoming cables are connected to the
appropriate terminal as follows:
Live 1: Brown
Live 2: Black ( 3 - Phase Units Only )
Live 3: Grey ( 3 - Phase Units Only )
Neutral: Blue
Earth: Green/Yellow
All of the cables that are to be connected into the supply
terminals should have their insulation stripped back
12~15mm to provide good contact to the screw terminal
jaws, Torque settings for these connections is 1.5Nm.
Appropriate pull tests shall be performed at the unit
connections to conrm the installation is sound.
Smart energy monitoring
If energy monitoring of the domestic supply is required
an external current clamp should be connected to the
“blue” screw terminal block (CON9 or J201), Connect
the 2 clamp wires to GND and EXTC (external clamp),
the current clamp should be tted to the main input
supply cable close to the domestic energy meter. If the
maximum supply limit must be changed commissioning
over WiFi is required.
Final electrical testing
To meet the BS7671 (18th edition) requirements for
testing of an electrical installation, the following tests
and checks shall be performed by a competent electrical
installer before during and after a POD Point Solo unit is
installed:
• A visual inspection of the installation including the
existing electrical installation.
• Verication of the characteristics of the electrical
supply at the origin of the installation to conrm the
supply is suitable for the additional load.
• A test to conrm the continuity of the circuit protective
conductors.
• A test to conrm the integrity of the circuit insulation
resistance.
• A test to conrm the polarity of the installation is
correct.
• Where applicable a test to conrm the earth electrode
resistance is within acceptable tolerances (or)
• An earth loop impedance test
•
A test of the mechanical operation of residual current
devices (RCD’s)
• A test to conrm the operation of residual current
devices (RCD’s) is within stipulated timescales (at the
rated current and at ve times the rated current
operating current.)
• A test or calculated measurement of the prospective
fault current.
• A verication of the functional operation of the Pod
Point Solo unit. An electrical installation certicate must
be completed.
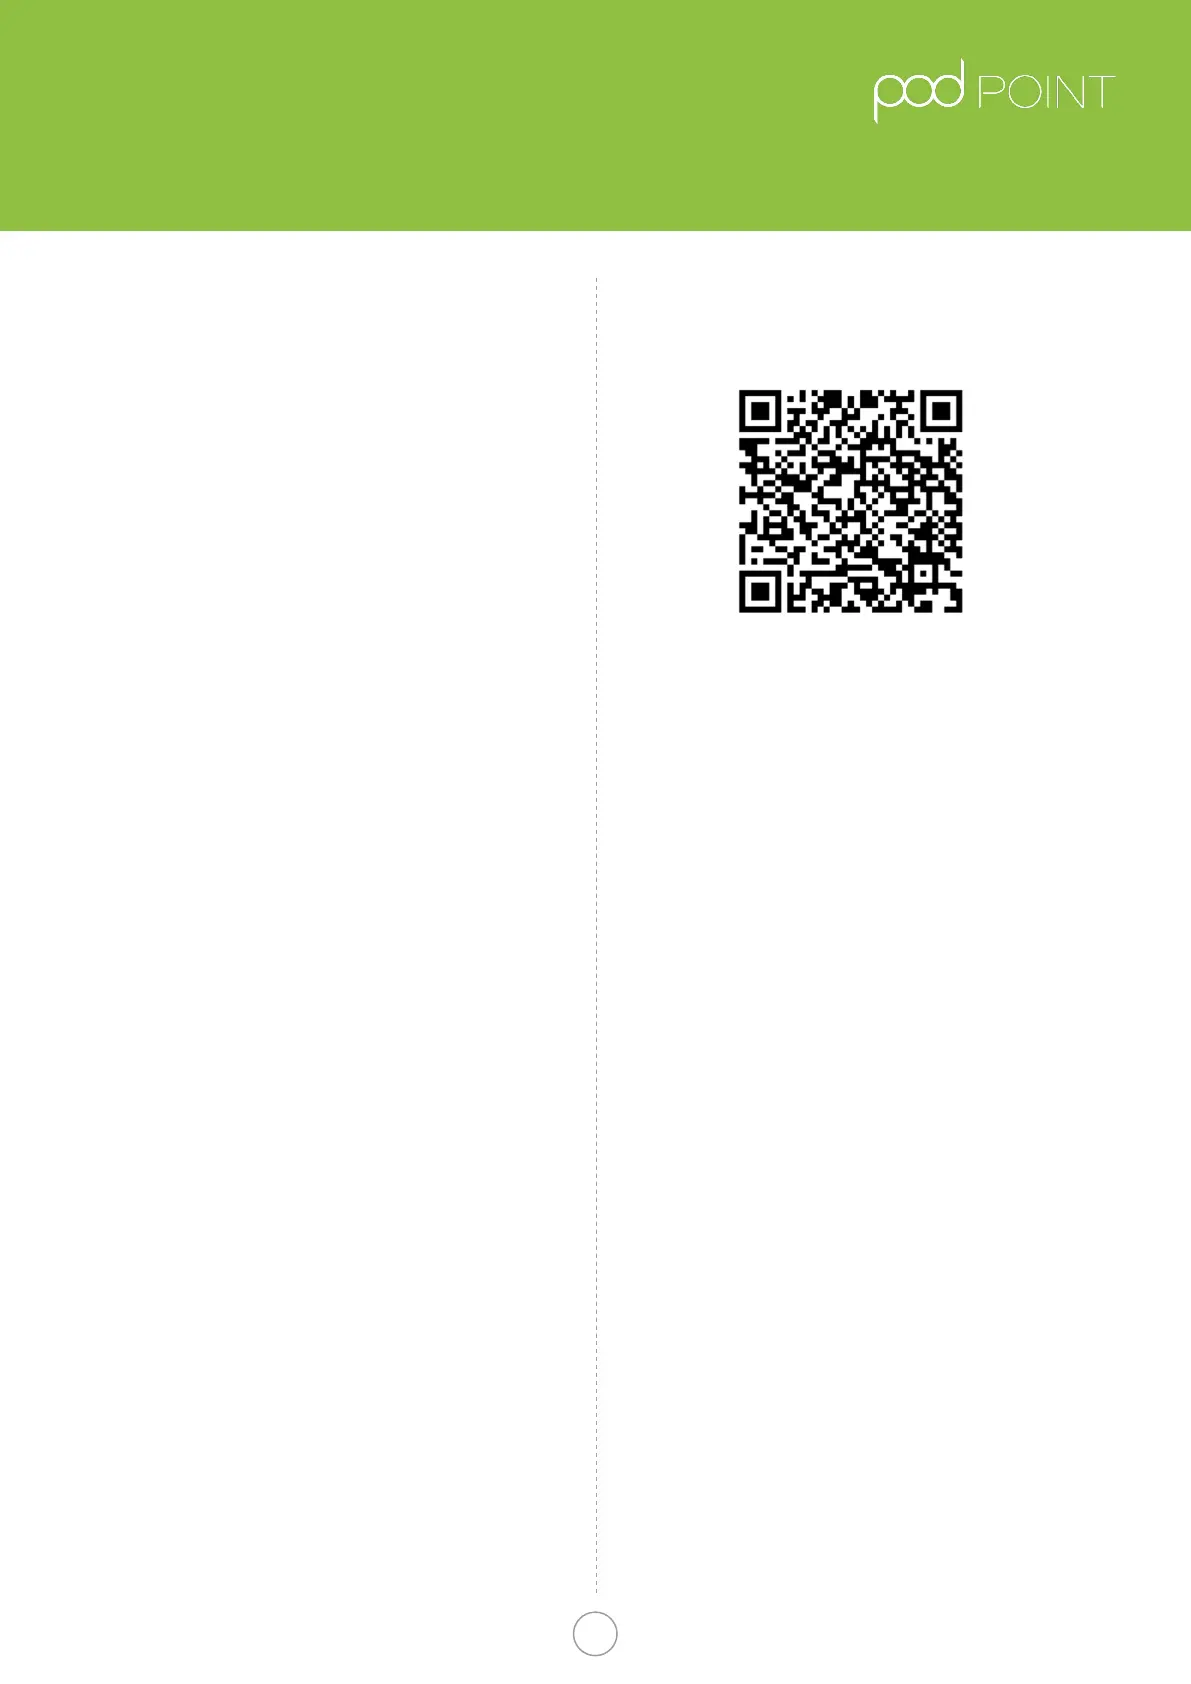
Connecting to Wi- network
https://s3-eu-west-1.amazonaws.com/podpoint-
website/Connecting-your-Pod-Point-Solo-to-Wi.pdf
QR Link to wi setup guide
On power up of the Pod Point Solo the LED’s on the front
should illuminate in white. To get the unit connected to
the Wi-Fi network do the following:
1. Search for “podpoint” Wi- network on your mobile
device and connect to it (no password needed).
2. Open a web browser on your device and type
192.168.1.1 in the address bar.
3. When the page has loaded select the desired Wi
network from the list and type in the password for
that network.
4. Press “connect” button located at the bottom of the page.
5. Power cycle the Pod Point Solo and wait for 1 minute.
Light should go blue with a short magenta ash when
connected.
6. If the status LED remains white, you may need to
restart the unit again and or verify the settings.
Fitting the front of the unit
Once the rear unit has been tted, the wiring to the unit
connected and tested, the front cover can be tted in
place. Prior to tting the front cover, visually check the
internal connections, remove any debris that may have
entered the unit during installation and check that the
front cover mating seal is in place. Place the cover on
the housing, using the top xing as a point of reference,
the front cover can then be secured in place at 5 points.
The unit is supplied with both pozidrive and T15 pin torx
screws if additional security is required.
Important information
Pod-Point do not authorise the use of ANY In cable
adaptors, charging cables used should not have any
modications made to them. If there is evidence of
damage to the charging connector(s) or cable it should
not be used for safety reasons.
For units with Type 2 socket, the charge cable must
be able to be fully inserted or charging will not begin
(socket must lock).
Pod Point Solo Unit
Installation Guide
Pod Point Solo Install Guide
4
Pod Point January 2019
PP-D-130012-14

 Loading...