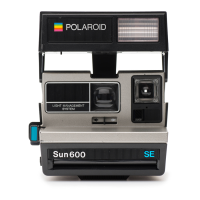
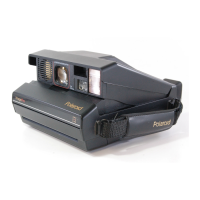
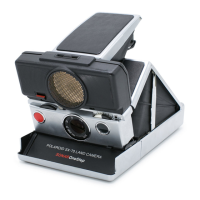
600/600 SE Camera User Guide
6
Focusing
The Models 600 and 600 SE are equipped
with a coincidence-type rangefinder in which
two images come together within a circle
when in focus. To familiarize yourself with it,
first set the lens at infinity and focus on a
nearby subject, as described below.
How to focus
View your subject through the bright circle in
the viewfinder (18). Position your eye so the
entire circle is visible. Within the circle your
subject will appear as two images (19). Turn
the focusing ring so that these two images
coincide (20). Now the camera is focused on
your subject.
Using the viewfinder (Picture 21)
127mm lens (Models 600 and 600 SE)
Compose within the framing lines seen in
your viewfinder (21). When focused beyond
3m (10ft.), use the dots outside of the lines.
Model 600 SE only
The viewfinder frame is adjustable for
127mm and 150mm focal length lenses.
Slide the selector switch to match the focal
length of the lens in use (22, 23).
75mm lens (Model 600 SE only)
When using the 75mm lens, attach the
wide angle viewfinder supplied with that lens
to the accessory shoe on top of the camera
(24).
When attaching or removing the viewfinder,
be sure the locking device (24A) is unlocked.
Once attached, turn the locking knob as far
as it will go, in the direction of the arrow, to
secure the viewfinder. Focus your subject
through the camera’s viewfinder, read the
subject distance from the lens barrel (25),
and set the wide angle viewfinder knob to
that distance (26). Now look through the
wide angle viewfinder and compose your
subject within the bright frame (27).
Depth of field scale
When you focus on the most important part of
your subject, some parts in the foreground
and background of the scene will also be in
acceptably sharp focus in the picture.
The distance between the nearest and
farthest points in sharp focus is called the
zone of sharp focus, or the depth of field. To
determine this distance for a particular scene
use the depth of field scale on the lens barrel
(28). After choosing the aperture setting and
focusing the subject, locate the aperture
number on both sides of the red focus mark
on the depth of field scale (28A). Follow the
white line up to the distance scale and read
the near and far limits of your zone of sharp
focus (28B). For example, with the 127mm
lens at f/32, at a subject distance of 1.7m
(5 1/2ft.), the depth of field will be
approximately 1.4-2.1m (4 1/2-7ft.) (29).
Exposure controls (Picture 30)
Setting the shutter speeds (30)
The shutter has 10 speeds, ranging from
1 sec. to 1/500 sec., plus a B setting for
time exposures. These are set by turning
the shutter speed ring. If set at B, the shutter
stays open as long as the shutter release
button is kept depressed. When setting
shutter speeds, be sure that the red mark
points directly at the speed number, not
between two numbers.
 Loading...
