19
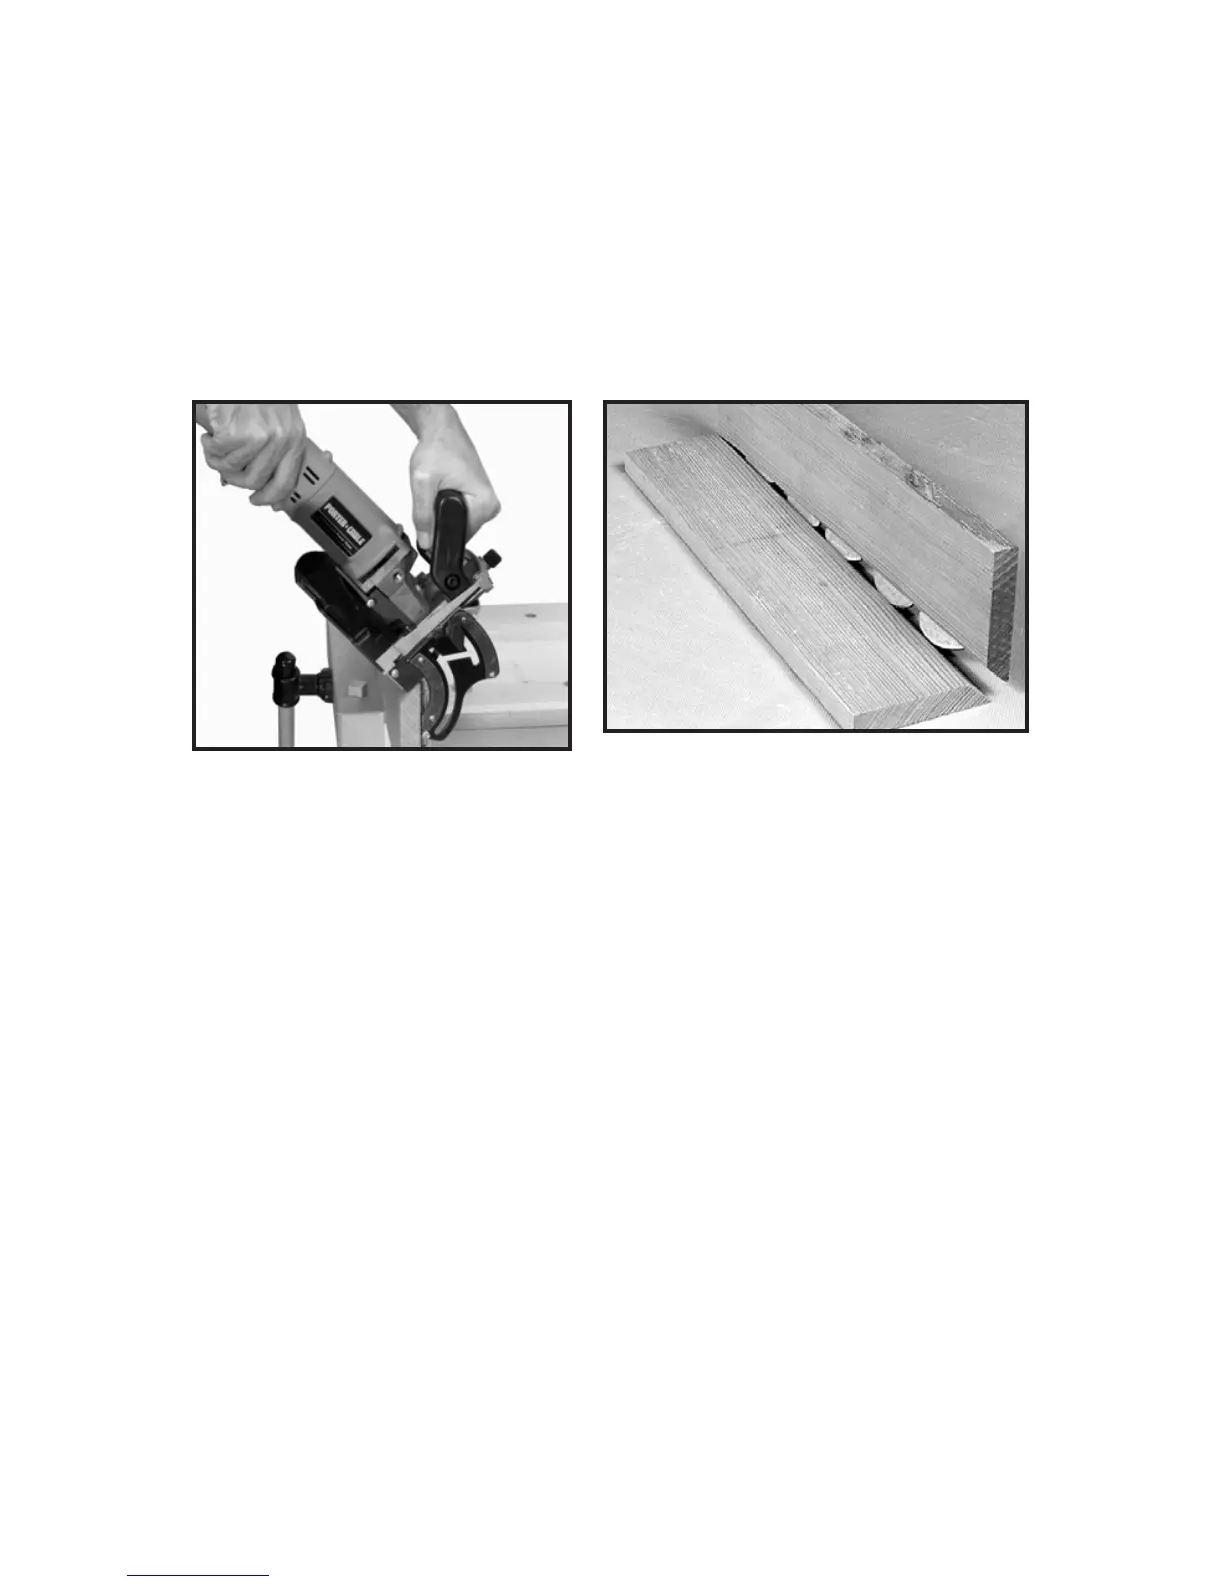
7. Hold tool firmly as shown in Fig. 28, and squeeze trigger switch to start
tool.
8. At a slow, steady pace, push tool forward in base as far as depth stop
allows.
9. Release trigger switch to stop tool and remove tool from work.
10. Repeat Steps 5 through 8 until all the grooves for this joint are
completed.
NOTE: Assemble all joints and verify alignments before applying
glue (see Fig. 29).
Fig. 29
Fig. 28