16
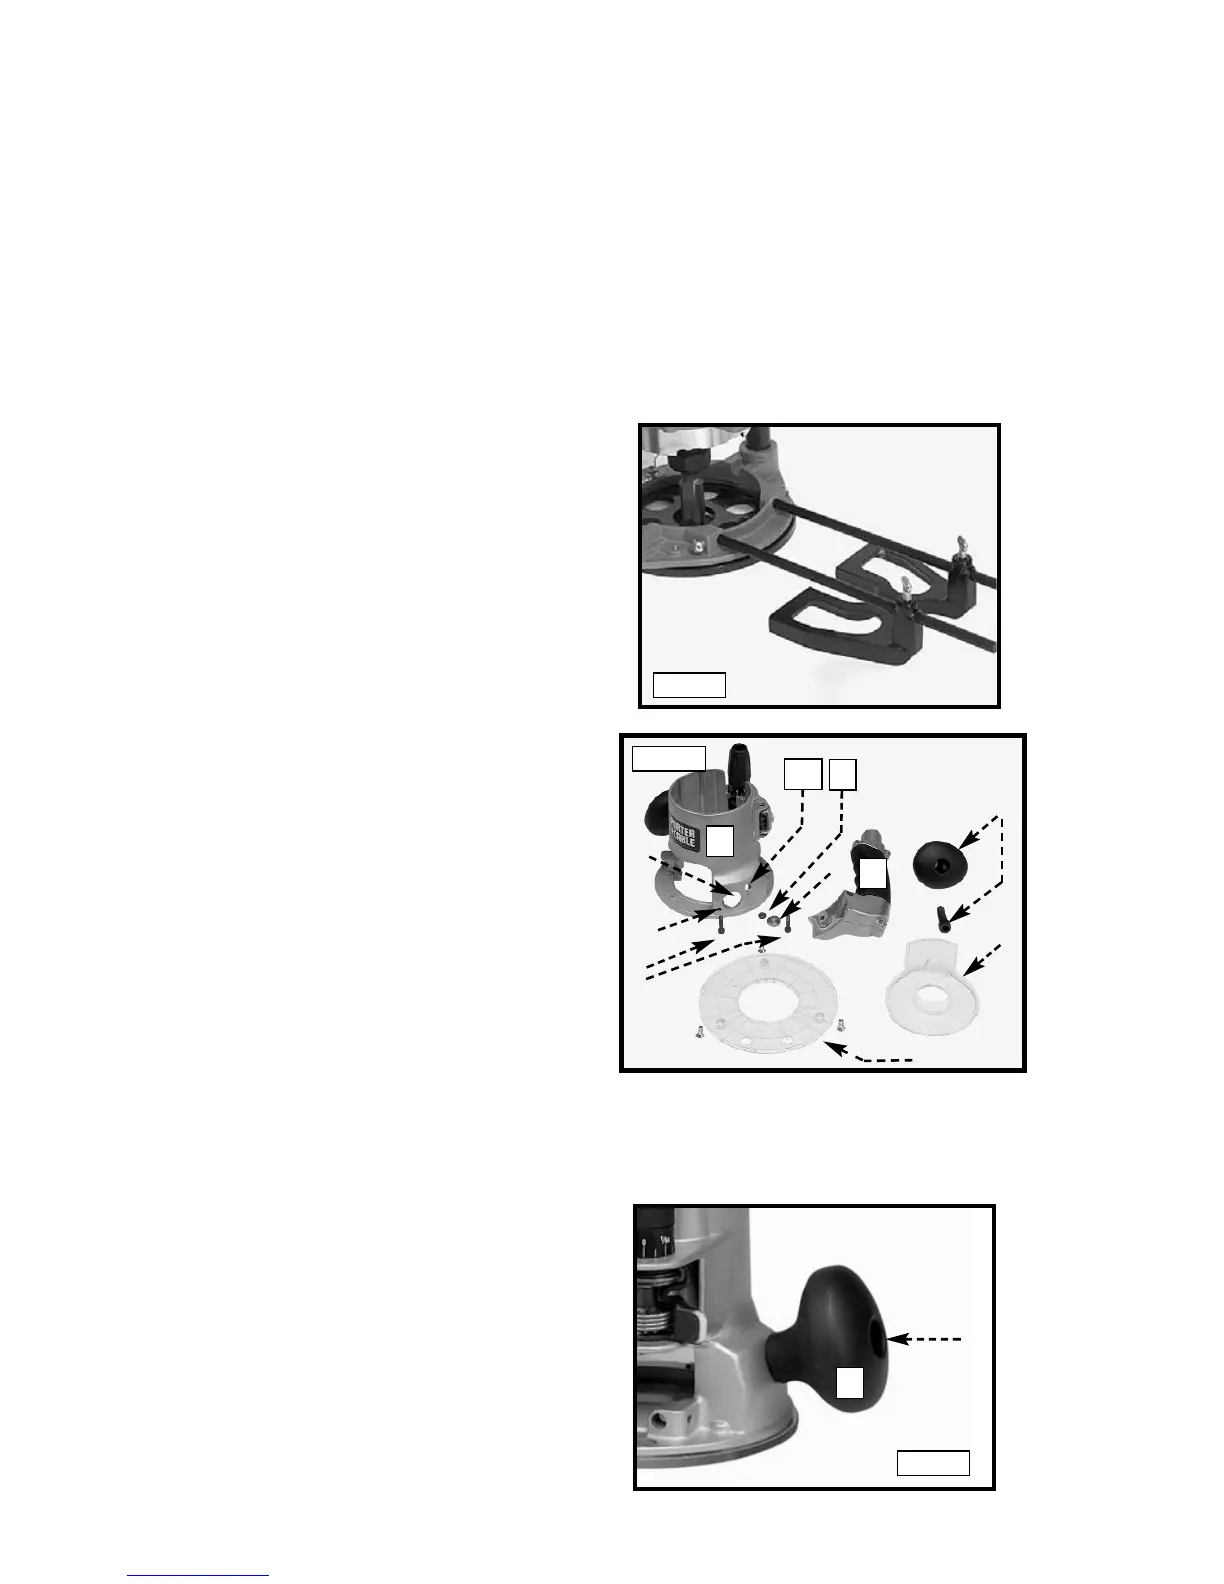
1. Use a 5/16" hex wrench to loosen
the screw in the handle (A) Fig. 21.
Remove the handle from the
router base. Place the handle and
screw aside for use later if
needed.
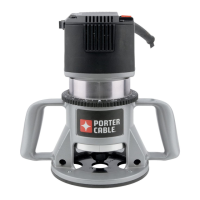
2. Remove the plastic plug from the
dust port (2) Fig. 20.
INSTALLING THE OPTIONAL GRIPVAC
™ (892)
GRIPVAC
™PARTS
1. Router base
2. Dust port
3. GripVac handle
4. Removed handle and screw
5. Dust deflector
6. Sub-base with screws
7. Hex screw (2)
8. Shoulder washer
9. Hex nut
SCREW
2
4
5
6
7
8
11
The speed and depth of cut will depend largely on the workpiece. Keep the
cutting pressure constant but do not crowd the router so that the motor speed
slows excessively. On exceptionally hard woods or problem materials, more
than one pass at various settings may be necessary to get the desired depth of
cut.
When making cuts on all four edges of the workpiece, make the first cut on the
end of the piece across the grain. If chipping of wood occurs at the end of a
cut, it will be removed when making the next cut parallel with the grain.
Periodically wipe the columns clean with a dry cloth. Clean the rack and gear
on the fixed base with a soft bristle brush. Do not lubricate either the columns
or the rack and gear.
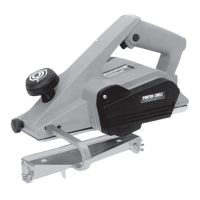
An edge guide (Fig. 19) is available
as an accessory to aid in routing
operations such as straight edge
planing, parallel grooving, dado, or
slotting operations.
See “ACCESSORIES”
THE EDGE GUIDE
Fig. 19
Fig. 20
Fig. 21
1
10
9
3
A