13
Attach tag ring
to D-ring on
pet’s collar
Attach Tag(s) to Collar(s)
of Pet(s)
● The logo on the tag should
face away from the pet.
This pet (or pets) is now
assigned exclusive access
to this PortionPro Rx.
● If you are setting up only one
PortionPro Rx, attach any
remaining unassigned tags to
the collars of all other pets in
your home. These unassigned
tags will not open the
PortionPro Rx food bowl door.
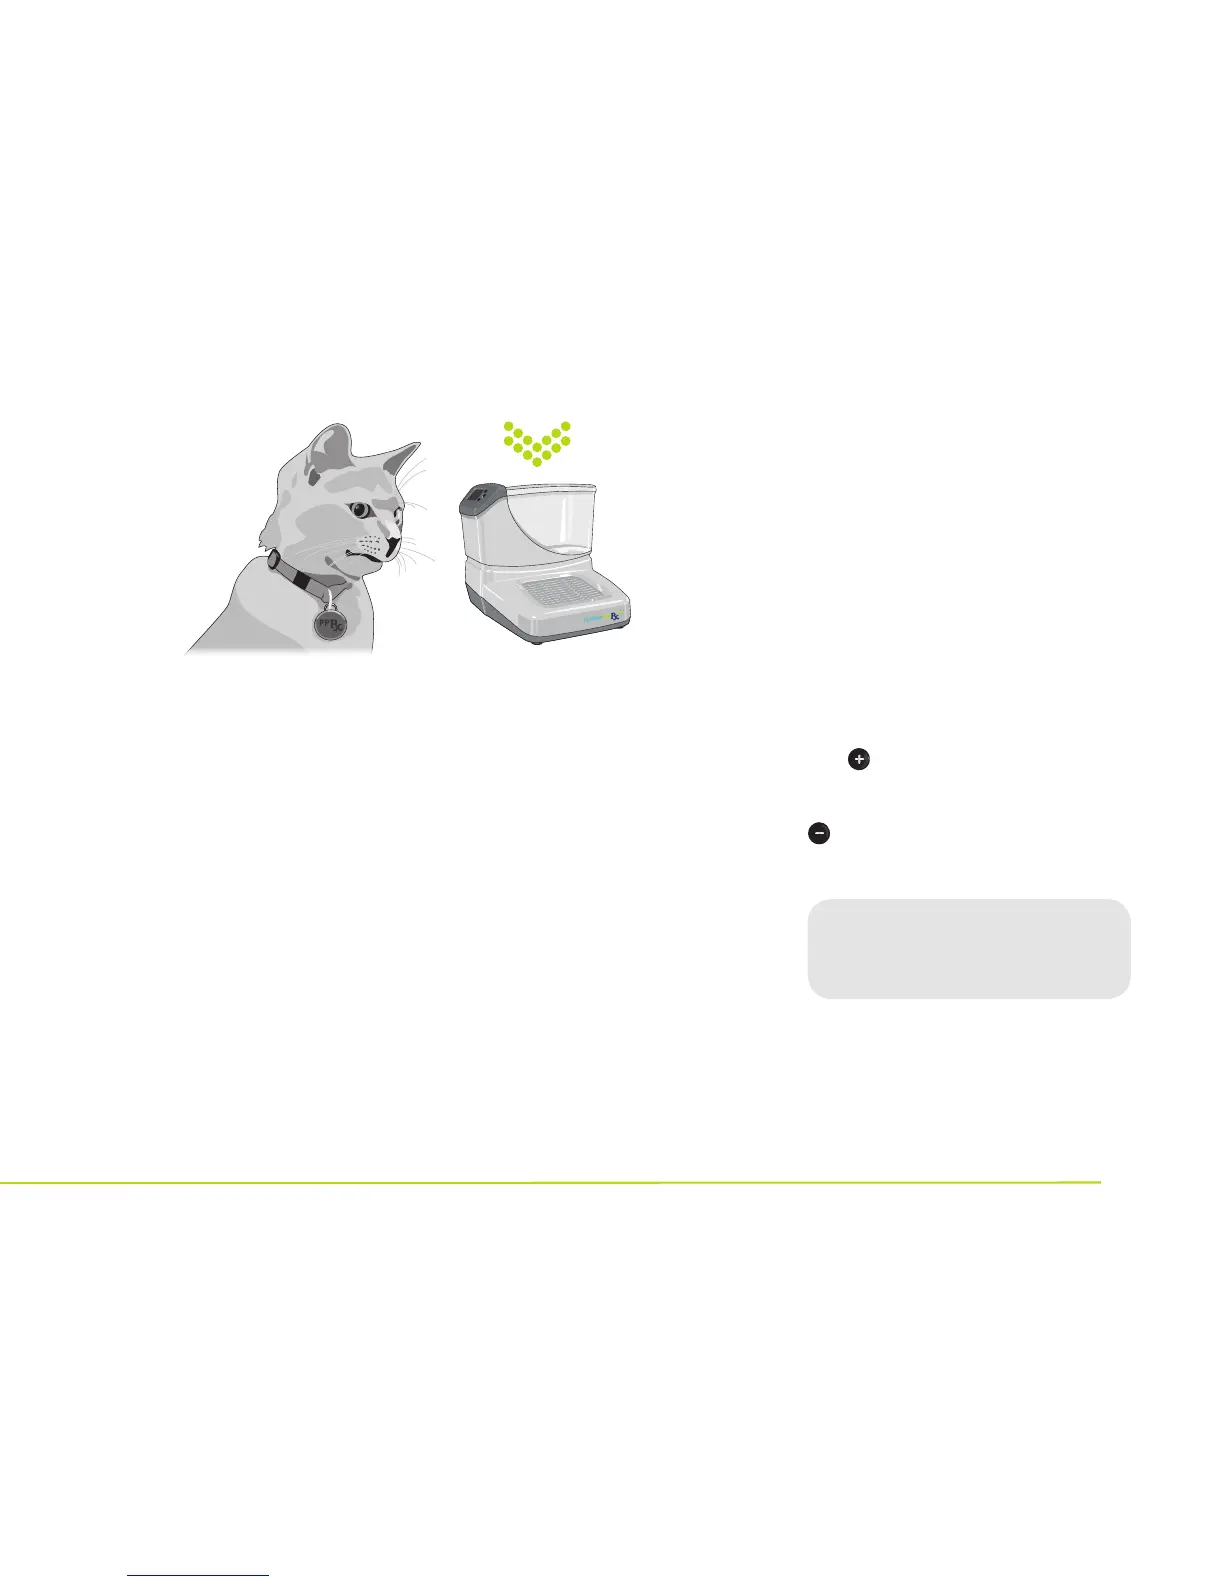
Fill Food Bin
Use only one type
of dry food at any
given time in each
PortionPro Rx, with
kibble sized
5
⁄8”
diameter or less.
Fill Food Bin
● Remove the food bin lid
by squeezing both finger
grips and lifting.
● Fill the food bin with your pet’s
usual dry food to about one
inch from the top of the bin.
● Replace the food bin lid, making
sure that the lid tab slides
into the slot near the LCD
screen and the lid locks into
place on the opposite side.
Final Steps
To set up more than one
PortionPro Rx in your home:
● Separate PortionPro Rx feeders
by a distance of at least 6 feet.
● Repeat the previous programming
steps for each PortionPro Rx.
● Assign collar tags for each
pet as you set up his or
her PortionPro Rx. Each
assigned tag will only open
the PortionPro Rx it has been
specifically assigned to access.
All pets must wear either an
assigned or unassigned tag to
control their access to each
PortionPro Rx placed in your home.
The button will be green when
an assigned pet comes into range
of the assigned PortionPro Rx, and
will be red when an unassigned
pet is in range.
Congratulations!
Your PortionPro Rx feeding
system is now ready to use!
See the simple tips starting on
page 17 and in the enclosed
Acclimation Guide to help you
and your pets quickly adapt to the
PortionPro Rx.