Do you have a question about the pottery barn kids ELLIOTT LOFT SYSTEM and is the answer not in the manual?
| Weight Capacity | 250 lbs |
|---|---|
| Mattress Included | No |
| Assembly Required | Yes |
| Recommended Age | 6 years and up |
| Mattress Size | Twin or Full |
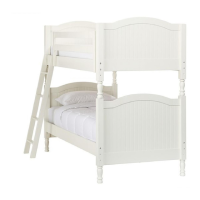
| Guardrails | Yes, included |
| Ladder Included | Yes, included |
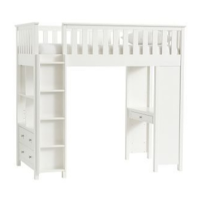
Remove drawers, attach knobs using machine screws and secure runners.
Attach shelves (K) to divider (J) for the shelving unit.
Connect internal panels (I) to the dresser base using bolts and washers.
Attach the prepared internal structure to the dresser unit (A).
Connect the right side panel (B) to the main structure using hardware.
Secure the end boards (F) to the assembled side panel (B).
Connect the ladder side panel (D) to the main assembly.
Install the support leg (L) to the dresser unit (A).
Connect the left side panel (C) to the desk unit (E).
Connect the ladder panel (D) to the left side panel (C) using hardware.
Attach the right side panel (B) to the main structure using hardware.
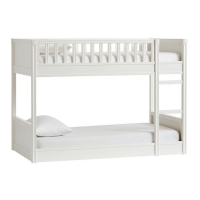
Install the long guardrail (G) and short guardrail (H) to the upper bunk.
Secure brackets (P) using machine screws (X) for alignment.
Install the center support rail (M) to the main structure.
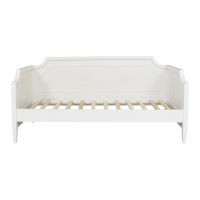
Place the slat roll (N) onto the bed frame and secure it.
Align runners and insert drawers back into the dresser unit.
Adjust under-post levelers to ensure the unit is stable and level.
Dust regularly, blot spills immediately, and avoid harsh cleaners.