01527-01- 03
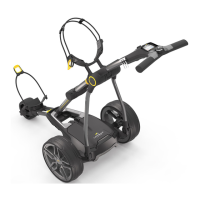
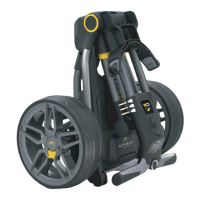
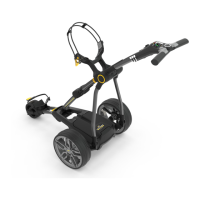
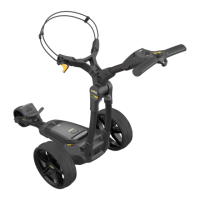
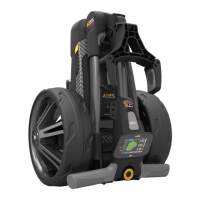
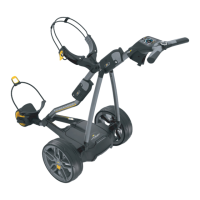
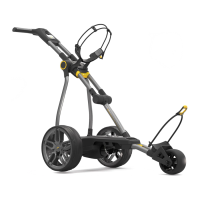
Compact
Range
Owner’s Manual
All PowaKaddy electric trolleys
have been awarded the Quiet Mark
by the Noise Abatement Society
Battery Care
Lithium Battery 18 Hole/36 Hole
Lithium Isolation Switch (1)= on (0)= off
0 1
PLUG’ n ’ PLAY
TM
Your C2i trolley features an innovative Plug’n’Play™ battery system. To
maximise your battery life please take time to read the following battery
care and charging instructions.
Batteries available are as follows:
Lithium 18 Hole Lithium Extended 36 Hole*
*In normal conditions the Extended batteries will do 36 holes when used
on a PowaKaddy trolley. Conditions such as long or exceptionally hilly
courses, wet ground conditions and excessively heavy golf bags may
reduce the range of the battery.
6
More game-changing technology at www.powakaddy.com
Tools Required:
Pozi PZ2
Screwdriver
The accessory bracket for your Compact C2 is supplied with your
trolley in the box. Attach bracket to upper tubes as shown below.
Orientate the bracket to follow
the curvature of the handle.
7
Accessory Bracket Fitting Instructions
.
Should you experience a problem with your PowaKaddy product please go to www.powakaddy.com/support
S/N: A
Your PowaKaddy trolley is simple to maintain.
Never jet wash your trolley or immerse into water. Occasionally remove the wheels and apply grease to the axle and moving parts.
Your serial number can be found on the underside of the main body chassis. Keep a note of the serial number for reference in the
box provided above.
Maintenance
C 2
I
Important Safety Information about Batteries & Chargers
Never submerge the battery in water.
Never leave the battery in the trolley when cleaning the frame.
If you suspect your lithium battery has water inside do not use or attempt to recharge.
Never use the charger or battery if the leads, contacts or casings are damaged.
Dropping the battery may damage the cells or circuit components inside
A LITHIUM BATTERY THAT HAS BEEN SUBMERGED IN WATER OR SUSTAINED DAMAGE IS A FIRE HAZARD. DO NOT USE
THE BATTERY. Place outdoors in a non-combustible container well away from flammable materials. DO NOT RECHARGE THE
BATTERY. If you consult a Service Agent, you must explain what has happened. We recommend disposing safely at your local
recycling centre.
Avoid charging your Lithium battery in temperatures below 0 ˚C or exposing the battery to temperatures below -5 ˚C or above 40 ˚C.
Always place the charger on a hard, flat heat resistant surface. Do not wrap or cover as the charger generates heat during use.
Never expose the charger to rain, moisture or damp. If you suspect any of these have occurred then do not use the charger.
Only charge your battery using the compatible PowaKaddy charger provided with your battery.
Never discharge your battery other than in normal use on the trolley.
Always check with your airline before attempting to transport batteries by air.
and switching on.
Only charge your Plug’n’Play Lithium battery with the isolation switch in the ON (1) position.
The charger has 2 indicator lights to represent the status of the battery during the charging process. When connecting a
discharged battery, the red light will illuminate to indicate the bulk charge state. When the bulk charging process is complete, the
green light will illuminate. The battery should be removed from the charger after the green light is active.
Never leave the charger connected to the battery with the mains supply switched off.
We recommend you recharge your battery within 24 hours of use, no matter how many holes played.
This may take up to 7 Hours for a Lithium battery depending on the capacity of the battery and depth of discharge when charging.
Never leave your battery in a discharged condition for prolonged periods, this will reduce the life of the battery and your charger
may be unable to recharge it.
If the battery is not to be used for a period of 3 months or more, then it is ok to remove from charge. Always fully recharge the
battery until the green indicator light is shown before removing from the charger. Our advice is to store in a cool, dry place.
Thereafter recharge the battery once a month.
Ensure your Lithium battery isolation switch is in the OFF (0) position during transportation.
Please refer to the product labels on your battery and charger for more information.
At the end of the battery’s life, dispose at your local recycling centre.