C-MONSTER
Wireless Controller Battery
Replacement Instructions
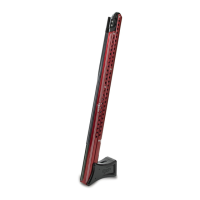
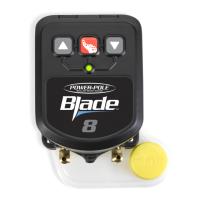
Advanced Dash Switch
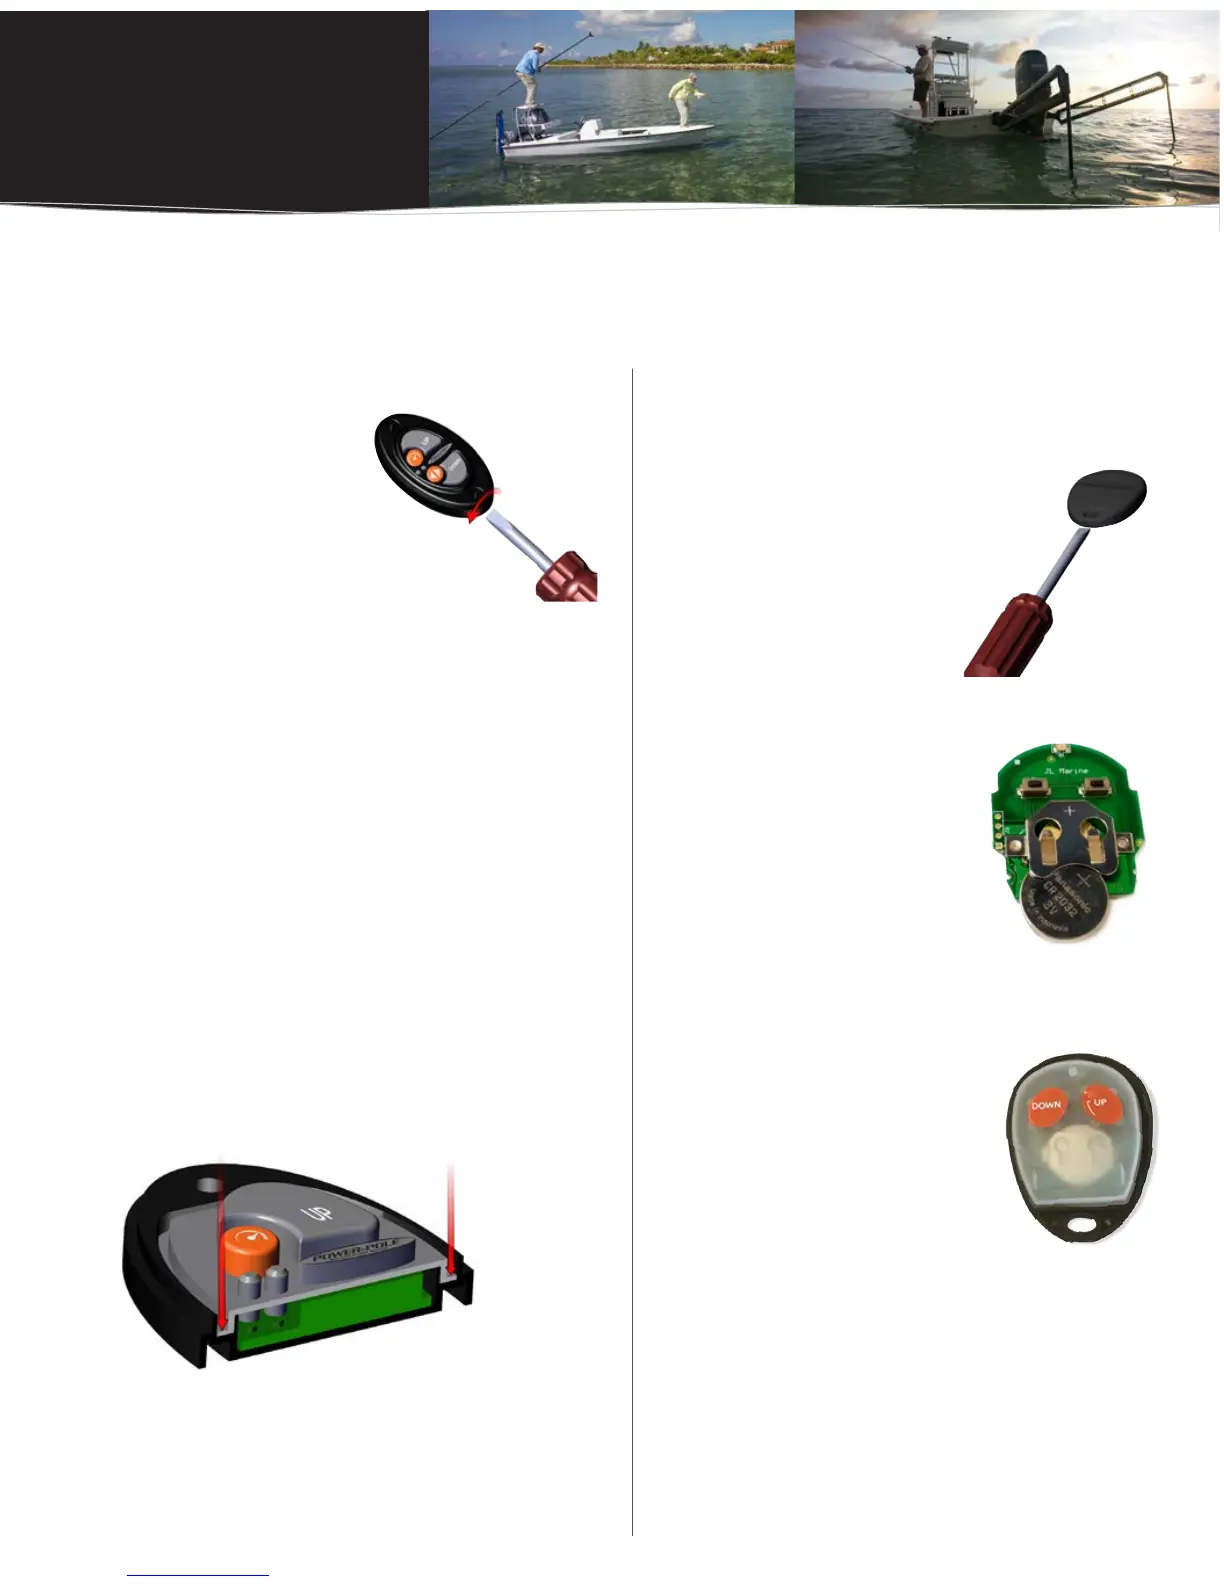
STEP 1
Remove the (2) #8 x 3/4”
flat head screws from
the top of dash switch.
STEP 2
Use a small slotted screwdriver to remove the dash
switch cover plate. FIG. 1
STEP 3
Remove the rubber switch membrane and the board
from the dash switch base.
STEP 4
Remove the battery from the holder on the back of
the board and replace with any CR2032 3V Lithium
Coin Battery.
STEP 5
Place the board and rubber switch membrane back into
the dash switch base and ensure that the rubber switch
membrane is seated properly prior to installing the cover
plate. FIG. 2
IMPORTANT:
Ensure the switch and the surrounding area is as dry as possible to avoid any moisture intrusion
before changing battery in controller.
Figure 1
Figure 2
Figure 2
Standard Key Fob Remote
STEP 1
Use a small slotted screwdriver to
remove the key fob cover. FIG. 1
STEP 2
Remove the rubber membrane
and the circuit board from
Key Fob base.
STEP 3
Remove the battery from the
holder on the front of circuit
board and replace with any
CR2032 3V Lithium Coin
Battery. FIG. 2
STEP 4
Place the circuit board and
rubber membrane back into
the Key Fob base and ensure
that the rubber membrane is
seated properly prior to installing
the cover. FIG. 3
Figure 1
Figure 3
 Loading...