Shut down
1. Turn off the motor (push switch to the off position).
2. Unplug the unit from the power source.
3. Turn off the water supply.
4. Press the trigger of the gun to depressurize the system.
5. Disconnect the garden hose from the pressure washer.
6. Wipe all surfaces of the unit with a damp clean cloth.
7. Engage the gun safety lock.
CAUTION: ALWAYS turn off the unit’s motor BEFORE turning off the unit’s water supply.
Serious damage could occur to the motor if the unit is run without water.
CAUTION: NEVER disconnect the high-pressure discharge hose from the machine while the
system is still pressurized. To depressurize the unit, turn off the motor, turn off the water supply
and squeeze the trigger 2-3 times.
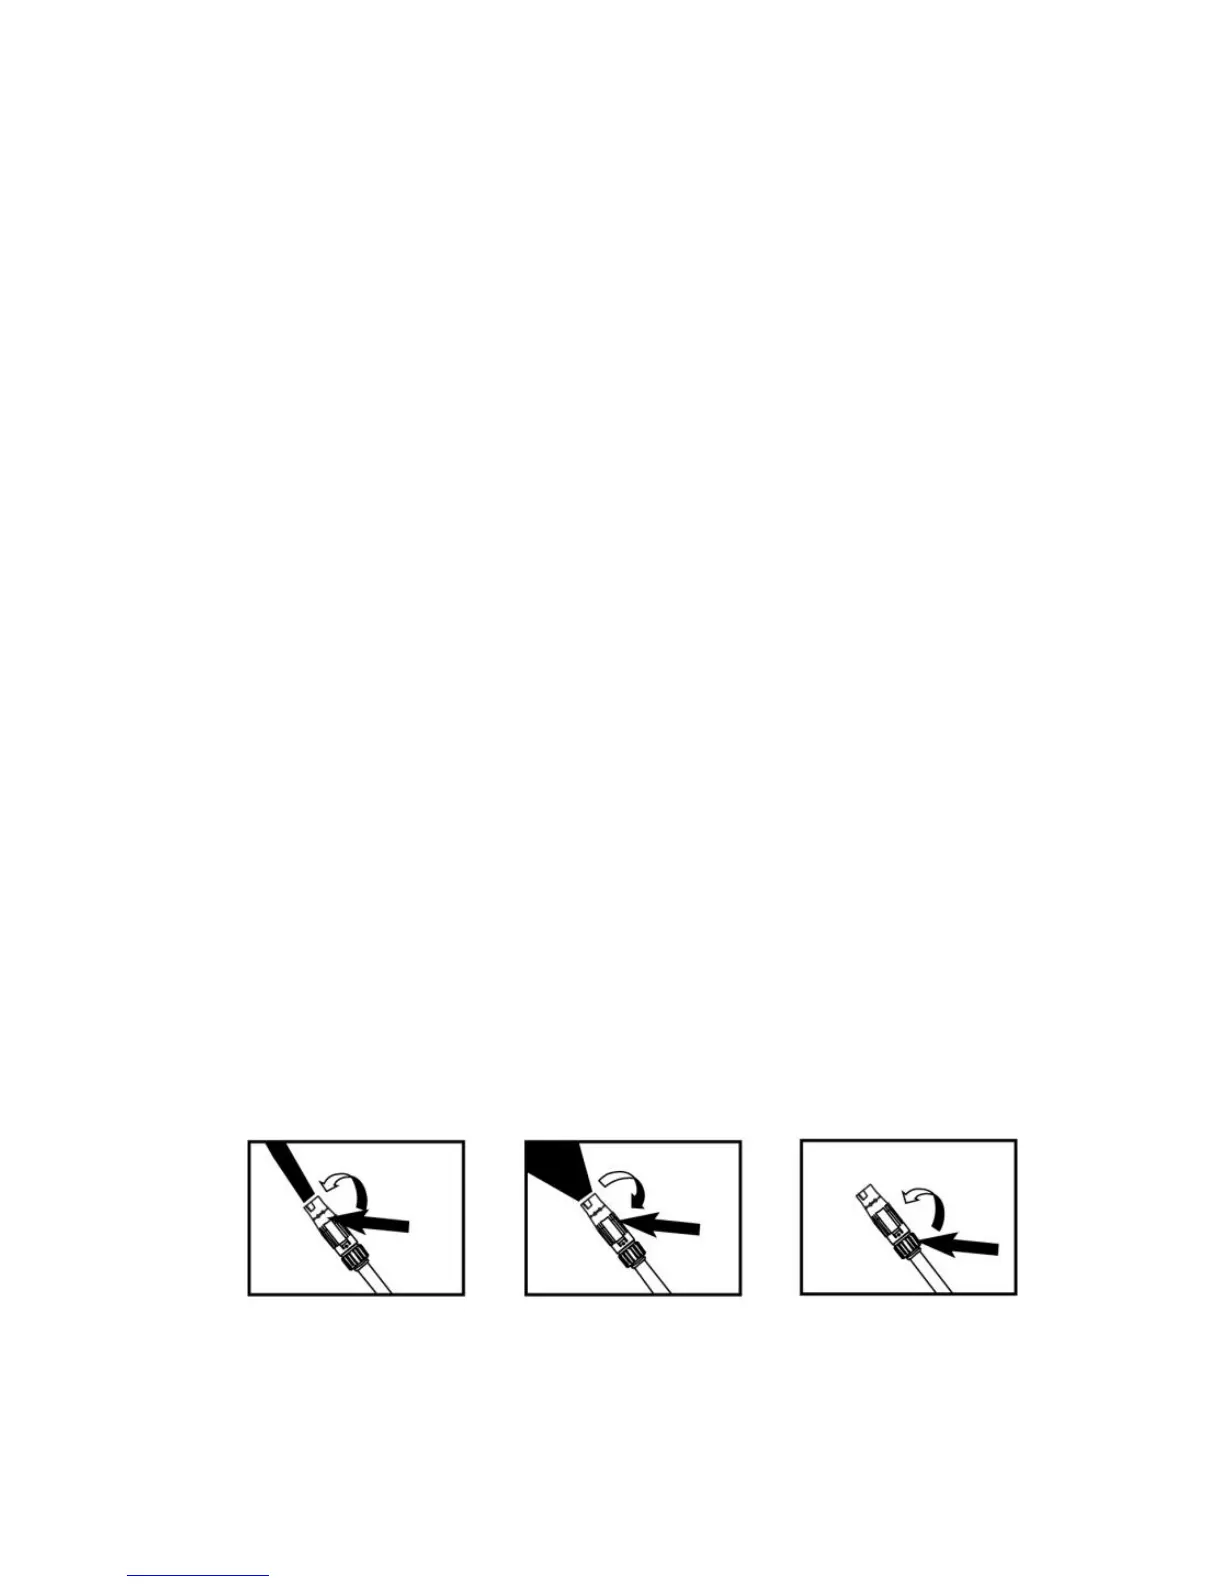
ADJUSTABLE SPRAY NOZZLE
Turn off the spray lance first, hold the rear part of spray nozzle, then turn the front part of spray
nozzle clockwise, Water may be sprayed out from the spray nozzle in fan shapes (fig 2); Turn the
front part of spray nozzle counterclockwise, Water may be sprayed out from the spray nozzle
linearly (fig 1).
CAUTION: Water should be sprayed out from the spray nozzle in fan shapes (fig 2), when
cleaning the car or other vehicle.
Low/High Pressure Adjustable Lance
Using High Pressure:
Please make sure the trigger released and there is not any water spraying, then turn the rear part of
spray nozzle counterclockwise (fig 4). Squeeze the trigger, the gun will spray water with high
pressure.
Using low pressure:
Please make sure the trigger released and there is not any water spraying, then turn the rear part of
spray nozzle clockwise ( fig 3). Squeeze the trigger, the gun will spray water with low pressure.
CAUTION: Selection of high or low pressure by turning action. The selection of the pressure must
be carried out with the gun in closed position.
Fig 1 Fig 2 Fig 3