POWER BOX 40/24
- 2 -
The first time you use the backer you must start by initialising the unit.
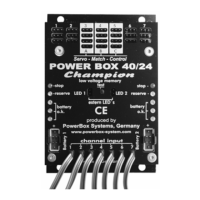
• Connect both receiving system batteries to the backer with correct polarity.
• Connect all the servos to the PowerBox Champion in the appropriate se-
quence.
• Switch on the transmitter and recei ving system.
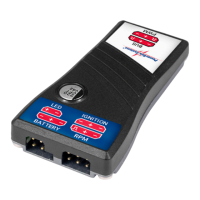
• Connect the Adjustor Board to the PowerBox Champion.
• Make sure you understand how the controls of the Adjustor Board are used.
The upper rotary knob is the channel select switch.
The lower rotary knob is the servo select switch.
Servo travels are adjusted using the two press-buttons + and -.
The red LEDs indicate that you have not yet stored the last process.
The yellow LEDs indicate that you have adjusted the servo centre setting.
Now to initia lise the Pow erBox Champion:
1. Move the channel select switch to “A”.
2. Move the se rvo select switch to “re se t”.
Start with the channel of your transmitter which is used to control socket bank “A”
on the backer, and check that the trim is at centre!
3. Leave this stick at “ne utral” and press the + button. The first red LED will glow,
together with the yellow LED associated with this channel.
4. Move the stick to the right-hand end-point and press the + button.
5. Move the stick to the left-hand end-point and press the + button. The provi-
sional result: the yellow LED goes out.
6. Move the servo select switch to the “sa ve ” position, and press the + button.
The red LED goes out. This completes the initialisation of channel “A”.
This channel of the backer is now set up correctly to match the values of your radio
control system.
Repeat the whole process with the channels for socket banks “B” and “C”.
 Loading...