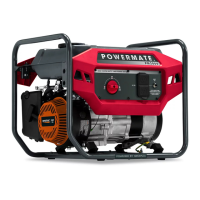
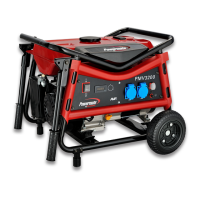
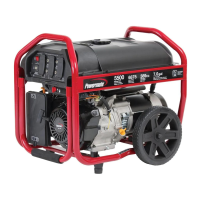
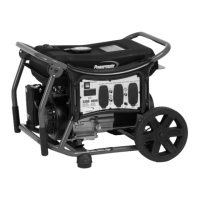
10 Owner’s Manual for Portable Generator
3. Call Powermate Customer Service at 1-
800-445-1805 with the unit model and
serial number for any missing carton con-
tents.
4. Record model, serial number, and date of
purchase on front cover of this manual.
Assembly
Call Powermate Customer Service at 1-800-
445-1805 for any assembly issues or con-
cerns. Please have model and serial number
available.
The following tools are required to install the
accessory kit.
• 8mm Wrench
• 10mm Wrench
• 13mm Wrench
NOTE: The wheels are not intended for over-
the-road use.
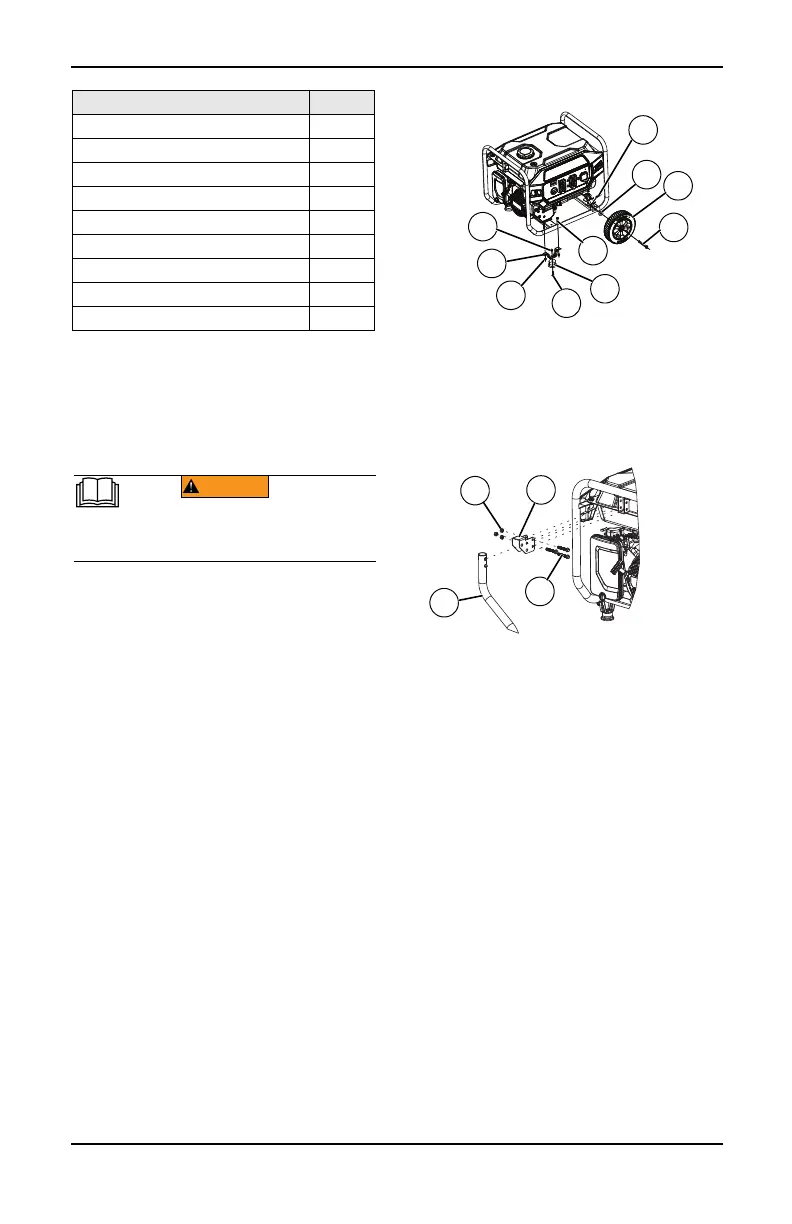
See Figure 2-12.
Install wheels as follows:
1. Slide axle pin (E) through the wheel (B),
wheel bracket on frame, and 10mm flat
washer (G).
2. Insert cotter pin (F) through axle pin (E).
Bend tabs (of cotter pins) outward to lock
into place.
Install frame foot and rubber bumpers as fol-
lows:
1. Slide short bolts (K) through rubber
bumper (D), then through frame foot (C) (if
not assembled).
2. Slide long bolts (J) through holes in frame
rail.
3. Slide frame foot (C) onto long bolts (J).
Install locking flange nuts (H).
.
Figure 2-12. Wheel & Foot Assembly
See Figure 2-13.
Install handle as follows:
1. Slide long bolts (L) through handle bush-
ing (N) and handle (A). Install hex nuts
(M).
Figure 2-13. Handle Assembly
Battery Cable Connection
(electric start only)
The unit has been shipped with the battery
cables disconnected.
1. Cut off cable ties securing battery cables
and remove red cover from battery termi-
nal.
2. See Figure 2-14 (A). First, connect the red
cable to the positive (+) battery terminal
with the bolt and nut supplied.
3. Make sure connections are secure and
slide rubber boot over the positive (+) bat-
tery terminal and connection hardware.
4. See Figure 2-14 (B). Connect the black
cable to the negative (-) battery terminal
with the bolt and nut supplied. Slide rubber
boot over the negative (-) battery terminal
and connection hardware.
Hardware Bag Qty.
Rubber Feet (D) 2
10mm Axle Pin (E) 2
Cotter Pin (F) 2
10mm ID Flat Washer (G) 2
Hex Flanged M6 Nut (H) 6
M6 Bolt (Long) (J) 4
M6 Bolt (Short) (K) 2
M8 Bolt (L) 3
M8 Nut (M) 3
(000100a)
WARNING
Consult Manual. Read and understand manual
completely before using product. Failure to
completely understand manual and product
could result in death or serious injury.
 Loading...