Do you have a question about the Powermatic 100 and is the answer not in the manual?
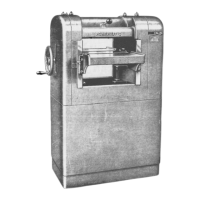
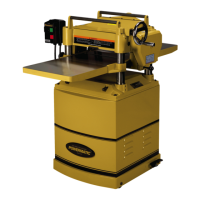
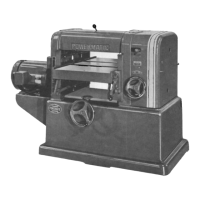
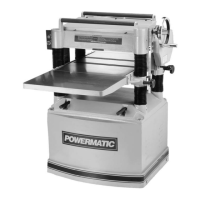
Describes the main construction of the planer's frame.
Details the planer bed's features, size, and adjustments.
Information on the three-knife safety type cutterhead, diameter, and bearings.
Explains the construction and fit of the chip breaker to the cutterhead.
Details the corrugated infeed and smooth outfeed rollers, and their drive.
Specifies the feed rate of the planer.
Describes the location and function of the power feed shift lever.
Mentions the presence and function of removable guards for safety.
Lists the maximum dimensions for planing material.
Specifies the HP requirements for different work types.
Instructions for uncrating and inspecting the machine for shipping damage.
Guidance on securely mounting the machine to a solid foundation.
Recommendation for an exhaust system for efficient operation.
Importance of periodic inspection for proper adjustment and connections.
Steps to check before powering on, including motor connections and rotation.
How to adjust the planer bed for rigidity and levelness with the cutterhead.
Setting the height of idler rollers relative to the bed for material planing.
Adjusting pressure and height of feed rollers for proper material feeding.
Setting the chipbreaker height relative to the cutterhead knives.
Adjusting the holddown bar position relative to the cutterhead knife.
Instructions for adjusting feed belt tension and checking slippage.
Recommended lubrication points and intervals for rollers and bearings.
How to set the thickness gauge indicator after changing knives.
Procedures for adjusting and installing cutterhead knives for balance and levelness.
Importance of sharp, matched, and balanced knives for performance.
Common causes and solutions for snipe at the start of a board.
Causes and fixes for snipe appearing at the end of planed lumber.
Troubleshooting tips for when knives cause tearing or ripping of wood.
Reasons why knives might lift or raise the wood grain during planing.
Identifying causes for chip marks left on the planed surface.
Diagnosing issues causing panels to be tapered across their width.
Solutions for achieving a smooth, non-pounded finish on the lumber.
Causes and remedies for a washboard-like surface finish on lumber.
Troubleshooting marks caused by cutterhead rotation issues.
Identifying lines perpendicular to knife marks, often due to knife issues.
Reasons why lumber might twist while passing through the planer.
Diagnosing problems causing lumber to stick or move unevenly.
Causes of excessive noise, vibration, or pounding during operation.
Troubleshooting reasons for motor overload or shutdown during use.
| Number of Knives | 2 |
|---|---|
| Maximum Planing Thickness | 6 inches |
| Type | Planer |
| Maximum Planing Width | 12.5 inches |
| Maximum Cutting Depth | 1/8 inch |