EasyManua.ls Logo

Powermatic WB-37 - User Manual

Powermatic WB-37
68 pages
Print Icon
To Next Page IconTo Next Page
Loading...
Operating Instructions and Parts Manual
Wide Belt Sanders
Models WB-25, WB-37, WB-43
model WB-37 shown
WMH TOOL GROUP
2420 Vantage Drive
Elgin, Illinois 60123 Part No. M-1790825
Ph.: 800-274-6848 Revision B 7/06
www.wmhtoolgroup.com Copyright © WMH Tool Group
This Manual is Bookmarked

Table of Contents

Questions and Answers

  • M
    marcia90Aug 19, 2025
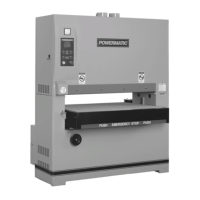
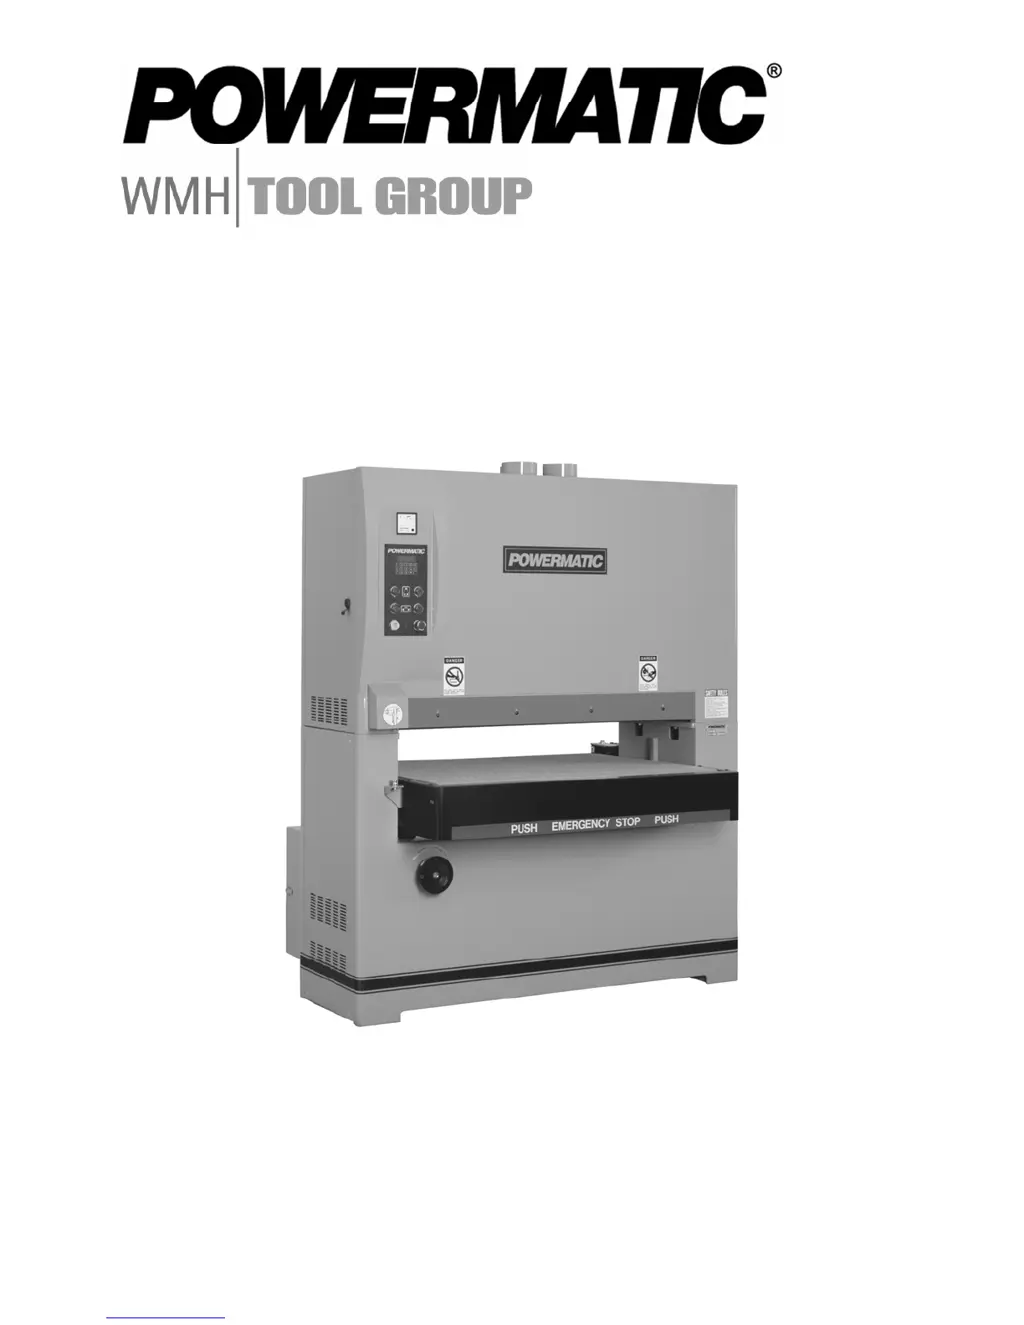
    What to do if sanding belt will not run, or slips on the rollers of Powermatic WB-37?
    • E
      Eric CobbAug 19, 2025
      If the sanding belt on your Powermatic Sander isn't running or is slipping, consider these potential causes: * The air valve switch is off. Turn on the air valve. * The emergency stop button is engaged. Disengage the stop button. * Limit switches are activated. Reposition the sanding belt between the limit switches. * Insufficient air pressure. Ensure the air pressure regulator is set between 75 to 80 PSI. * Dust or debris on conveyor rollers. Clean the conveyor rollers.
  • C
    Carrie DavisAug 21, 2025
    What to do if sanding belt clogs too quickly on Powermatic WB-37 Sander?
    • J
      Jennifer EdwardsAug 21, 2025
      If your sanding belt is clogging too quickly, the reasons may be the following: * The grit of the sanding belt is too fine. You should choose a larger grit of sanding paper. * Too much material is being sanded off. Reduce the amount of material being removed. * The wood is too oily. Choose different stock. * There's too much dirt or glue on the wood. Opt for cleaner stock. * The wood is too moist. Allow the wood to dry completely before sanding.
  • W
    Wendy WilliamsAug 23, 2025
    Why Powermatic WB-37 Sander will not start?
    • T
      Tyler JohnsonAug 23, 2025
      There are several reasons why your Powermatic Sander might not be starting. It could be due to: * No incoming power. Ensure the sander is properly connected to a power source and that fuses are intact and circuit breakers haven't tripped. * Low voltage. Verify the voltage at the power source. * Loose wiring. Check for and fix any loose connections on the sander. * A defective starting switch. If this is the case, the switch will need to be replaced. * A defective motor. In this case, the motor will need replacement.
  • T
    Tara SellersAug 26, 2025
    Why Powermatic WB-37 machine takes too long to stop after emergency switch is activated?
    • M
      Marc BakerAug 26, 2025
      If your Powermatic sander takes too long to stop after the emergency switch is activated, it could be due to: * Air pressure being too low. Set the air pressure to 75 to 80 PSI. * Worn brake pads. Replace the brake pads.
  • N
    Nicholas CollinsAug 28, 2025
    What causes grinding noise when brake is activated on Powermatic Sander?
    • S
      stantonashleyAug 28, 2025
      A grinding noise when the brake is activated on your Powermatic Sander is likely due to worn brake pads. Replacing the brake pads should resolve this issue; the rotor may also need turning.
  • M
    Michelle MorenoAug 30, 2025
    What causes uneven thickness between the front and rear ends of the workpiece sanded by Powermatic WB-37?
    • M
      Mr. David Brown IVAug 30, 2025
      Uneven thickness between the front and rear ends of the workpiece may be caused by: * Feed rate being too high. Reduce the feed rate. * Too much stock removal. Reduce the amount of material being removed. * Grit of sanding belt being too fine. Use a larger grit sanding belt. * Unequal position of pressure bars. Adjust pressure bars to produce equal pressure on stock. * Table not parallel front to back. Adjust the table until it is parallel front to back.
  • S
    serranoreneeSep 1, 2025
    Why too much rounding occurs along edges when solid wood is sanded with Powermatic WB-37 Sander?
    • L
      Larry DavisSep 1, 2025
      Too much rounding along the edges when sanding solid wood typically occurs because too much material is being removed, causing the contact drum to press too tightly. Reduce the amount of material being removed to prevent this.
  • L
    Leonard SmithSep 3, 2025
    What causes glossy spots on the wood sanded by Powermatic Sander?
    • J
      Jeff PinedaSep 3, 2025
      Glossy spots on the wood after sanding can be caused by: * A sanding belt that is too old. Replace it with a new sanding belt. * The rear pressure bar being too low. Raise the rear pressure bar.
  • T
    Taylor HoweSep 6, 2025
    What causes uneven thickness between the left and right sides of the workpiece sanded by Powermatic Sander?
    • K
      Kendra MitchellSep 6, 2025
      Uneven thickness between the left and right sides of the workpiece can be due to: * The table not positioned correctly in relation to the contact drum. Adjust the table until it is parallel from left to right. * The front pressure bar not in the correct position in relation to the contact drum. Adjust the front pressure bar to be parallel. * Worn graphite strip and felt pad. Replace the graphite strip and felt pad. * A worn conveyor belt. Replace the conveyor belt.
  • S
    Suzanne WilliamsonSep 8, 2025
    What causes "snake" marks on workpiece sanded with Powermatic Sander?
    • S
      Stephen RoseSep 8, 2025
      Snake marks on the workpiece are caused by local damage to the sanding belt. Replace the sanding belt to resolve this issue.

Summary

Warranty and Service

Warranty Information

Covers scope, period, and coverage details for the sander's warranty.

Service, Limitations, and Legal Rights

Procedure for repairs, returns, warranty exclusions, and legal aspects.

Safety Warnings

General and Operational Safety

Personal safety, workshop environment, and machine operation rules.

Safety Notice Definitions

Explanation of CAUTION and WARNING symbols used in the manual.

Introduction, Specifications, and Setup

Introduction and Specifications

Manual overview, purpose, and technical details of the sander models.

Unpacking and Assembly

Steps for unboxing, checking contents, and initial machine assembly.

Sanding Belt and Electrical Setup

Installing Sanding Belt and Grounding

Guide for belt installation, tensioning, and safe electrical grounding.

Electrical Connections and Voltage

Wiring for 230V/460V operation and extension cord usage guidelines.

Machine Adjustments

Belt Tracking, Oscillation, and Platen

Adjusting belt movement, oscillation, and platen position for optimal finish.

Belt Tension and Alignment

Adjusting V-belts, conveyor belts, and table parallelism for proper function.

Operational Settings and Controls

Feed Rate and Pressure Bar Adjustment

Setting material feed speed and adjusting pressure bars for workpiece contact.

Control Panel Overview

Description of buttons, meters, LED controller, and keypad functions.

Calibration and Operation

Setting thickness, performing sanding operations, and understanding the braking system.

Maintenance and Troubleshooting

Regular Maintenance Procedures

Guidelines for cleaning, lubrication, and fluid checks.

Troubleshooting the Sander

Diagnosing and resolving common machine issues for proper operation.

Parts Lists Overview

Base, Upper Cabinet, and Electrical Parts

Components for the main chassis, housing, and control box assemblies.

Other Assembly Parts

Components for table raising, pressure bars, platens, air regulators, belts, and accessories.

Electrical Connections Diagrams

Connections for WB-25;WB-37

Wiring diagrams for the WB-25 and WB-37 models.

Connections for WB-43

Wiring diagram for the WB-43 model.

Powermatic WB-37 Specifications

General IconGeneral
BrandPowermatic
ModelWB-37
CategorySander
LanguageEnglish

Related product manuals