POWX1710 EN
Copyright © 2022 VARO P a g e | 6 www.varo.com
▪ Disconnect the USB cable (9).
7.2 Connecting the air pump (Fig. A)
▪ Make sure the battery is sufficiently charged.
▪ Make sure the air hose (1) is screwed securely in to the top left side connector of the
pump. This is the largest of the two connectors (see figure A).
▪ The small air hose connector (2) should be screwed in to right hand side of the pump for
storage and transport. Unscrew the air hose connector (2) for operation.
▪ Look for the correct type of adapter according to your application. (consult Fig. A and
chapter 2 “DESCRIPTION”, the adapter types and applications are listed 10 to 13)
▪ NOTE : the air hose connector (2) can be used for cars, motorcycles and some bicycles
directly without the use of an adapter.
▪ Turn on the pump with the power switch (3). The display (4) will light up.
▪ Screw or insert the air hose connector (2) to the nipple of your application.
7.3 Setting up and starting the pump (Fig. A & B)
▪ Hold the “M” key (8) for 3 seconds, repeat until the desired measuring unit :
▪ Bar - KPA - PSI - Kg/cm² is set as shown on the display.
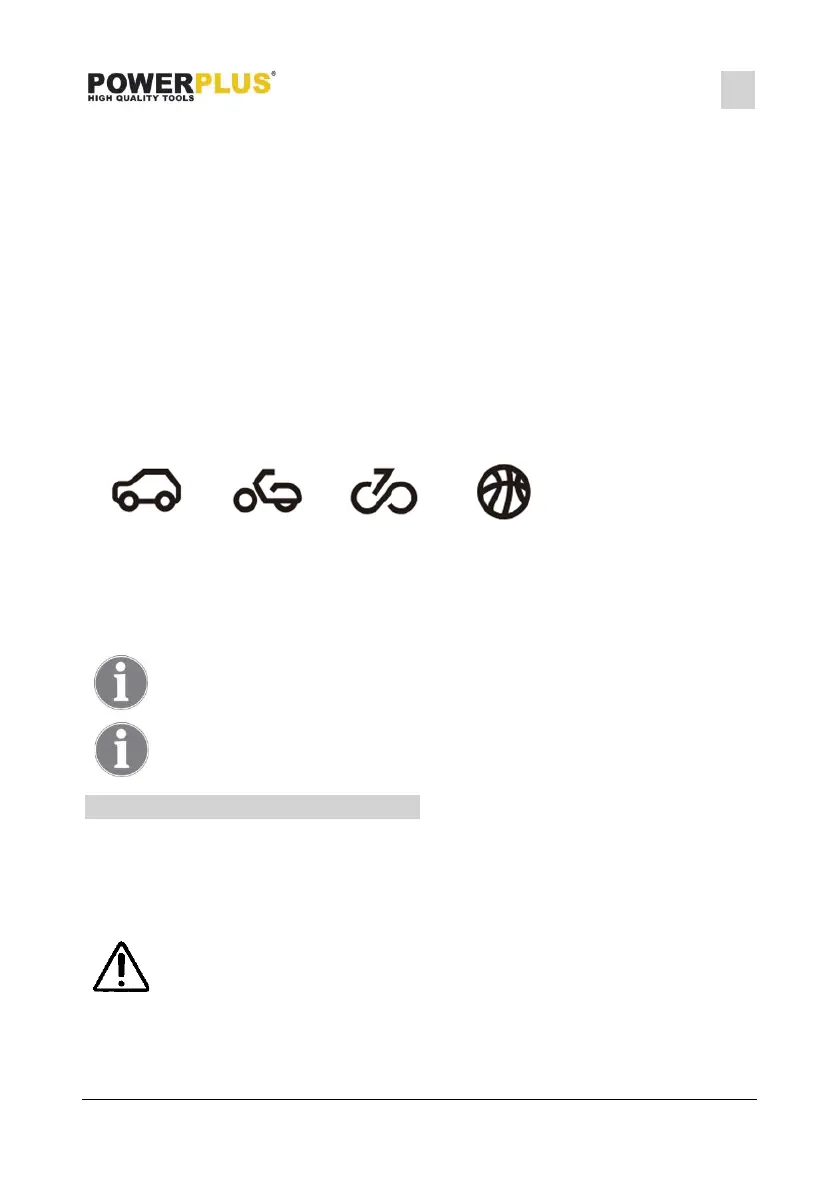
▪ It is possible to choose from 4 preset pressure values : car – motorcycle – bicycle – ball.
Press the preset key (9) until the corresponding logo is shown on the display :
▪ Alternatively you can set or adjust the required pressure for your application by pressing
the “+” (5) and “-“ (6) keys.
▪ Press the “M” key (8) to start inflation.
▪ The pump will stop automatically at the set pressure, you can also stop manually by
pressing “M” key (8).
▪ Turn off the pump with the power switch (3).
NOTE: When inflating items of 10 PSI or less, inflate in short bursts and
check after each burst by feel or with a calibrated measuring device to
determine accurate pressure.
NOTE: Pressure required for most sports balls is too low for accurate
reading on tool gauge.
8 CLEANING AND MAINTENANCE
8.1 Cleaning
▪ Keep the ventilation slots of the machine clean to prevent overheating of the engine.
▪ Regularly clean the machine housing with a soft cloth, preferably after each use.
▪ Keep the ventilation slots free from dust and dirt.
▪ If the dirt does not come off use a soft cloth moistened with soapy water.
Never use solvents such as petrol, alcohol, ammonia water, etc. These
solvents may damage the plastic parts.
8.2 Maintenance
Our machines have been designed to operate over a long period of time with a minimum of
maintenance. Continuous satisfactory operation depends upon proper machine care and
regular cleaning.