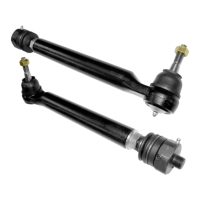
Stage3 Tie Rod Assemblies
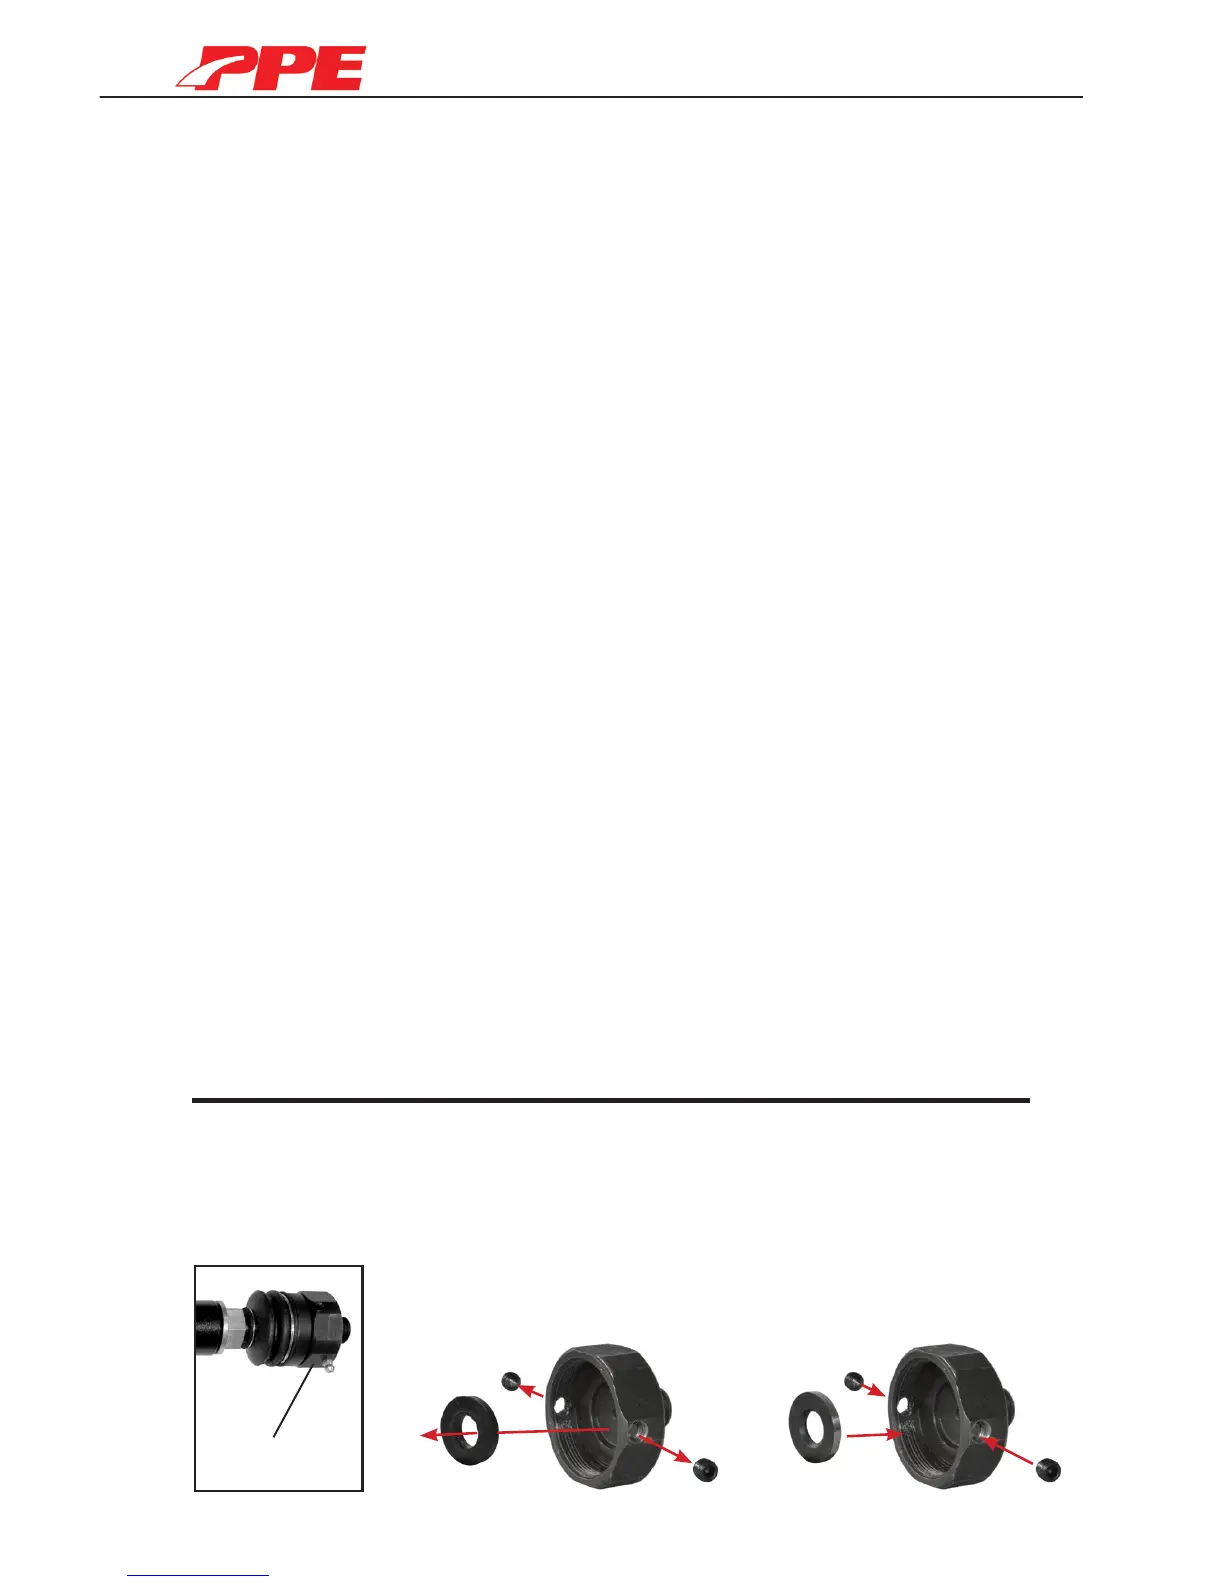
End Cap
Installation:
Upgrade:
Instructions for installation of new PPE Tie Rods
to be performed on each side.
Remove front wheels and engine shield.
Instructions for performance upgrade of PPE Tie Rods
to be performed on each side.
A: Loosen or remove set screws and remove end cap.
B: Install performance shim. Replace and tighten set
screws. Reinstall end cap.
Step 1: Locate installed tie rods.
Step 2: Remove Lock Nut from outer Tie Rod Ball Stud. Use a tie rod fork tool
to remove Tie Rod Ball Stud from tapered hole in Steering Knuckle.
Step 3: Unthread inner Tie Rod End from centerlink.
Step 4: Clean tapered hole and threaded end of center link.
Step 5: Measure length on removed tie rod from inner face to the center of the
grease tting.
Step 6: Using measurement from Step 5, adjust the length of the new PPE Tie
Rod assembly to match the length of the old assembly.
Step 7: Tighten Jam Nut to lock length using a 1 1/8” wrench.
Step 8: Apply “red thread locker” and thread in the inner Tie Rod face to
centerlink. Torque to 74 lb. ft.
Step 9: Insert tapered stud into tapered hole in spindle boss. Attach Lock Nut.
Step 10: Tighten lock nut using a 20 mm wrench. Torque to 48 lb. ft.
NOTE: A 9 mm wrench can be used to secure stud while tightening the Lock Nut.
Step 11: Grease outer Tie Rod end and center link with high-grade lubricant.
Step 12: Perform and conrm proper alignment and clearance. Longer sway bar
end links may be required.
Step 13: To adjust toe, use 5/8” wrench on the inner ats if adjustment is
necessary.
Step 14: Conrm/tighten set screws on Tie Rod inners.
Step 15: Steering wheel and toe adjustment will need to be adjusted to factory
specs with a professional alignment.
A B
 Loading...