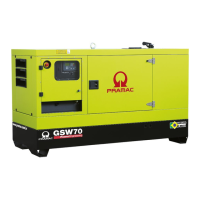
Connections to panel type (B):
(Referring to previous image)
• Remove the two fixing screws (1) and open the
protection panel.
• Pass the cables through the bottom side of the
panel.
• Connect the cable to the specific terminals (4)
following the indications on the wiring diagrams
supplied with the generator.
• Close the protection panel and tighten the two
fixing screws (1).
Connections to panel type (C):
• Remove the two fixing screws (1) and open the
protection panel (2).
• Pass the cables through the bottom side of the
panel, blocking them with the specific clip (3).
• Connect the cables to the specific terminals (4)
following the indications on the wiring diagrams
supplied with the generator.
• Close the protection panel and tighten the two
fixing screws (1).
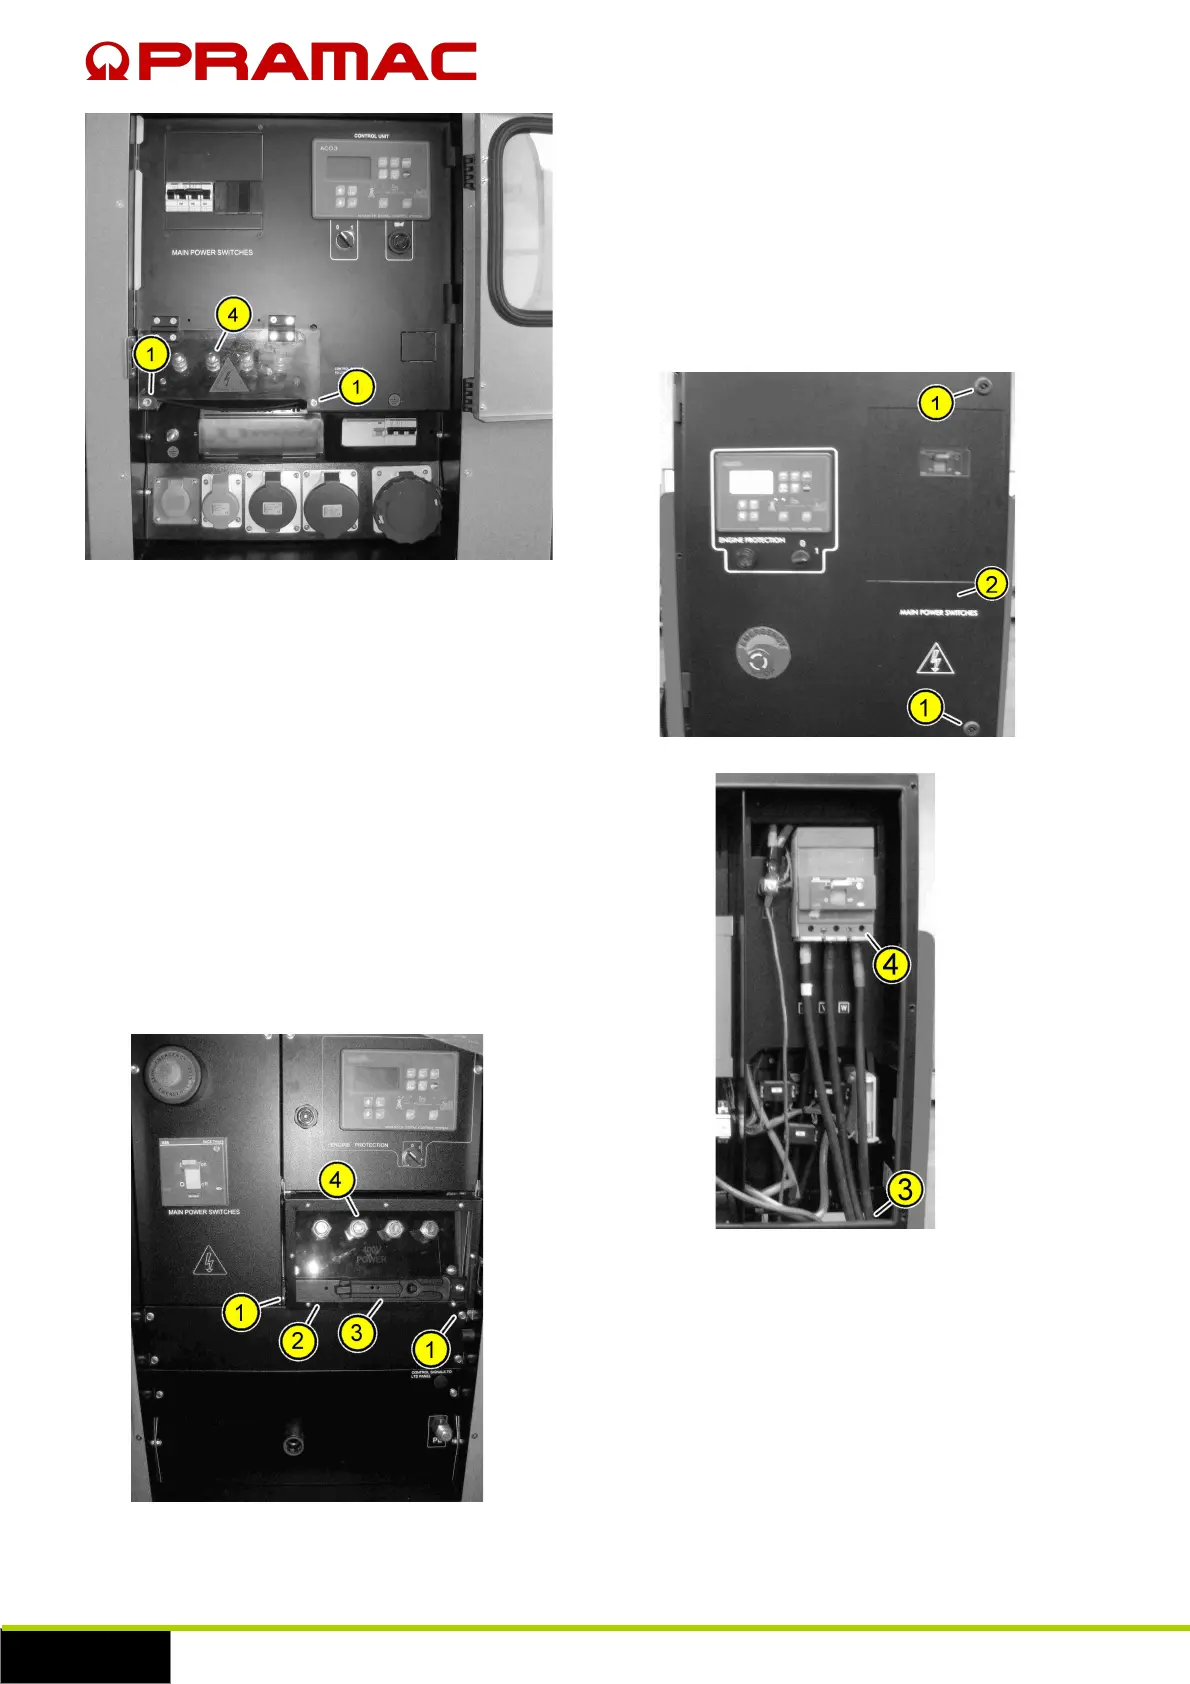
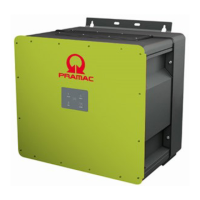
Connections to panel type (D):
• Remove the two fixing screws (1) using the
appropriate spanner and open the protection panel
(2).
• Pass the cables through the bottom side of the
panel through the specific opening positioned
underneath the electric panel (3).
• Connect the cables to the specific terminals (4)
following the indications on the wiring diagrams
supplied with the generator.
• Close the protection panel (2) and tighten the two
fixing screws (1) with the specific spanner.