955205_01 11/11 24
Liquid Run Cal
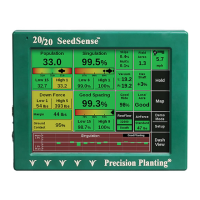
Start by entering the Number of Revs you would
like the pump to spin and enter the Pump
RPM’s that you would like to run the
calibraon with. Number of Revs and Pump
RPM will vary based on the pump and the size
of the container you have to catch the product.
If you do not pump enough product to
measure, you may need to increase these
values. Once you have set those two values,
press the Press to Connue buon (be sure to
have hydraulic pressure to the motor, liquid to
the pump, and some way to capture the
output of the pump to measure). Li and hold
the two Auto-Load Switches unl the
calibraon is complete and you are returned to
the previous screen. Measure the output of the
pump (in ounces) and divide by the Actual
number of pump revoluons listed in the box
at the boom of the screen. This is the number
that should be entered at the top. Press Enter
to complete.
Setup and Operaon (Sidedress)
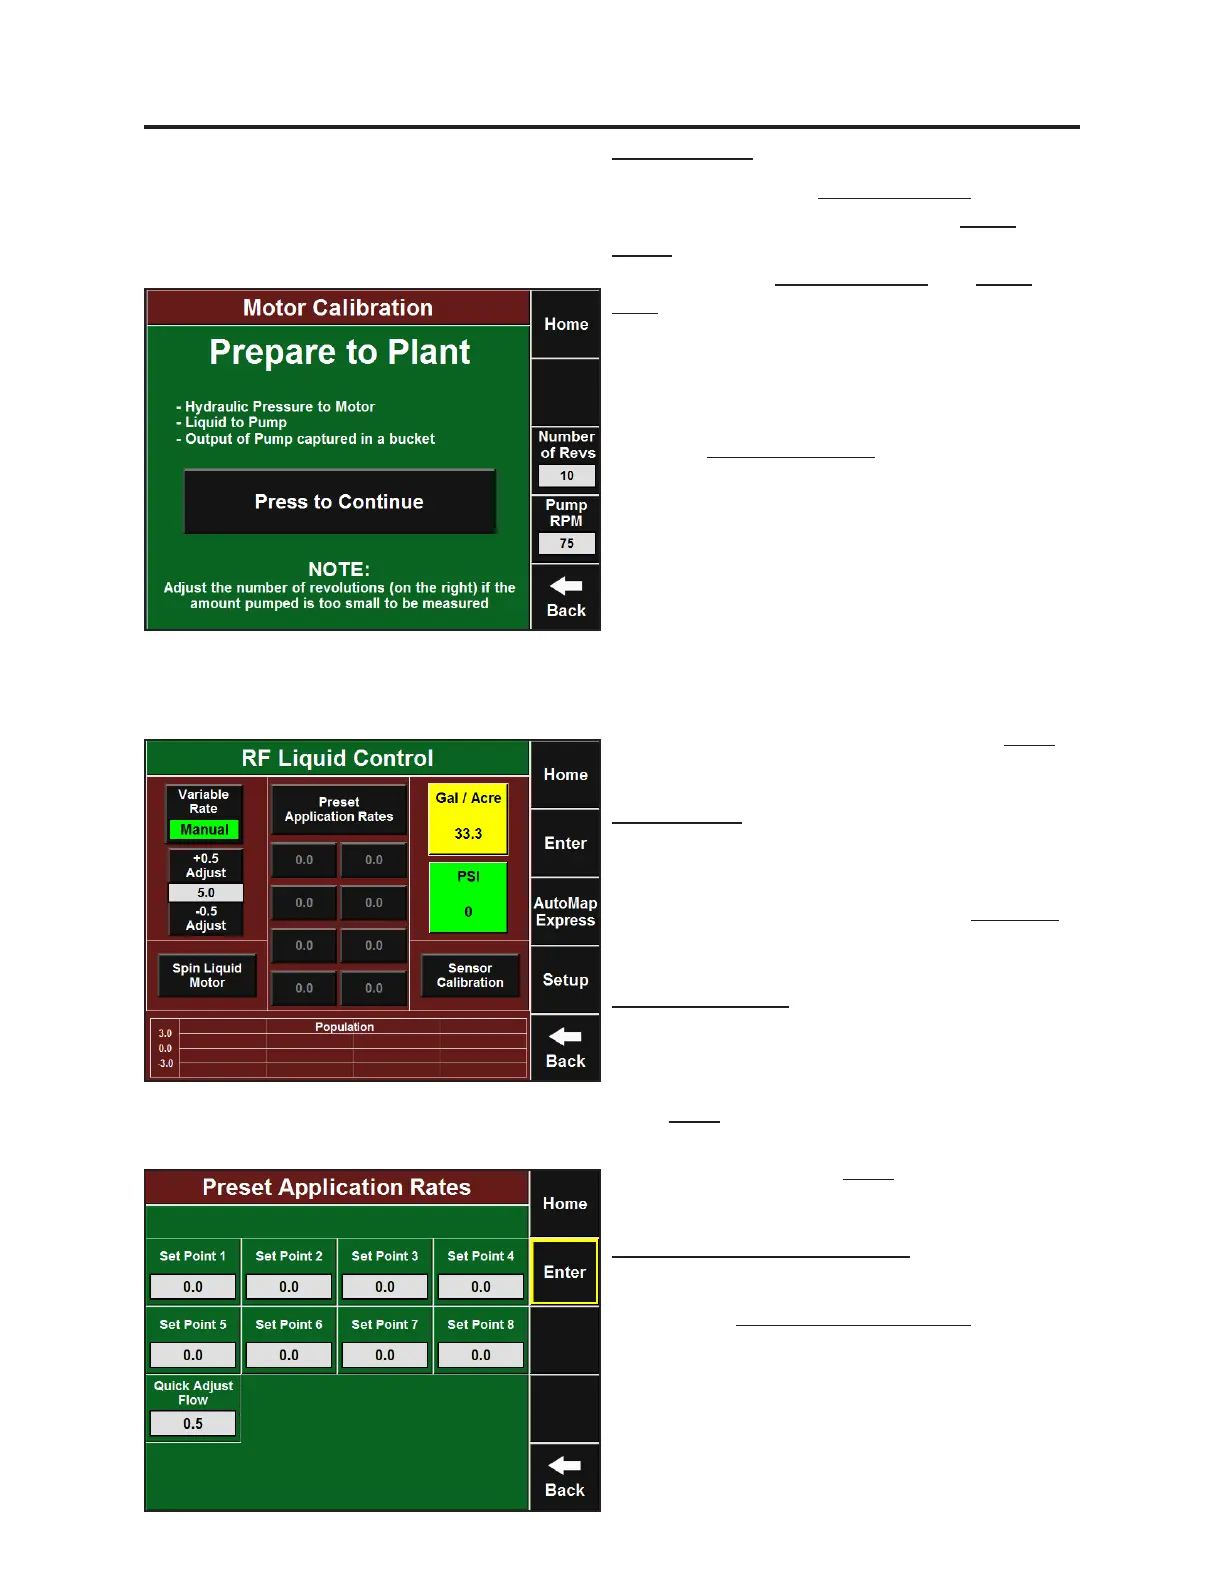
Rate Presets and Quick Adjust
To setup preset rates or change the quick adjust
values press Preset Applicaon Rates. From
this screen you can enter commonly used rates
that you can jump to from the RowFlow Liquid
Control page in the eight Set Point boxes. You
may also set the value for which your manual
rate adjustment increments in the Quick Adjust
Flow box.
Sensor Setup
Navigate to the RowFlow Liquid control page to
setup the Flow Sensor and Pressure Sensor. This
page can be reached by pressing the RF Liquid
buon from the Home screen or by going to
Setup-Systems-RF Liquid (Control). Press
Sensor Calibraon and then enter the ow
calibraon for the Flow Meter installed on your
liquid system. The ow calibraon is stamped
on the metal tag aached to the Flow Meter.
Press Enter and then enter the Pressure
Sensor Range (200 for Precision Planng
Pressure Sensor). Press Enter again to nish the
Sensor Setup.
 Loading...