6
Parts and Support
Please do not return this product to the
store prior to contacting Precision.
At Precision Products, Inc. our goal is to deliver
quality, value and outstanding service. If for any
reason our product does not meet your expecta-
tions, please contact us and we will take care of any
problem you may have with this unit.
When ordering replacement parts please have the
model number, part description, part number, in-
spector number and date on carton, available so
that we can best serve you.
1 (800) 225-5891
www.precisionprodinc.com
Precision Products Inc.
316 Limit St.
Lincoln IL 62656
STOP
Operation
• TO DUMP - Pull Latch toward lawn tractor and
Cart Body will tilt back to dump position.
• TO RETURN TO PULLING POSITION - Push down
on front edge of Cart Body until Latch engages
and secures to Tow Bar.
• Tractor speed should be governed by weight of
load. The heavier the load, the slower the speed
for safe operation.
Maintenance Instructions
• Keeping the cart clean and dry will prolong the
unit’s life.
• Grease Wheels at regular intervals, at least once
every six months, more frequently if used regular-
ly.
• Should rust develop, sand lightly then paint area
with enamel paint.
• Check tire pressure at regular intervals. Proper
inflation will prolong the life of tires (see side of
tire for inflation amount.
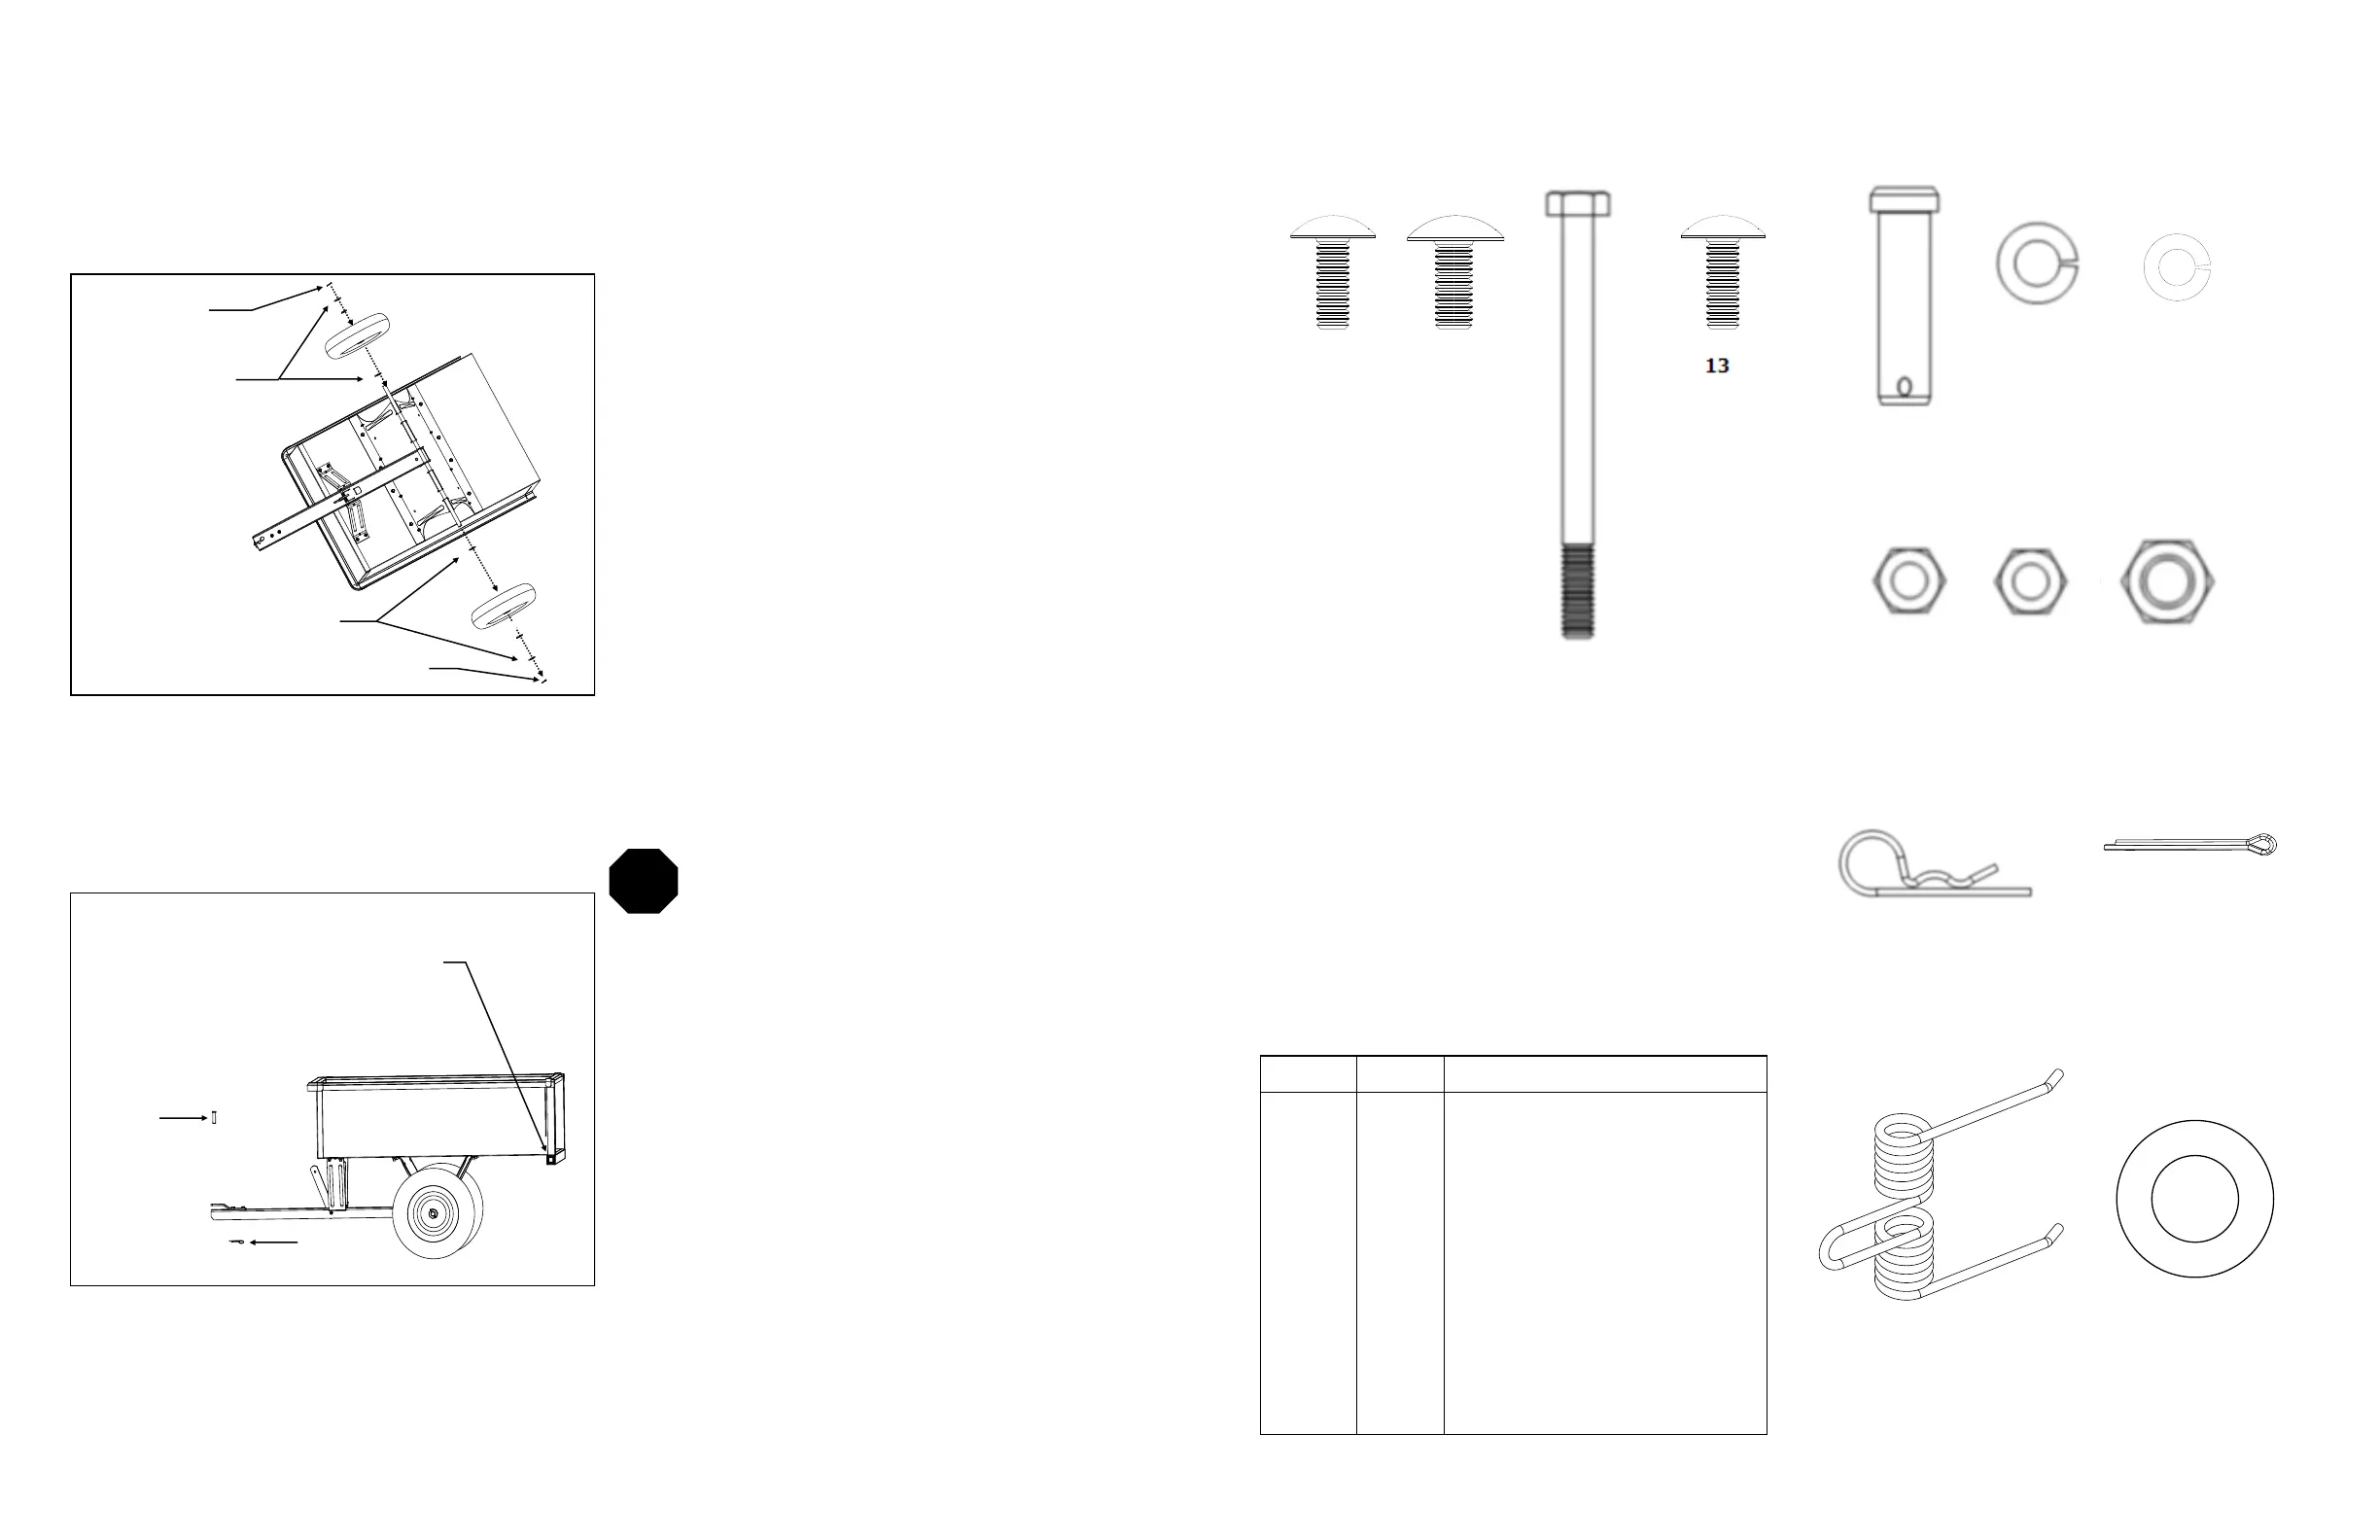
9. Place one 3/4” Flat Washers on each side of Axle
next to Undercarriage. Next place Wheel onto Axle,
add one or two 3/4” Flat Washer on outside of
wheel Secure Wheel in place by inserting Cotter Pin
through hole in the end of Axle and spreading the
legs of the Cotter Pin outward. Repeat the Wheel
attachment step for the other wheel. See Figure 9.
10. Turn Cart to an upright position, then attach
Tow Bar to Hitch of tractor, placing Clevis Pin
through Clevis Plate Hole and securing with Clevis
Pin Clip. Insert 1” x 1” Tube Plug into Tailgate Sup-
port Tube. See Figure 10
11. Turn Cart to an upright position, then attach
Tow Bar to Hitch of tractor, placing Hitch Pin
through Hitch Plate Hole and securing with Hitch Pin
Clip.
Figure 10
Clevis Pin
Clevis Pin
Clip
Figure 9
3/4” Flat
Washer
Cotter Pin
Cotter Pin
3/4” Flat
Washer
1” x 1” Tube Plug
 Loading...