Page 18 For technical questions, please call 1-888-866-5797. ITEM 58169
SAFETY SETUP OPERATION MAINTENANCE
Checking and Filling Fuel
WARNING! TO PREVENT SERIOUS
INJURY FROM FIRE:
Fill the fuel tank in a well-ventilated area
away from ignition sources. If the engine is
hot from use, shut the engine off and wait
for it to cool before adding fuel. Do not smoke.
1. Clean the Fuel Cap and the area around it.
2. Unscrew and remove the Fuel Cap.
Note: Do not use gasoline containing more than
10% ethanol (E10). Do not use E85 ethanol. Add fuel
stabilizer to the gasoline or the Warranty is VOID.
Note: Do not use gasoline that has been stored in a
metal fuel container or a dirty fuel container. It can
cause particles to enter the carburetor, affecting
engine performance and/or causing damage.
IMPORTANT: Your Warranty is VOID if the Engine’s
Fuel Tank is not filled with the proper mixture (50:1) of
stabilizer-treated unleaded gasoline and 2-cycle oil
before each use.
2-Stroke oil must meet either JASO M345 FD or ISO-
L-EGD requirements for air-cooled engines, synthetic.
Before each use, check the fuel level. Do not run the
Engine with an improper unleaded gasoline/2-cycle oil
mixture. Running the Engine with an improper
mixture WILL permanently damage the Engine.
1 GALLON
UNLEADED
GASOLINE
2.6 FLUID OUNCES
2-CYCLE OIL
APPROVED
CONTAINER
Figure B: Fuel-Oil Mixture
3. To obtain the proper gasoline and 2-cycle oil
mixture, mix 2.6 fluid ounces of 2-cycle oil with
1 gallon of stabilizer-treated unleaded gasoline
into an approved container. Then gently agitate the
container to thoroughly mix the gasoline/2-cycle oil.
4. If needed, fill the Fuel Tank to about 1 inch
under the fill neck of the Fuel Tank with the
pre-mixed unleaded gasoline/2-cycle oil mixture.
5. Then replace the Fuel Cap.
6. Wipe up any spilled fuel and allow excess
to evaporate before starting engine.
To prevent FIRE, do not start the engine
while the smell of fuel hangs in the air.
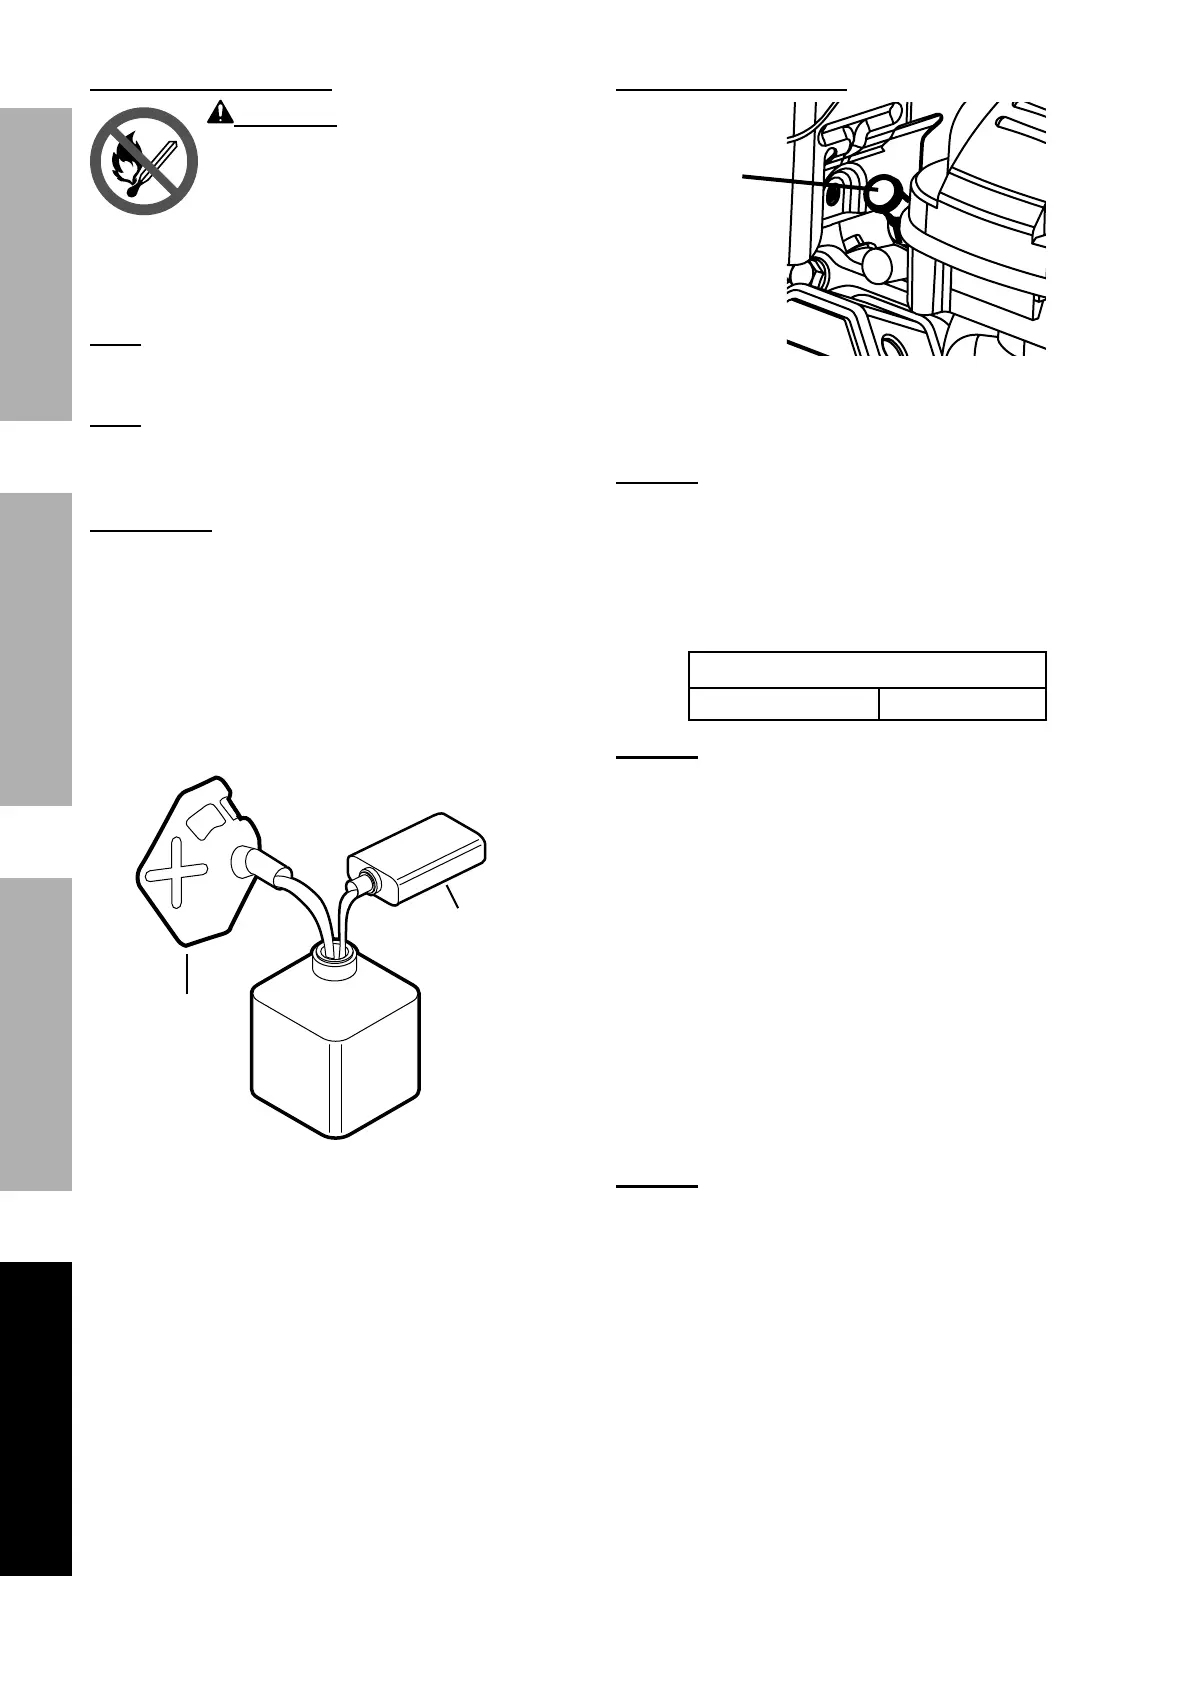
Spark Plug Maintenance
1.
Spark
Plug
Cap
Disconnect spark plug cap from end of plug.
Clean out debris from around spark plug.
2. Using a spark plug wrench, remove the spark plug.
NOTICE: Do not remove spark plug when Engine
is hot or possible damage to threads may occur.
3. Inspect the spark plug:
If the electrode is oily, clean it using a clean, dry rag.
If the electrode has deposits on it, polish it using
emery paper. If the white insulator is cracked or
chipped, the spark plug needs to be replaced.
Recommended Spark Plug
TORCH
®
L8RTC
NOTICE: Using an incorrect spark plug
may damage the engine.
4. When installing a new spark plug,
adjust the plug’s gap to the specification on the
Specifications chart. Do not pry against the
electrode — the spark plug can be damaged.
5. Install the new spark plug or
the cleaned spark plug into the engine.
• Gasket-style:
Finger-tighten until the gasket
contacts the cylinder head,
then tighten about 1/2 – 2/3 turn more.
• Non-gasket-style:
Finger-tighten until the plug
contacts the cylinder head,
then tighten about 1/16 turn more.
NOTICE: Tighten the spark plug properly.
If loose, the spark plug will cause the
engine to overheat.
If overtightened, the threads in the
engine block will be damaged.
6. Apply dielectric spark plug boot protector
(not included) to the end of the spark plug
and reattach the wire securely.
 Loading...