ASSEMBLY
1.
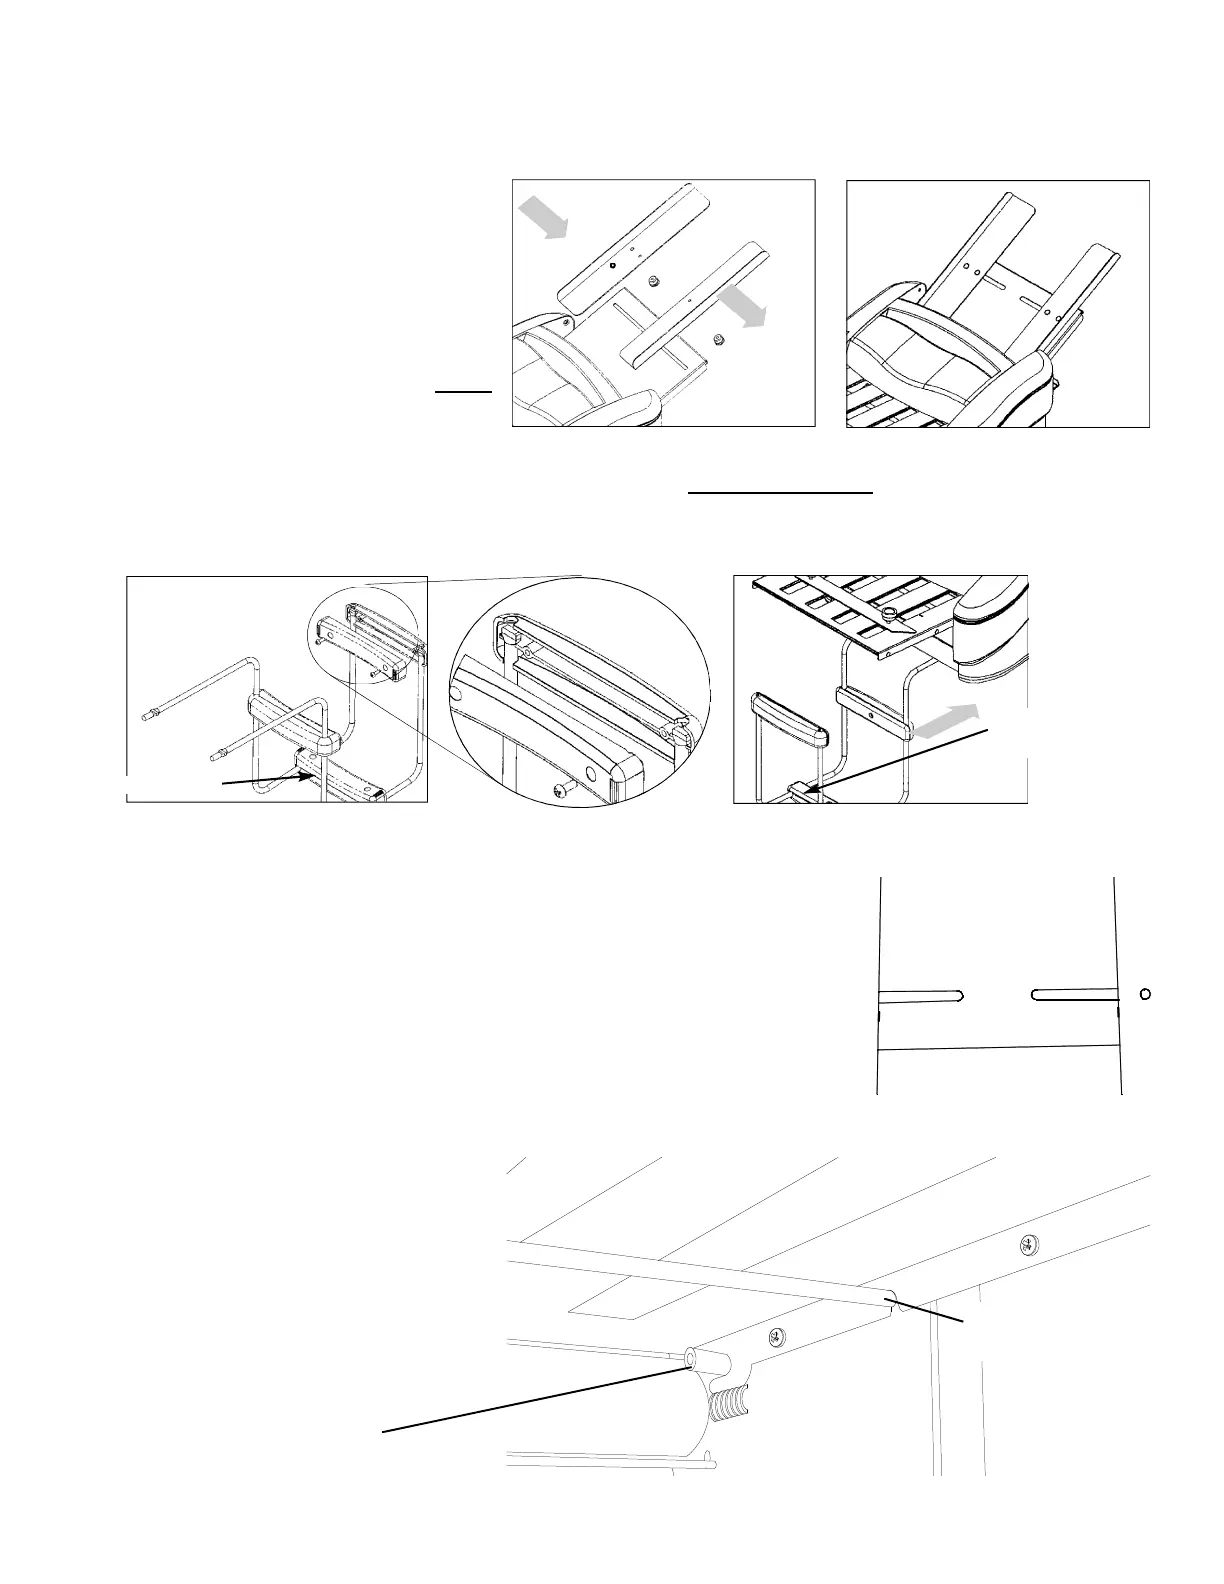
Insert the Paper Guides into the Paper Tray as shown in Figure 1. You will need to remove the black plastic
nuts and clear spacers from the Guides. Once inserted, install the clear spacers on the Paper Guides and screw
the nuts back onto the Paper Guides and tighten. The Paper Guides should now be attached to the machine
as shown in Figure 2.
2. To assemble the Exit Tray, you will need
a #2 Philips screwdriver, the 2 Metal
Brackets, and the (3) Exit Tray
Connector Sets (each set contains one
top plastic piece, one bottom plastic
piece, and two screws). Assemble each
Exit Tray Connector Set onto the Metal
Brackets as shown in Figure 3. Hint:
It may be easier to assemble the middle
Connector Set first, as noted below.
3.
The assembled Exit Tray should fit underneath the machine (Figure 4). It does not snap into place, the weight
of the machine will hold it in position. Push the Tray so it is against the tabletop
. Many users find it easier to
attach the first connector to (1) metal part and screw halfway together. The other metal portion may then be
installed to the plastic connector and screwed together completely.
4. Insert the plug into the back of the machine, and then into an electrical outlet.
ALIGNING THE PAPER GUIDES
NOTE: Paper guide placement is a critical and often overlooked factor in machine set-up.
Please follow the instructions below carefully to assure trouble free
paper feeding.
1. Loosen the 4 plastic thumbscrews under the feed table (see figure #1 for thumb-
screw location) to loosen paper guides.
2. For standard U.S. 8 1/2” X 11” paper, move both paper guides in so that their
inside edges align with the straight marks on the feed table denoted LS (see fig-
ure 5 for mark location). For A4 paper, align the outside edges of the paper
guides with the straight marks denoted A4. Tighten both thumbscrews (Note:
Do not over tighten thumbscrews).
3. Slide a single piece of paper between the paper guides, check for:
a. Pinching-the paper should slide
freely between the paper guides with a
small amount of clearance to feed
freely. Loosen thumbscrews and adjust
paper guides if necessary to correct.
Setting the paper guides too tight will
result in feed hesitation.
b. Skewing-the paper should be exact-
ly square to the feeding roller. Loosen
thumbscrews and adjust paper guides if
necessary to correct.
Figure 4
Figure 1
Figure 2
Figure 3
Assemble this Set first
Position this set near the
front of the Exit Tray for
better stacking
LS
LS
Figure 6
Bottom view of Installed Fold Table
Fold Table Pin
Front Slots on Fold Tables go
around pins
Silver Tie Rod
Cutouts in Fold Tables Rest
on Top of Tie Rods
Figure 5
Paper Guides Aligned to LS Marks
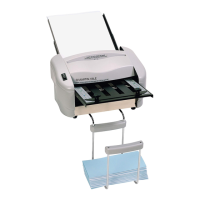
 Loading...