4
3. Slide one of the handles, with the screw hole up, onto the tab so the hole on the tab
aligns with the hole on the handle (Fig. A). Fasten securely with the screw. The handle
should not wobble, but slight movement from side to side is normal.
NOTICE: Continuing to tighten, once secure, can result in stripping of the screws or
cracking of the handles.
4. Repeat step 3 for the other handle.
5. Turn the multi-cooker right side up on the table or counter. When properly assembled,
the handles should be parallel with the table or counter.
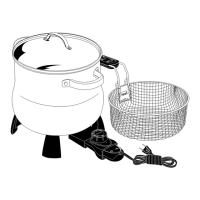
Attach Basket Handle
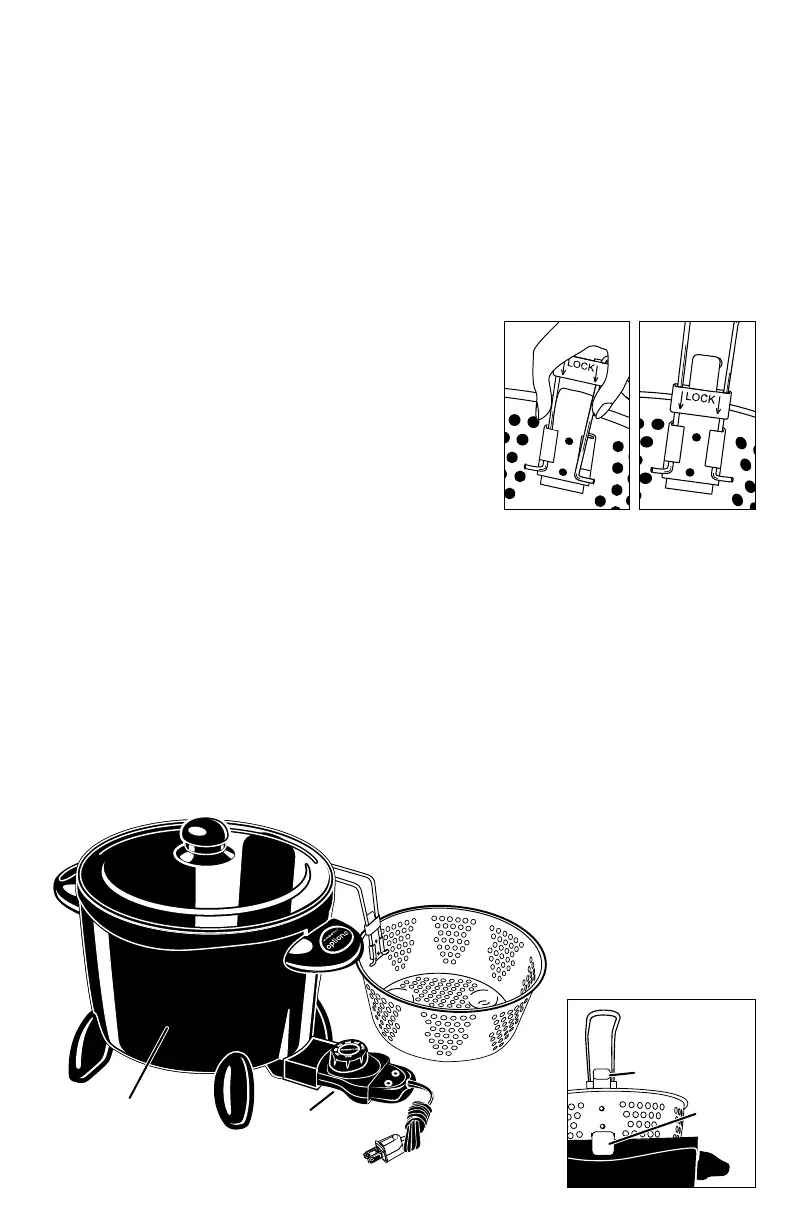
1. Slide the lock bar up on the handle (Fig. B). Place
one of the handle bars into one of the tabs on the
bracket. Squeeze the handle bars together and fit the
other handle bar into the opposite tab on the bracket.
2. After attaching the handle to the basket, make sure
to slide the lock bar down (Fig. C) to the locked
position to ensure against accidental detachment of
the handle from the basket. Check before each use to
ensure the handle is still properly secured.
Before First Use
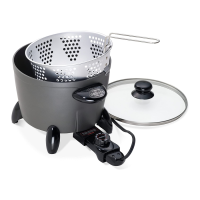
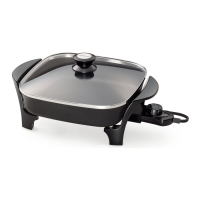
This versatile electric multi-cooker braises, steams, boils, deep fries and more. It is also
great for making soups, stews, and desserts. Before using the multi-cooker for the first
time, become familiar with the various parts (Fig. D), read the instructions carefully, and
wash it according to the Care and Cleaning instructions on pages 6 and 7.
NOTICE: This appliance is not intended to melt wax, gels, plastics, or other materials
for making candles or for other hobbyist activities, or in any commercial or business
application. Using this appliance for purposes different from those specified in the
instruction manual may cause damage to the appliance and will void the warranty.
Control Master
®
heat control
Basket handle
Steam/fry basket
Tempered
glass cover
Nonstick surface
inside and out
Magnetic cord
Cover knob
Fig. D
Drain
hook
Basket hooks onto
rim for draining
and steaming.
Steam hook
Fig. CFig. B