5
How to Use
NOTICE: Avoid using no-stick cooking sprays as they may cause the cooking surface to
become tacky. In addition, use heat-resistant nylon, silicone, plastic, wooden, or rubber
utensils to turn, stir, or remove food when not using the basket. Do not use metal utensils
as they may scratch the nonstick surface.
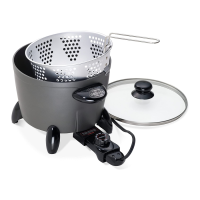
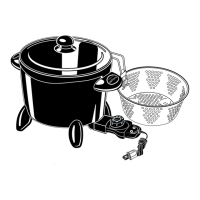
1. Place the multi-cooker on a dry, level, heat-resistant surface away from the wall and
the edge. Do not let the cord hang or drape over the edge of the counter or table within
reach of children. Remove the cover from the multi-cooker.
NOTICE: To prevent possible heat damage to your countertop, place a heat-resistant
counter protector, such as aluminum foil, under the multi-cooker. To keep the appliance
from moving on the counter, do not place any portion of the foil under the rubber feet.
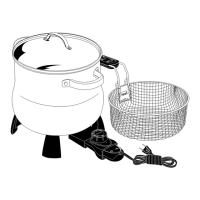
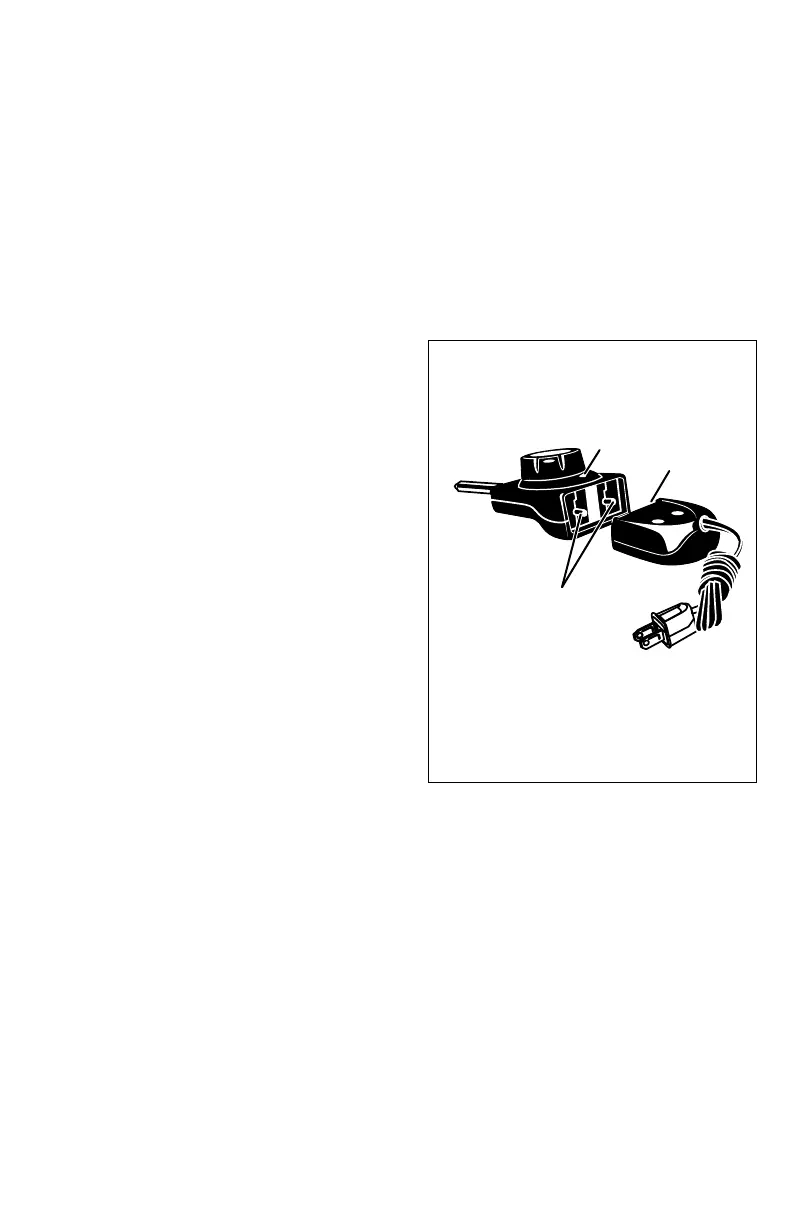
2. Insert the probe end of the heat control into
the multi-cooker so the two electrical pins
on the appliance are fully inserted into the
heat control. Then attach the magnetic cord
to the heat control by aligning the magnetic
plug end with the two electrical pins located
on the back of the heat control (Fig. E).
Due to the fact that the magnetic plug end
is polarized, it is intended to be attached to
the heat control only one way. The printed
patent information on the plug end should
be facing up. The daisy and cautionary
language should be facing the counter.
When properly aligned and positioned
correctly, the plug end will magnetically
attach itself to the heat control.
IMPORTANT: The magnetic cord is
designed to detach easily from the heat
control. As a result, if bumped or touched
during use, it could detach and cause the multi-cooker to stop heating. Avoid contact
with the magnetic cord during operation. If contact occurs, verify the magnetic cord is
still properly connected to the heat control.
3. Using the cooking method index on page 6, determine the type of cooking method
desired and turn to the referenced page.
4. Plug the multi-cooker into a 120VAC electrical outlet only. Preheat the multi-cooker as
indicated by the cooking method and follow the cooking instructions. During cooking,
the indicator light will turn on and off indicating the temperature is being maintained.
NOTE: It is normal to hear a pop or clicking sound while the multi-cooker heats up
and cools down. This is due to the expansion and contraction of the metal. A slight odor
or light smoking may also be noticeable during the first use as manufacturing residue
evaporates.
Fig. E
Probe
Indicator
light
Heat selector
Magnetic
cord
Heat control
Magnetic
plug end
Electrical pins
To ensure the continued accuracy of the heat
control, avoid rough handling during use and
storage. Store it in a clean, dry location away
from metal objects. Always check the magnetic
plug end before use to confirm metal items have
not become attached to it.
Control Master
®
heat control