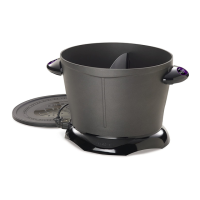
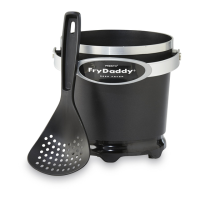
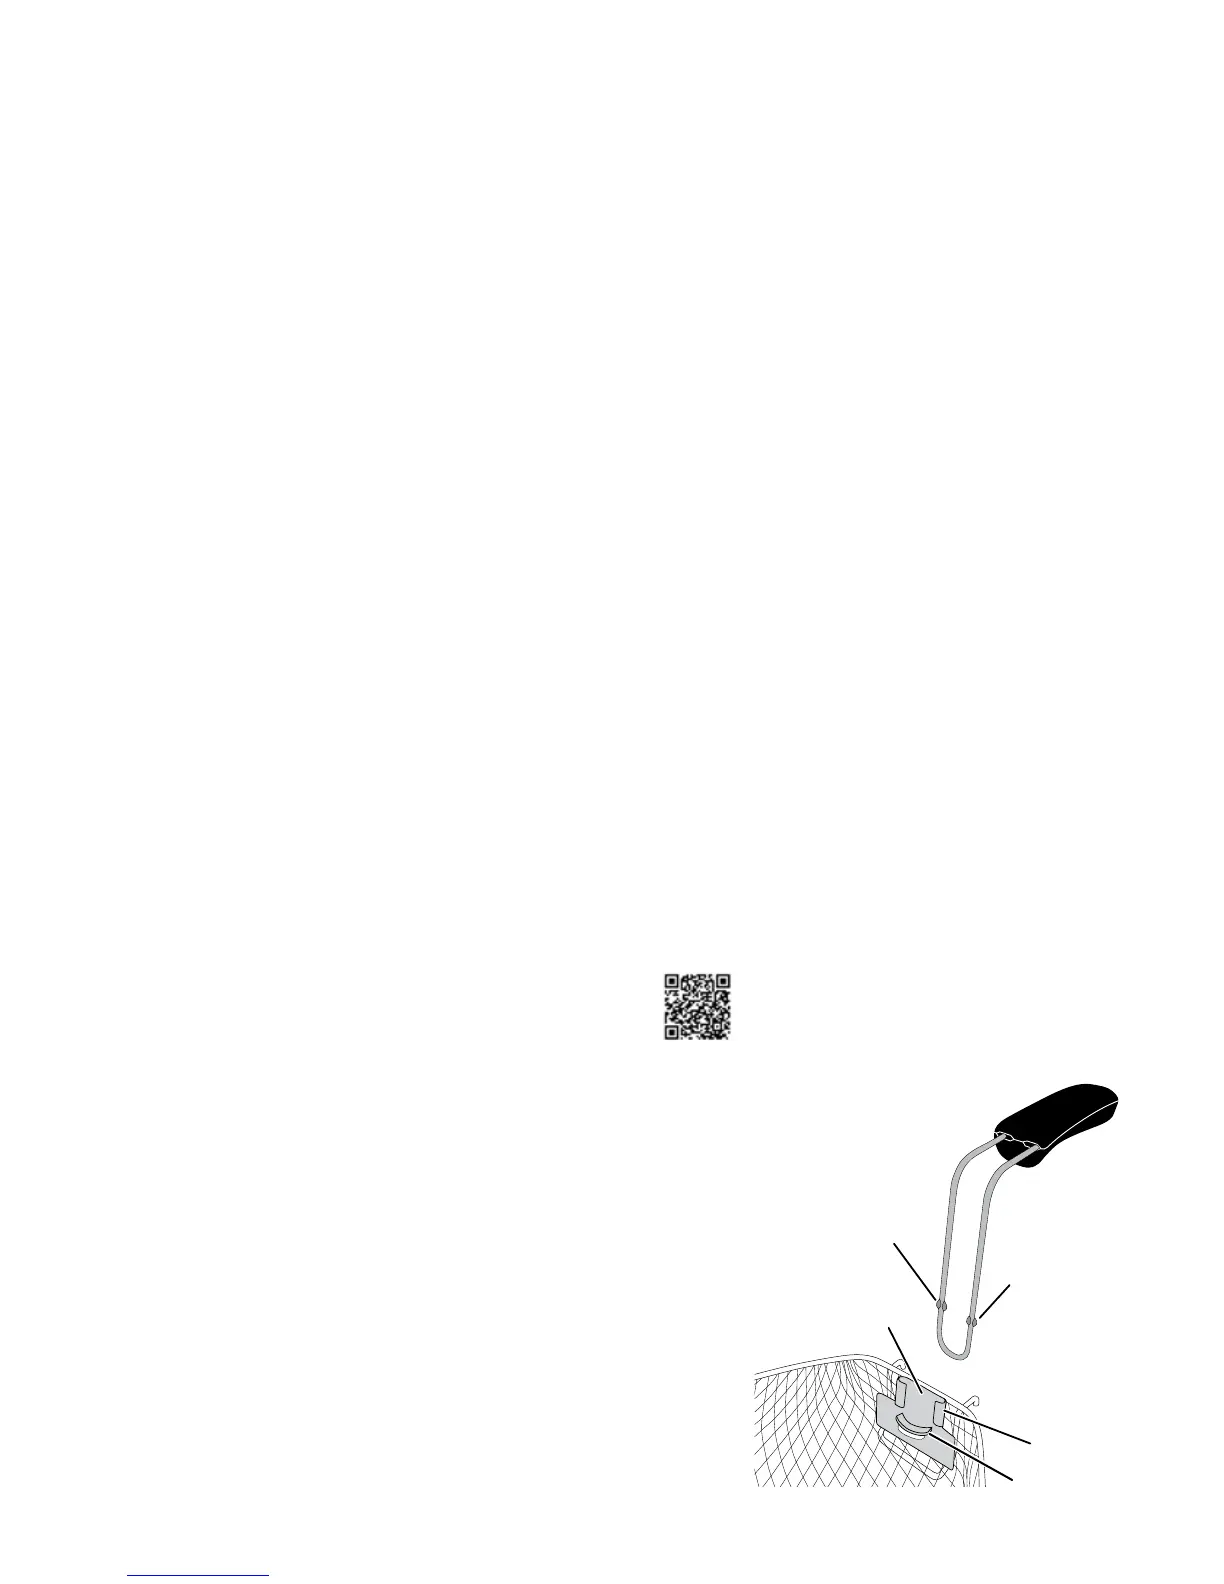
Lock tabs
Lock tabs
Basket bracket
Bracket guides
Basket handle
Fig. 35
Curved bracket tab
Step 5 Grasping both the pivot handle and the lifting handle, carefully lift the turkey out of the fryer and set it on the paper
towel-lined tray.
Step 6 Allow turkey to rest for approximately 15 minutes before removing it from rotisserie.
Step 7 Using hot pads or paper towels, move the locking tabs on the lifting handle to the unlocked position (Fig. 22, page
12) and pull the handle away from the skewer.
Step8 Holdtheturkeyrmly,usingeitheracarvingforkintheturkeybreastorfoldedpapertowels,andpulltheskewer
from the turkey.
Step 9 Remove twine before carving turkey. Serve and enjoy.
Step 10 Allow oil and fryer to cool completely before removing control assembly and before cleaning.
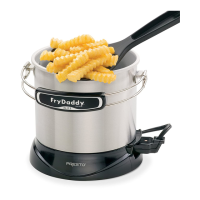
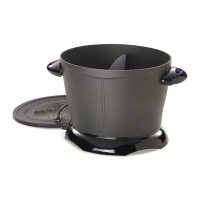
How to Use Fryer with Basket
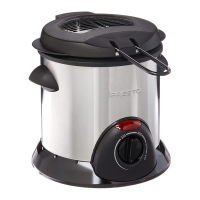
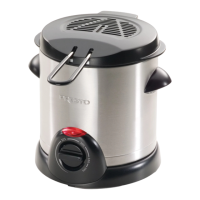
Step 1 Fill the removable pot with vegetable oil up to the MAX line (Fig. 31, page 14). You will need 1.3 gallons (about 5¼
quarts) of vegetable oil. The amount of oil must always be between the TURKEY and MAX lines. Never exceed the
MAX line.
Step 2 Attach the power cord to the fryer and plug the cord into a 120VAC electrical wall outlet only. Always make sure
fryer and cord are out of reach of children.
Step 3 Place the cover on the fryer with the cover vents towards the control panel.
Step 4 Turn the temperature control knob to the desired frying temperature (see page 18 for proper frying temperatures).
The recommended setting for most frying is 375°. While oil is heating, the ready light will be on.
Step 5 When the selected temperature is reached, the ready light will go out. (Preheat time is approximately 20 minutes.)
Step 6 While oil is heating, assemble basket handle and prepare food for cooking.
How to Attach Basket Handle for Frying and Steaming
For a helpful HOW-TO video, visit www.GoPresto.com/how/basket/
Step 1 Familiarize yourself with the basket and handle parts (Fig. 35
and Fig. 36). Hold the handle in front of the basket bracket.
Place one of the handle bars into one of the bracket guides so
the lock tabs on the handle bar are below the bracket guide
(Fig. 36).
Step2 Squeezethehandlebarstogetherandttheotherhandlebar
into the opposite bracket guide. While squeezing the handle
bars, pull the handle up so the lock tabs are above the bracket
guides and the bottom of the handle is against and below the
curved bracket tab. Release the handle. This is the locked
position (Fig. 37).
IMPORTANT: To insure against accidental detachment of
handle from basket during use, always make sure the handle
bars are securely in the bracket guides and the handle is pulled
up to the locked position.
16