4
CRITICAL ENVIRONMENTS DIFFUSERS - Manual
|
priceindustries.com
CRITICAL ENVIRONMENTS DIFFUSERS
INSTALLATION & MOUNTING NSTRUCTIONS
Surface Mounting
Step 4: If the diffuser contains a flange,
it can be installed either directly into the
ceiling opening or through the use of a
mounting frame (HGMF). If diffuser does
not contain a flange, a mounting frame
is required. Please continue to either
the Direct Mount or Hospital Grade
Mounting Frame (HGMF) section:
Direct Mount (flanged diffusers only)
Step 5: Create a framed ceiling opening
which is consistent with the opening
size listed in the product submittal.
Typically this will be Nominal Size less
13/16”. Please ensure framing can
support the weight of the diffuser.
Step 6: Remove the diffuser facing by
disengaging the quick-release (1/4 turn)
fasteners.
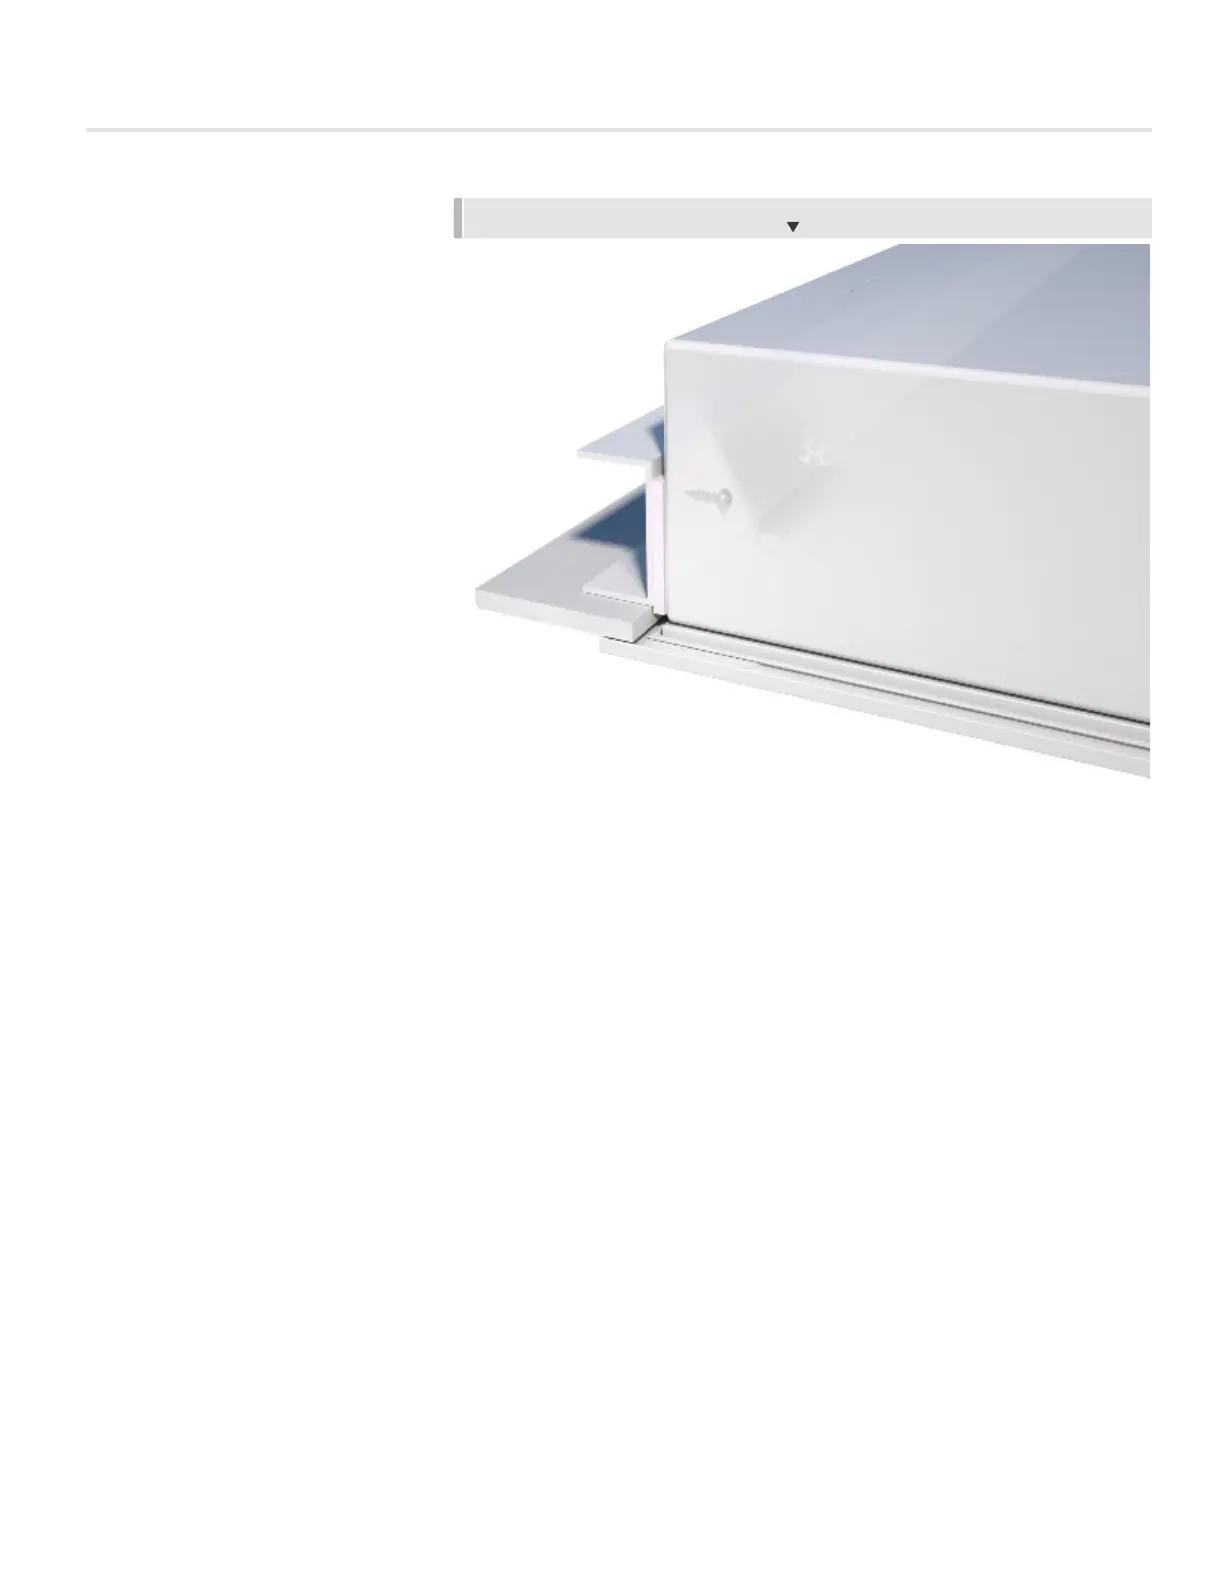
Step 7: Raise the diffuser into the
opening and fasten securely to framing
using self-tapping screws or other field-
approved hardware as shown Figure 4.
Diffuser can be centered in the opening
through the use of shims or spacers
(provided by others).
Step 8: Seal at interface between
diffuser frame and ceiling as needed
(Figure 4).
Step 9: Wipe internal plenum surfaces
clean and re-secure the diffuser face by
engaging the quick-release (1/4 turn)
fasteners.
FIGURE 4: INSTALL THE FLANGED DIFFUSER IN
THE OPENING AND FASTEN SECURELY