Do you have a question about the Pride Mobility Rally and is the answer not in the manual?
Purchaser agrees to hold Pride harmless for issues arising from product misuse or modification.
Encourages user feedback on the manual and product experience.
Read manual before use; understand safety depends on user judgment and professional guidance.
Do not modify the scooter; unauthorized changes can cause injury or damage.
Do not lift or move the scooter by its removable parts to prevent injury or damage.
Scooter performance may be affected by electromagnetic fields; learn more in EMI/RFI section.
Perform checks like tire inflation, electrical connections, brakes, and battery charge before use.
Maintain 30-35 psi in pneumatic tires; use regulated air sources to avoid overinflation.
Exceeding weight limits voids warranty and may cause injury. Do not carry passengers.
Proceed with caution on inclines; use slow speed for descents and wide turns.
Drive straight up inclines, avoid driving across slopes, and never use freewheel mode on inclines.
Avoid slopes steeper than illustrated; limits vary by weight and wheel configuration.
Do not exceed 15 lbs in the rear basket or for oxygen tanks to maintain stability.
Lean forward on inclines to shift center of gravity for improved stability.
Reduce speed and steering angle when cornering sharply to prevent tipping.
Scooter is stable on most surfaces, but reduce speed on uneven or soft terrain.
Avoid raised surfaces, high obstacles, and never back down curbs or steps.
Features regenerative and disc park brakes for effective slowing and stopping.
Avoid operating on public streets; be visible and use extreme caution if necessary.
Do not operate in icy, slippery, or wet conditions; avoid exposure to rain, snow, or freezing temperatures.
Braking is disengaged in freewheel mode; engage/disengage on level surfaces with the key removed.
Scooters are not designed for stairs or escalators; always use an elevator.
Operate doors slowly and gently; be mindful of door edges and closing mechanisms.
Use care with door edges and ensure accessories don't get caught in elevator doors.
Never sit on the scooter while it is on a lift/elevation product.
Batteries are heavy; handle with care. Protect from freezing; connect cables correctly.
Contact authorized provider for disposal instructions; recycling is recommended.
Turn off power when stationary for extended periods to prevent accidental movement.
Secure scooter and batteries properly. Do not sit on scooter in a moving vehicle; use vehicle seat belts.
Power down scooter, ensure freewheel is off, seat locked. Position weight back. Avoid using armrests for support.
Ensure positioning belts are securely fastened if required for safe operation.
Avoid bending or reaching that shifts center of gravity; keep hands away from tires.
Consult physician if taking medication or have limitations that may impair safe operation.
Do not operate the scooter while under the influence of alcohol, as it impairs driving ability.
Radio waves can cause unintended motion; sources include cell phones, radios, and transmitters.
Effects depend on wave strength, vehicle construction, and location; motion can be erratic.
EMI/RFI is hard to recognize; report incidents and turn off scooter when unattended.
FDA requests manufacturers test resistance; vehicles should meet 20 V/m immunity level.
Avoid using communication devices near the scooter; maintain distance from transmitters.
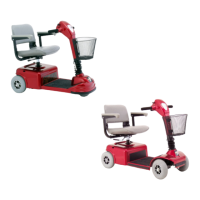
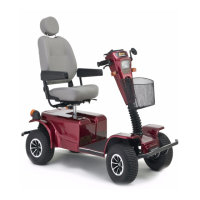
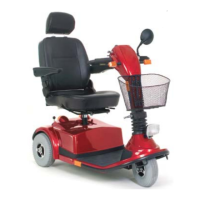
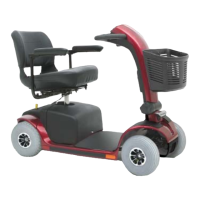
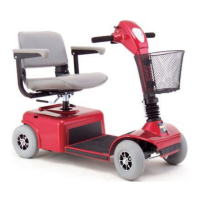
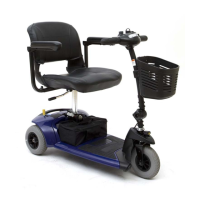
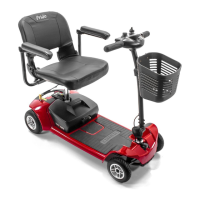
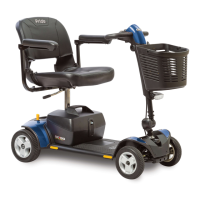
Provides overall dimensions, turning radius, and ground clearance for 3- and 4-wheel models.
Details the dimensions of the front and rear tires for the scooter.
Lists key specifications like model number, colors, weight, speed, capacity, and battery requirements.
Describes the rear-wheel drive system and the dual braking system (regenerative and electromechanical).
Lists available accessories and options to customize the scooter.
Identifies the seven main components of the scooter for disassembly and storage.
Explains the function of controls like key switch, speed dial, throttle lever, and horn.
Instructions for powering the scooter on and off; warns about key removal while in motion.
Allows preselection and limitation of the scooter's top speed using tortoise and hare symbols.
Controls forward and reverse speed; disengages brake when pushed and engages it when released.
Indicates approximate battery voltage using a color code (green, yellow, red).
Activates a warning horn for safety; use when necessary to prevent accidents.
Controls the scooter's headlight system, turning them on or off with presses.
Details components in the rear section: charger, fuse, batteries, controller, breaker, freewheel lever.
Converts AC to DC to charge batteries; located in the rear section.
Protects the charger from electrical problems; ensure correct replacement rating.
Receives signals from controls and sends power to motor, brakes, and lighting.
Protects motor/electronics from strain; reset by pushing the button if tripped.
Allows manual pushing by disengaging brakes and drive motors; engage/disengage on level surfaces.
Provides quiet operation and power; a sealed unit for durability.
Integral safety feature; do not remove or modify these wheels.
Scooter uses two 12-volt deep-cycle batteries; options for 32AH or 17AH with spacer brackets.
Use the battery condition meter to check voltage; green (full), yellow (draining), red (recharge).
Charge fully before first use; use standard wall outlet, no extension cords.
Charger maintains charge without overcharging; do not charge for over 24 consecutive hours.
Charge daily after use or weekly for infrequent use; keep batteries fully charged.
Keep batteries fully charged to ensure performance and longevity; avoid deep discharge.
Charge fully, maintain tire pressure, plan routes, limit baggage, and maintain steady speed.
Use sealed, maintenance-free AGM or Gel-Cell deep-cycle batteries; avoid wet-cell types.
Step-by-step guide to removing and installing batteries, including safety precautions.
Fully recharge, use scooter moderately, and recharge again for optimal performance and life.
Contact transportation providers in advance to determine their specific requirements for scooter use.
Fully charge batteries, disconnect them, and store in a warm, dry environment.
Ensure batteries are charged and freewheel lever is in drive position.
Remove key, disengage seat lock, rotate seat, ensure secure seating and floorboard placement.
Verify seat height, tiller, key insertion, horn function, and path clearance.
Keep hands on tiller, feet on floorboard; use speed dial and throttle lever for movement and steering.
Stop scooter, remove key, disengage seat lock, rotate seat, and exit carefully.
Automatically shuts down controller after 20 minutes of inactivity to save battery.
Adjust tiller position for comfortable driving; lock it securely in place.
Reposition the seat to one of three different heights for optimal comfort.
Reposition the seat forward or backward to adjust distance from the tiller.
Adjust armrest width inward or outward for comfortable support.
Lock the seat in one of eight positions for easy access and comfortable positioning.
Step-by-step guide to safely disassemble the scooter into seven components.
Details how to disconnect the front and rear sections of the scooter for transport or storage.
Step-by-step guide to reassemble the scooter components correctly.
Lists various accessories like holders, baskets, taillights, and flags for customization.
Solutions for when the scooter appears 'dead' or unresponsive.
Addresses issues where the battery meter shows full charge but the scooter won't move.
Potential causes and solutions for the main circuit breaker tripping repeatedly.
Solutions for when the battery meter dips and the motor performance is inconsistent.
Maintain 30-35 psi in pneumatic tires and inspect for wear.
Clean bumpers, tires, and trim with appropriate conditioners; avoid slippery surfaces.
Ensure battery terminals are tight, uncorroded, and facing the rear.
Regularly inspect wiring connections and insulation for wear or damage.
Clean shrouds and apply car wax to retain gloss.
These components are prelubricated and sealed, requiring no further lubrication.
Motor brushes should be periodically inspected for wear by an authorized provider.
Keep these areas dry; allow to dry thoroughly if exposed to moisture.
Fully charge batteries, disconnect them, and store in a warm, dry environment.
Covers structural frame and drivetrain components with prorated parts replacement.
Excludes increased operational noise in transaxle and wear items like brake pads.
Covers repair or replacement of defective parts or electronic components within one year.
Lists items not covered, including wear parts, abuse, misuse, and unauthorized modifications.
| Brand | Pride Mobility |
|---|---|
| Model | Rally |
| Category | Scooter |
| Language | English |