The design of the blow back start may cause a slight delay in the arc as the air pressure must built inside
the torch tubing and head to create the pressure needed to force the electrode off the nozzle seat. This
may take up to a second. If the torch does not light after 3 seconds, let go of the trigger and press it
again. If the start or arc is erratic check nozzle and electrode for tightness and wear.
Section 3
400-60
Basic Theory and
Function
00-150 EDGE START
TRAVEL
1
PIERCE START
3
1 16"
Edge Starts are the best type of start if possible
to promote consumable and torch life. This
reduces blow back of molten material and allows
a smooth gradual start of the cut.
1. Line up the hole on the tip of the electrode on
the edge of the cut. Hold torch perpendicular
to the cut initially, about 1/1 6" off the metal.
Slide the yellow safety lock and squeeze the
trigger. Wait for arc to start.
2. Once the arc starts, wait for the arc to
penetrate all the way through the metal.
3. As the torch penetrates its flame all the way
through the metal, tilt the torch so there is a
slight lead in the flame if metal is thin. If it is
thick, keep holding torch in a nearly vertical
position.
4. Begin moving the torch in the direction of the
cut. Maintain 1/1 6" standoff height.
5. Move the torch fast enough so the sparks and
flame trail from the bottom edge at an angle
of no more than 300 and no less than 100 from
perpendicular to the metal. Excess angle of
sparks/flame indicate too fast of travel speed
or practical cut capacity has been reached.
Little or no angle indicates too slow of travel
speed.
TRAVEL
Piercing starts often result in rapid consumable
wear and excess blow back of molten metal
deposited onto torch and consumables. This
should be done only as necessary.
1.
2.
3.
4.
5.
Tilt the torch in the direction of travel or
toward the side of the metal to be discarded or
wasted at a 400 to 600 angle. Slide the yellow
safety lock and squeeze the trigger. Wait for arc
to start.
Once the arc starts, wait for the arc to transfer
from pilot arc to the cutting arc.
As the torch penetrates it flame at an angle
rotate the torch slowly to the vertical position,
as the arc penetrates the metal. Tilt the torch
from 00-150 for thin metal cuts, or hold it nearly
perpendicular for thicker metal cuts.
Begin moving the torch in the direction of the
cut. Maintain 1/1 6" standoff height.
Move the torch fast enough so the sparks and
flame trail from the bottom edge at an angle
of no more than 300 and no less than 100 from
perpendicular to the metal. Excess angle of
sparks/flame indicate too fast of travel speed
or practical cut capacity has been reached.
Little or no angle indicates too slow of travel
speed.
IMPORTANT: If you use a standoff guide with the torch, it must be adjusted to provide no more than 1/8"
standoff, less if possible. Long standoff heights reduce cut capacity and quality. It also promotes rapid
consumable wear and can prevent the pilot arc from transferring.
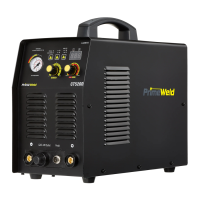
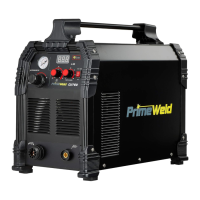
PRIME-WELD CUT 60 User Mannual
20
 Loading...