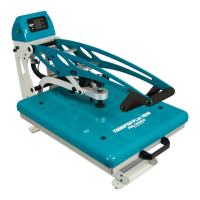
9. Adjusting Pressure
9.1 First, locate the LED Display on the
Press.The Pressure Adjustment Knob is
located in the center of the heat platen.
9.2 To adjust the Pressure, simply turn the
Pressure Adjustment Knob to the right or
clockwise to increase the Pressure and to
the left or counter clockwise to decrease
the Pressure. The readout will display the
Pressure when locked down in the print
position.
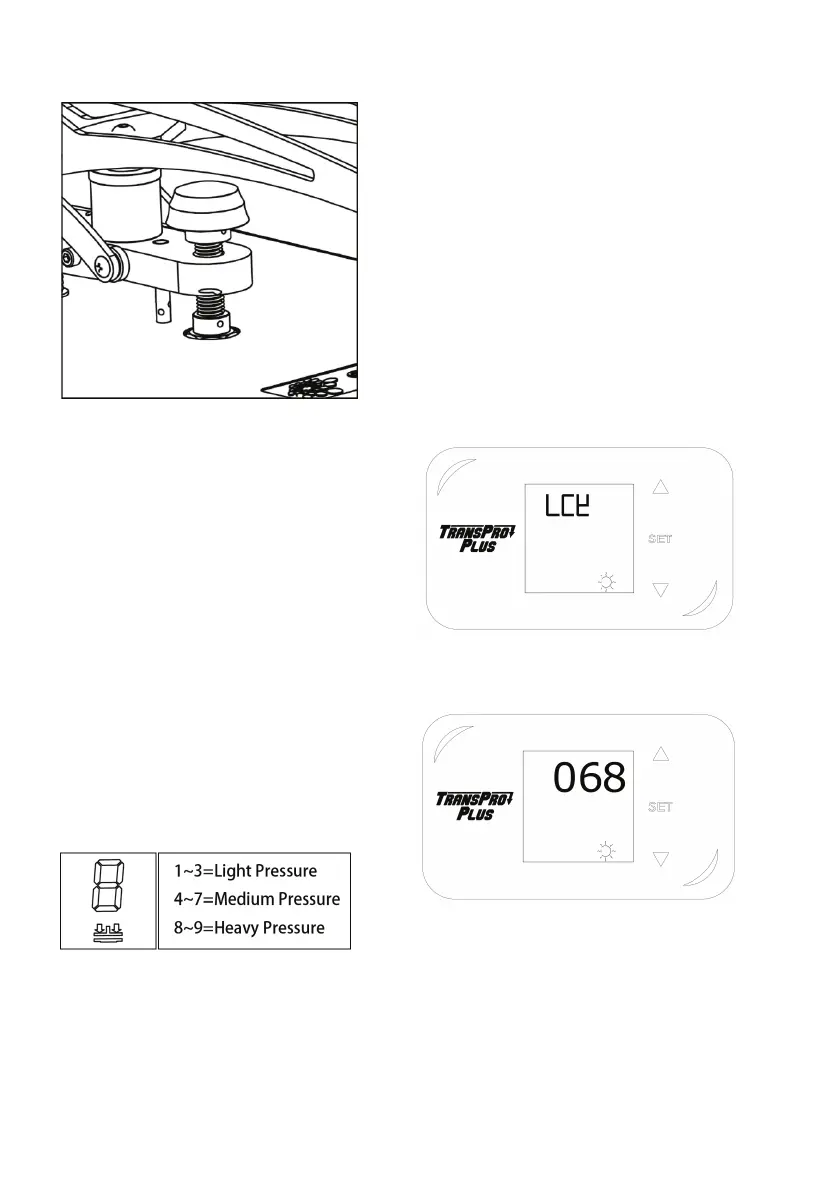
9.3 A visual Pressure Readout is located on
the lower right side of the LCD Display.
When the handle is locked into the Print
Position, a pressure number will be
displayed. Readout will be on a scale of 0 -
9.A 0 Pressure readout would indicate no
pressure at all and 9 would indicate very
heavy pressure.
10. Printing & Pressing
• Once your equipment has reached the
designated temperature;
• Position the garment and application and
proceed to press;
• Lower and lock the heat platen into the
press position. This procedure will start the
automatic timing process;
• The timer will automatically count down
and lift the heat platen into the “UP”
position when the press cycle is complete;
NOTE: Please be aware after time is
complete, gas shocks will automatically
release the platen into the “UP” position.
11. Switching Between F/C
11.1 Press “set” button for 4 seconds,
display shows LCK
11.2 Input 68 then press “set” button to
enter into second level menu.