10 © 2014 Proceq SA
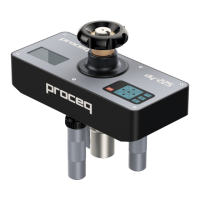
Core Test disc
• Waiting for the adhesive to set.
• Fixing the draw bolt to the test disc. (Proceq DY-2 test discs use a 10mm draw bolt. 8mm and
12mm draw bolts are also available).
• Fit the draw bolt to the coupling.
This completes the test preparations.
Note: When measuring on perfectly horizontal or vertical surfaces a spirit level may be used if desired
to check the alignment of the pull-off tester. Correct alignment may be achieved by adjusting the
screws on the legs. If the surface is inclined, this method is not practical.
5.2 Measurement Procedure
Press the center key to begin.
Verify settings. (Note: In the case of square discs, the diameter is a
theoretical value.)
Parameters can only be reviewed. To make changes, press back to re-
turn to main menu.
Pre-loading. Turn the hand wheel to take up the slack on the test disk
until a force (>0) is indicated as a blinking measurement. The force ap-
plied is minimal.
Press the center key to start the test.
The measurement screen indicates the increase in load.
A nominal load rate is applied until a force of 250 N (56 lbf) is applied.
At this point the programmed load rate is applied for the duration of
the test.
 Loading...