© 2017 Proceq SA 6
2. General Operation
2.1 Getting Started
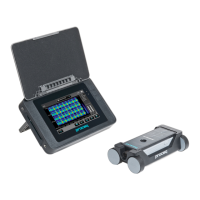
Battery installation
To install the battery, remove the protection foil and lift the stand as
shown. Insert the battery and fasten in place with the screw.
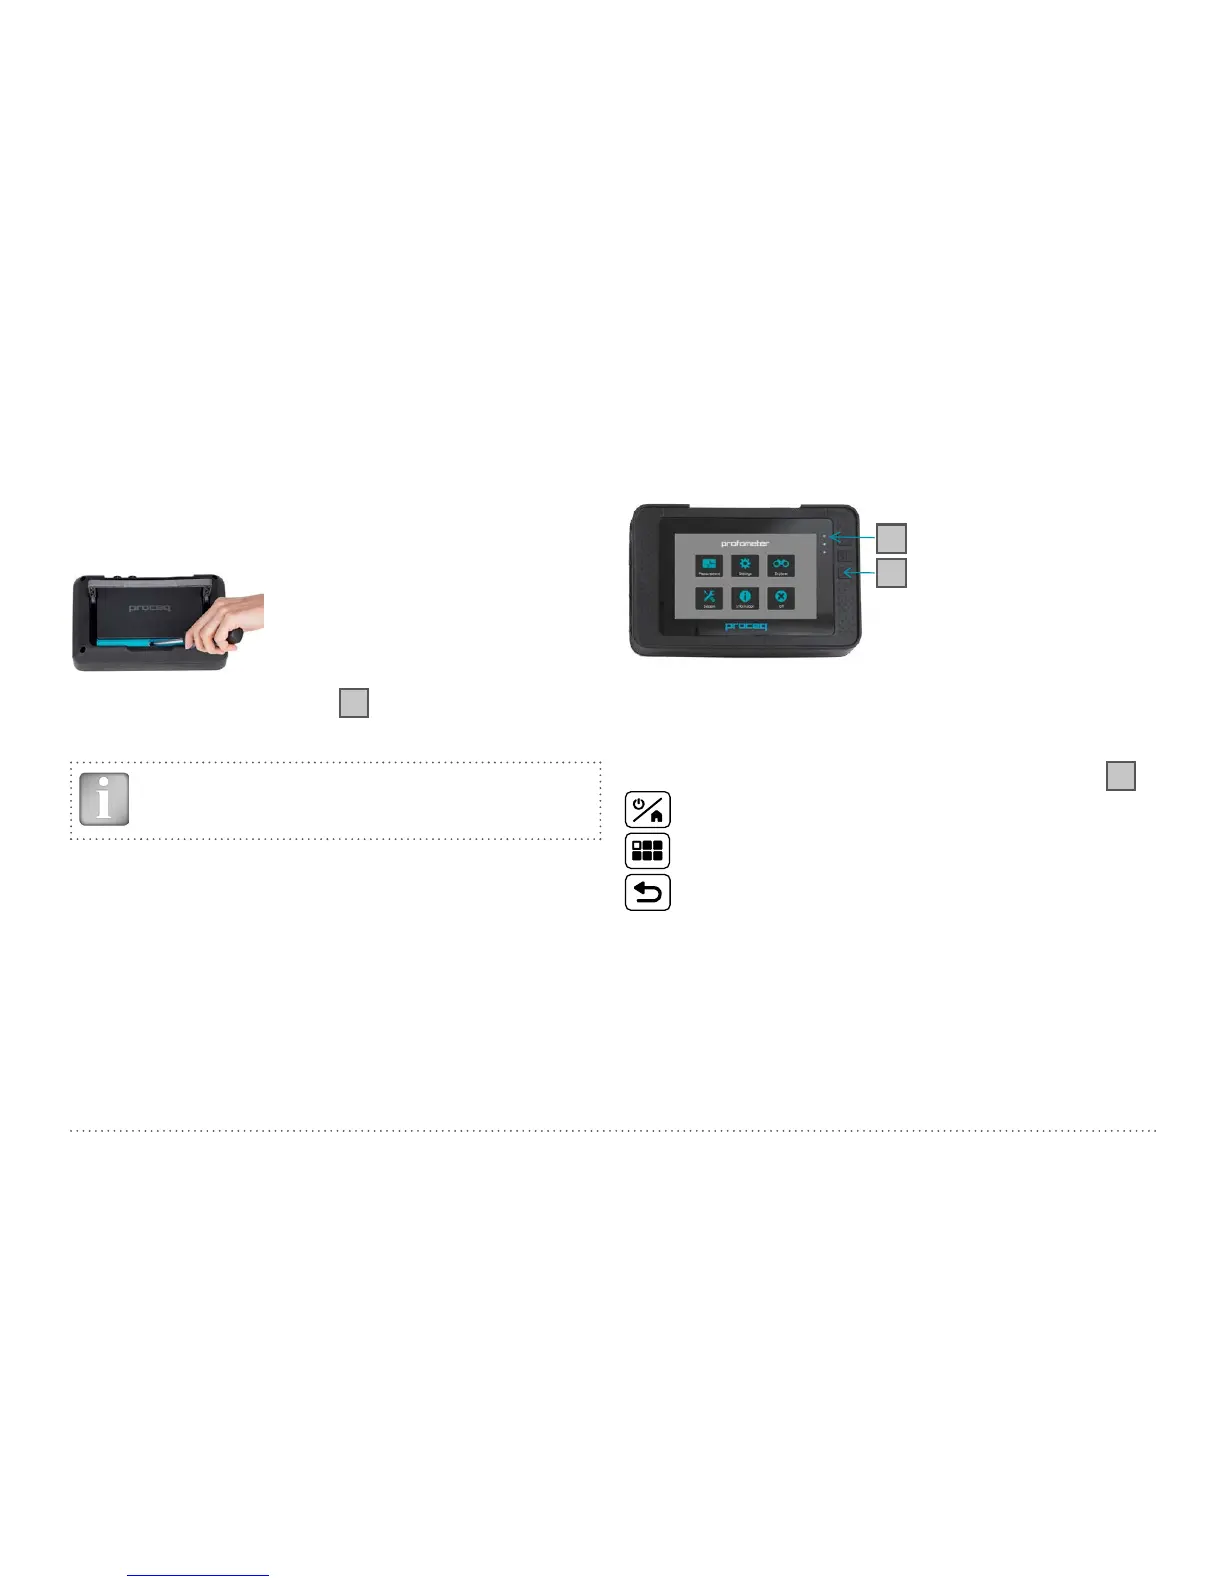
There are two status LEDs (Figure 1,
1
) and above them a light sensor.
The upper LED is red while charging and turns to green when it is fully
charged. The other LED is application specific.
NOTE! Only use the power supply provided.
• A complete charge requires < 9h (Instrument not operating).
• Charging time is much longer if the instrument is in use.
• An optional quick charger (Part No. 327 01 053) can be used to charge
a spare battery or to charge the battery outside of the instrument. In
this case it takes < 4h for a complete charge.
Energy Saving
Energy saving may be programmed as desired under System/Power set-
tings.
Figure 1: Main menu, leds, buttons
Buttons
Lift the protective visor.
On the upper right of the screen there are three buttons (Figure 1,
2
).
Power On/Off – Press to power on. Press and hold to power off.
Fullscreen / PDF viewer / Hard Keys Mode.
Back Button – returns to previous screen.
1
2
 Loading...