STEP 6
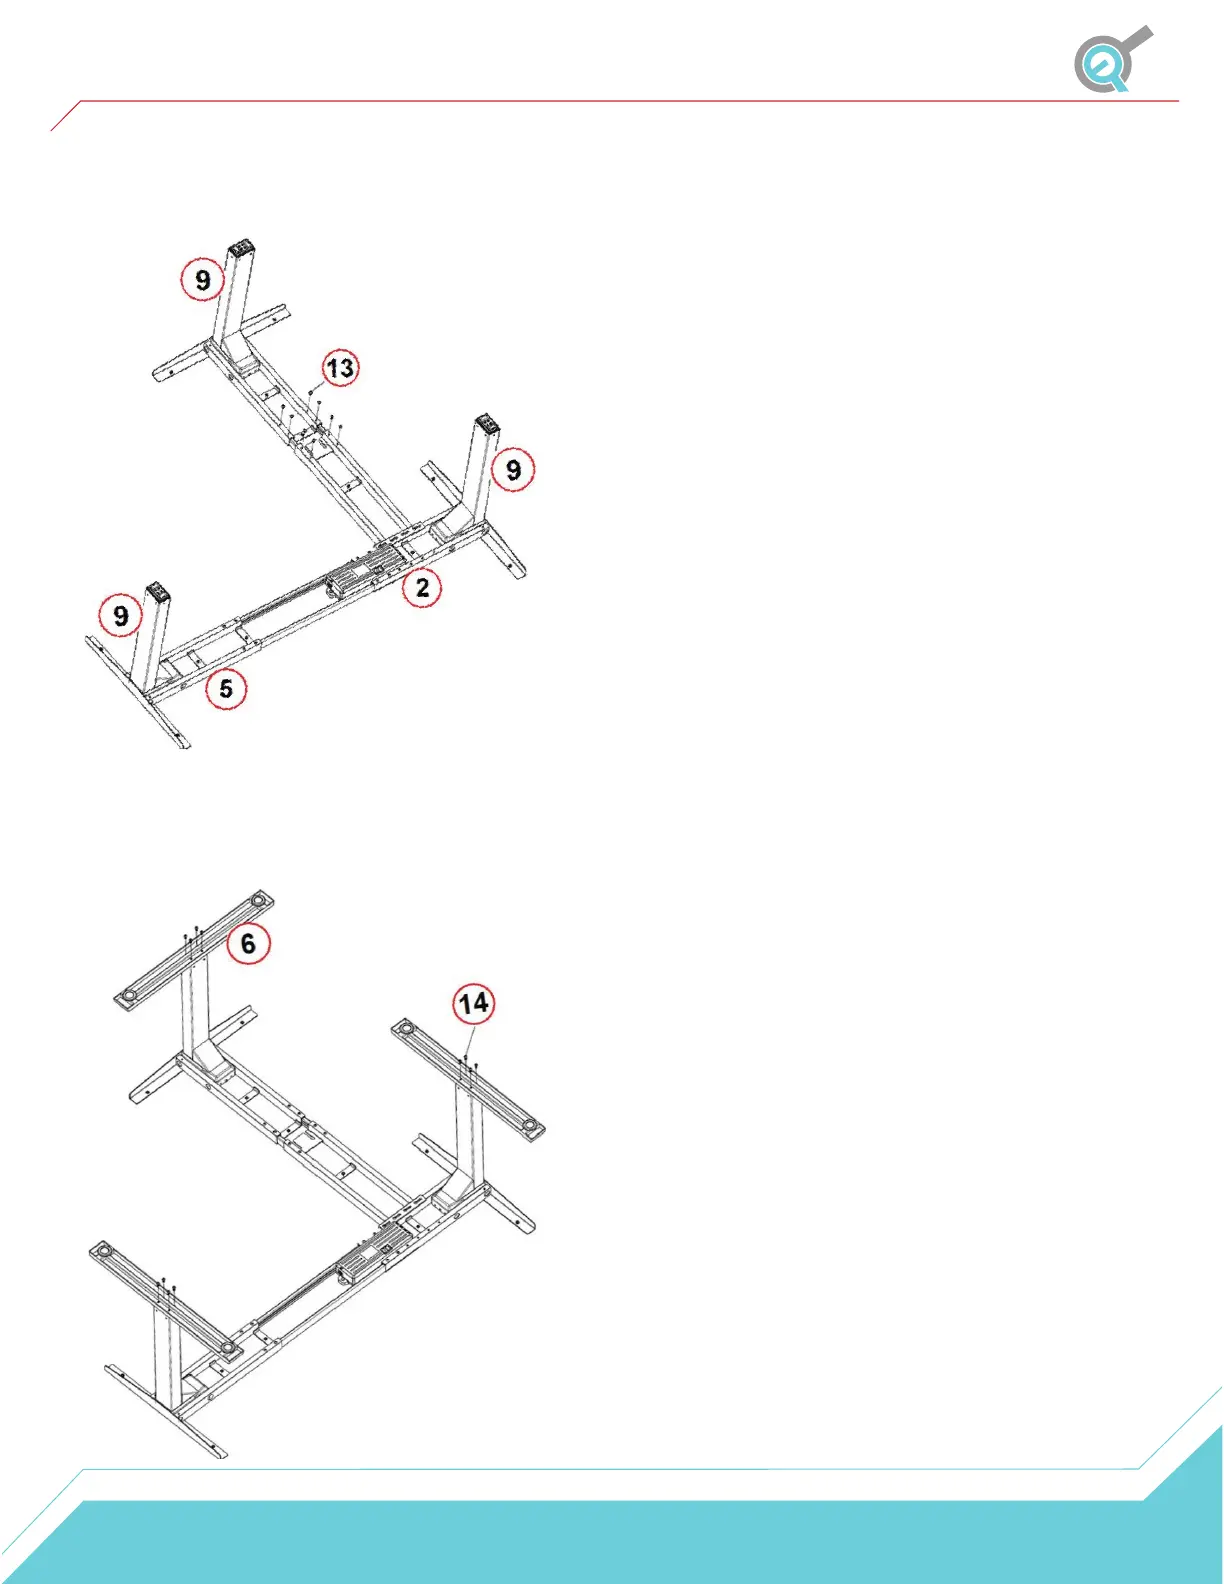
Lock in the position of the Center Rails (7) using eight
M6x10 Machine Screws (13) as shown in the image below.
STEP 8
We recommend having at least two people for this
step. Grab the base (the legs) of the assembled frame
and turn it right side up.
STEP 9
Plug the Power Cord (17) into a 110V outlet and plug
in all three cables from the Legs into the Control Box.
Use the two Cables (16) for the two farthest legs. It is
now ready for use.
IMPORTANT
Prior to normal operation, please complete a Reset
Procedure outlined in the next section.
Assembly
STEP 7
Attach each Foot (6) with four M6x14 Machine Screws (14)
and tighten them in a cross-pattern.
6