20
OPERATING INSTRUCTIONS
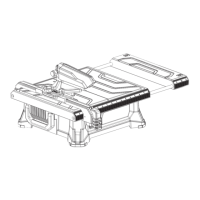
Making a Cross Cut
Cross cuts are straight 90° cuts. The material is fed into
the saw at a 90° angle to the wheel.
• Using a marker or grease pencil, mark the area to be
cut on material.
• Remove the miter gauge.
• Position the rip guide (E) the desired distance from the
wheel for the cut and securely locking lever.
• Place the material on the table, firmly against the rip
guide.
• Make sure the material is clear of the cutting wheel
before turning on the saw.
• Turn the on/off switch to the ON position.
• Let the cutting wheel build up to full speed and wait for
the wheel to get wet before moving the material into
the wheel.
• Hold the material firmly against the rip guide and feed
the material into the cutting wheel.
• When the cut is made, turn the saw OFF. Wait for the
cutting wheel to come to a complete stop before
removing any part of the material.
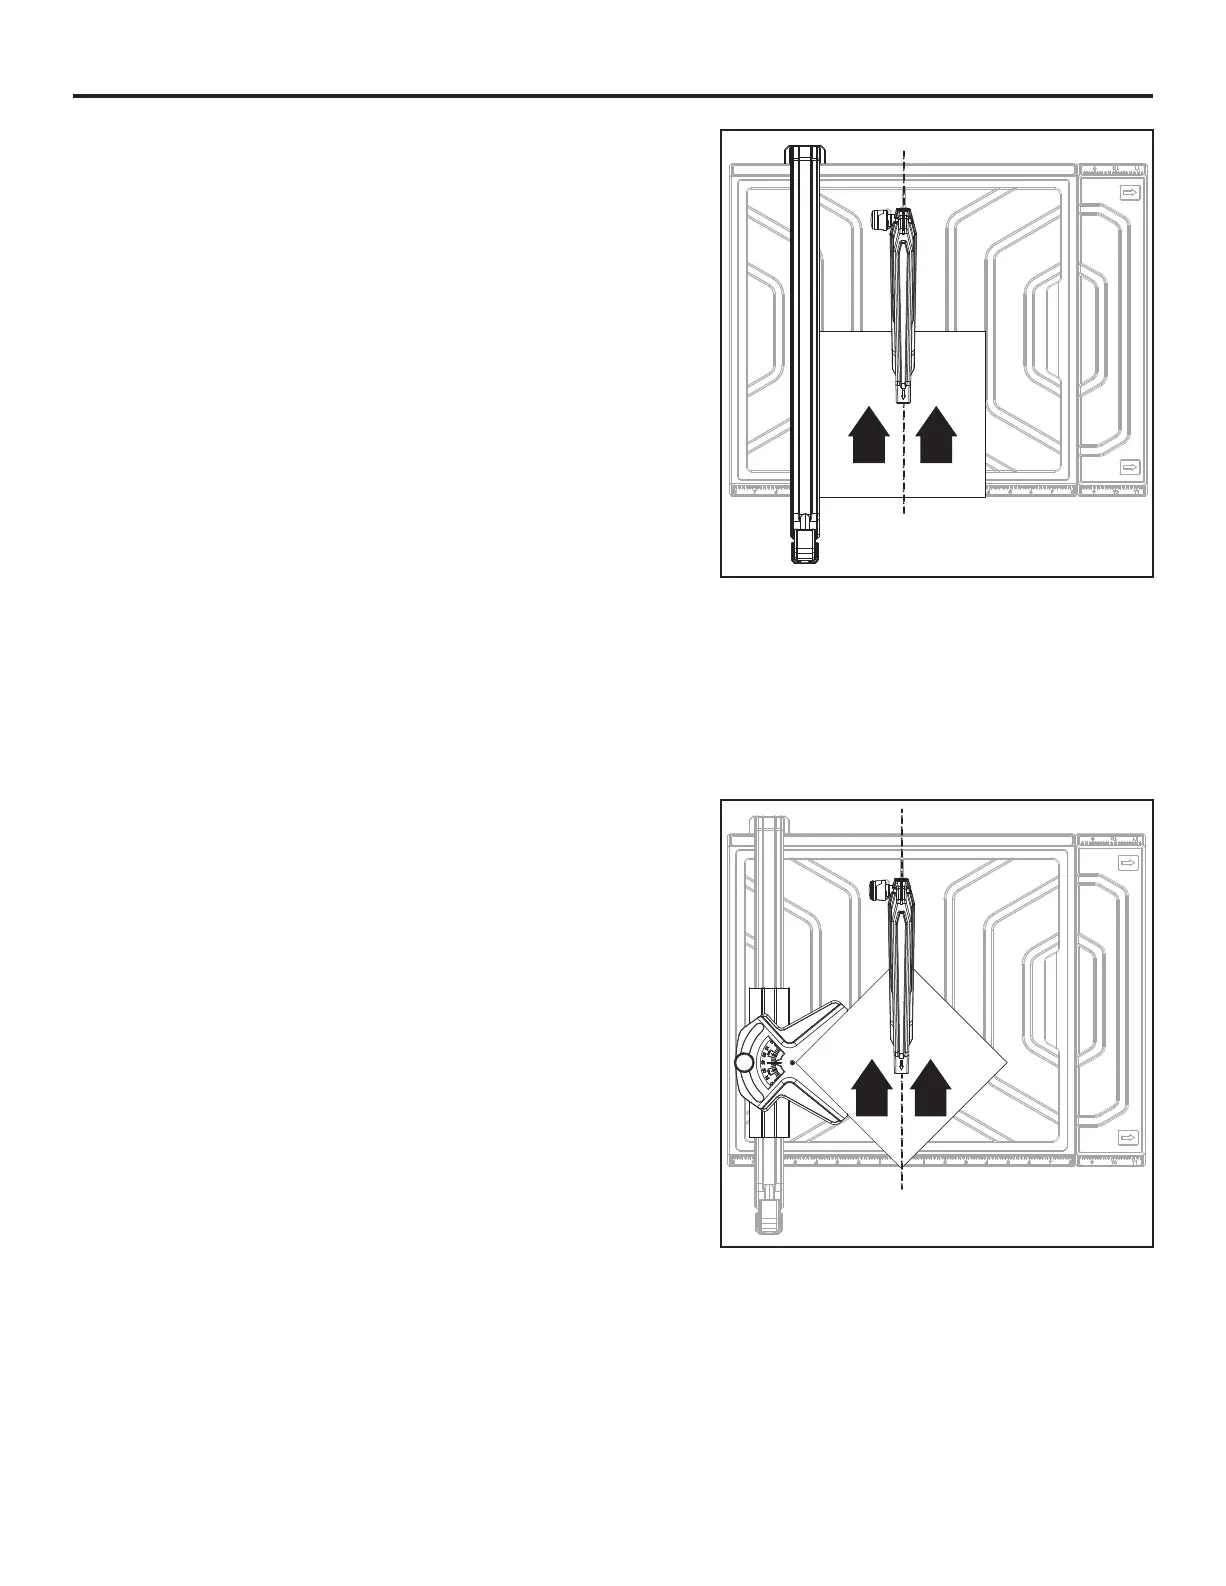
Making a Diagonal Cut
45° Diagonal cuts are also referred to as “long point-to-
long point cuts”.
• Using a marker or grease pencil, mark the area to be
cut on material.
• Install the miter guide (B).
• Adjust miter guide to 45° using angle scale and tighten
securely with miter guide knob.
• Place the material on the table and firmly against the
miter guide.
• Make sure the material is clear of the cutting wheel
before turning on the saw.
• Turn the on/off switch to the ON position.
• Let the cutting wheel build up to full speed and wait for
the wheel to get wet before moving the material into the
wheel.
• Hold the material firmly against the miter guide and
table fence. Feed the material into the cutting wheel.
• When the cut is made, turn the saw OFF. Wait for the
cutting wheel to come to a complete stop before
removing any part of the material.