1. Remove all parts from the carton and layout in a clear, level and dust free space.
2. Attach wheels and axle assemblies using Bolts, washers and nuts supplied.
Wheel Assembly
3. The handle on the 2.5hp compressor is Bolted to the tank and comes with a rubber grip.
4. Attach rubber feet with hardware supplied .
Rubber Foot Assembly
Assembly & Operating Instructions
5. Attach Air filter supplied (as shown) to air inlet on the side of the pump.
No Air Filter Fitted Air Filter Air Filter Fitted
6. Ensure oil is added from the bottle supplied until the marker in the sight glass is level with the
red indicator line. Additional oil can be purchased from Bunnings if required (Spear
& Jackson Compressor Oil CA-CAP721-04).
Sight Glass
Empty
Sight Glass
Over full
Sight Glass
Correct Level
Sight Glass
Located Here
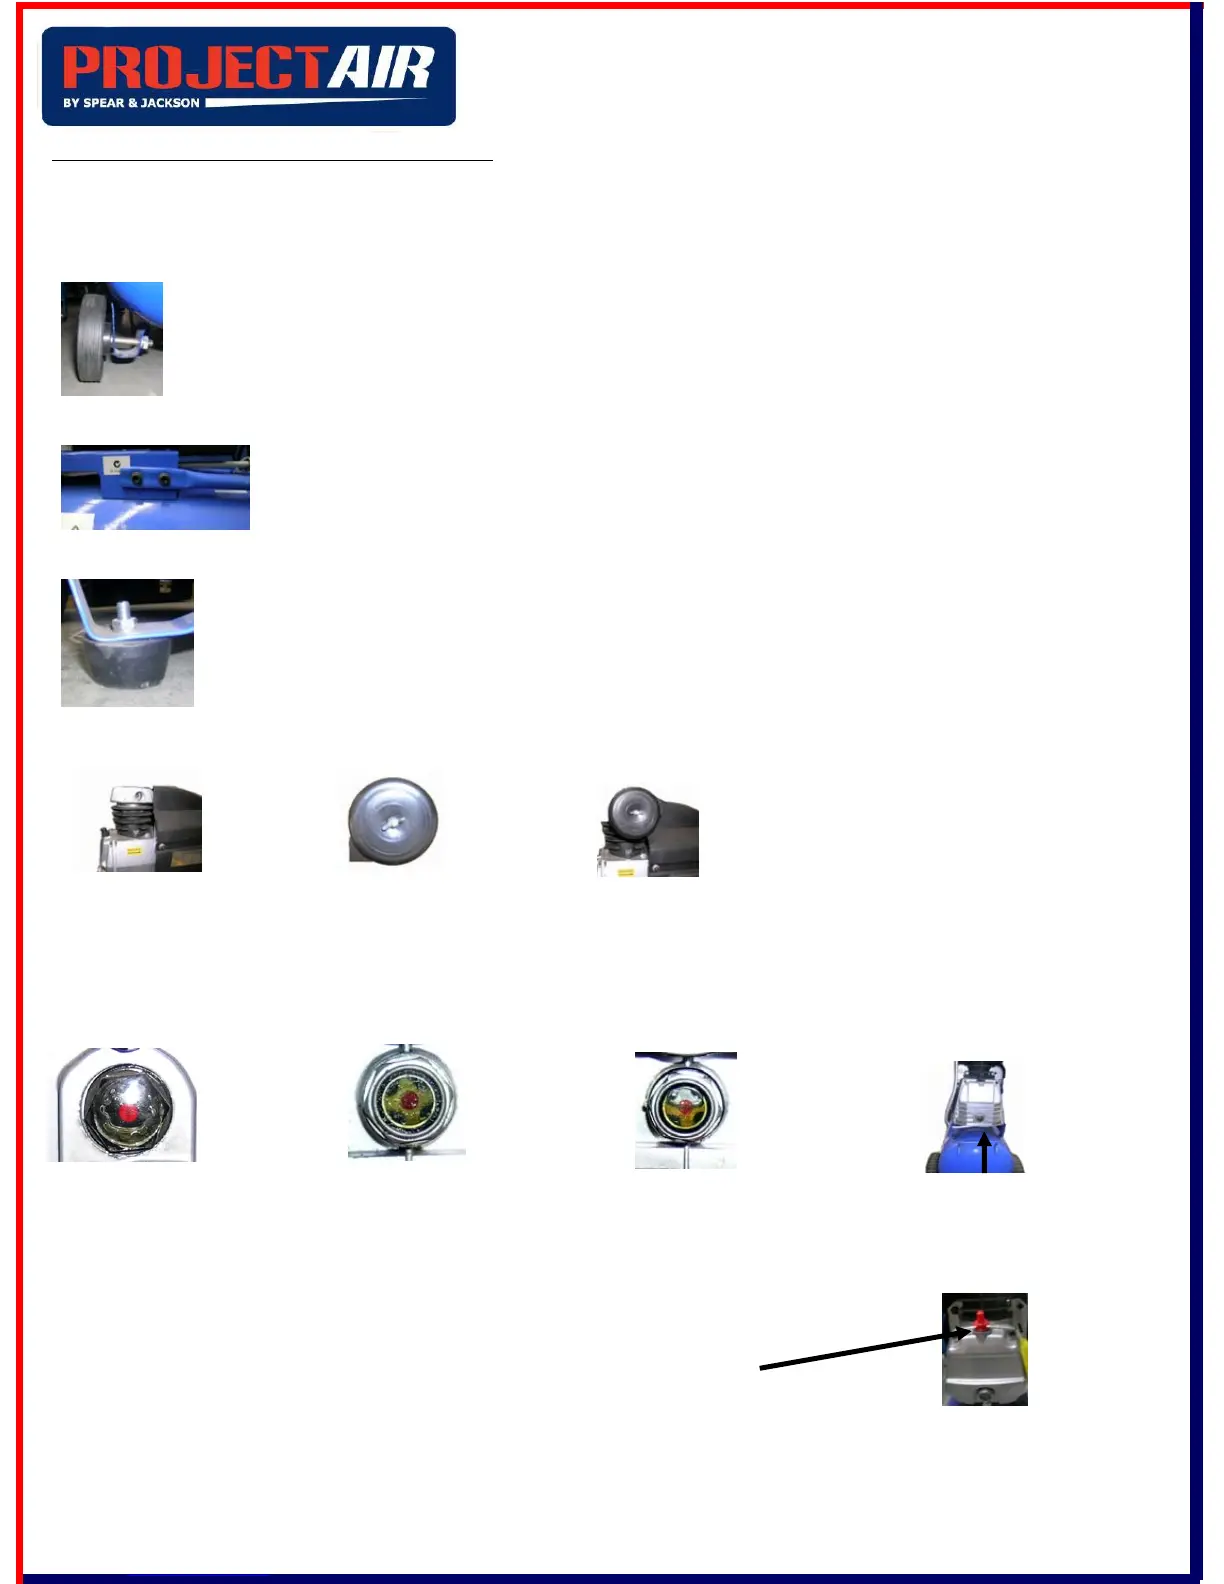
7. When the correct amount of oil has been added, screw the BREATHER PLUG SUPPLIED back
into position as shown below. DO NOT OVERTIGHTEN .
Correct Position of Breather Plug
8. Before connecting the compressor to the power outlet, check for broken components
and any damage to the power cord.
6