1. Connect Scope to a PC/Laptop/Mac or 5V USB adaptor (not included) with the
USB cable included
2. Red LED turns ON during charging and turns Green once the device is fully
charged.
3. When Scope is low on power a low battery pop up will appear on the screen.
5
1. Power on the Scope by long pressing the power switch.
2. Connect the Scope to your media source via HDMI/MHL cable and choose what
you would like to view from the menu on your device and play it as you normally
would.
3. You may project your media on any given surface. The projection will come up
automatically. However, for the best quality projection is best if you find a light
colored wall (preferably smooth and white) and place the Scope with its lens
facing the location. You can watch media up to 60’’, just move the projector
towards and away from the wall to adjust the size of the picture.
4. You may connect another external speaker using the 3.5mm audio jack provided.
Adjusting the picture mode of the output media:
1. You may choose from the following below picture modes depending on your
requirement by pressing the “Picture Mode Selection Button” on the side of Scope.
Volume control
Control volume via the connected devices or even by pressing the volume + /
Volume - buttons on the device.
Charging your smartphone using Scope
1. Scope has an in-built 2800mAh battery that is capable of charging your
smartphone.
2. Connect the standard USB end of your smartphone charging cable to the
“Standard USB port for charging output”.
3. Connect the other end of the cable to your smartphone.
4. Your smartphone should now begin charging normally.
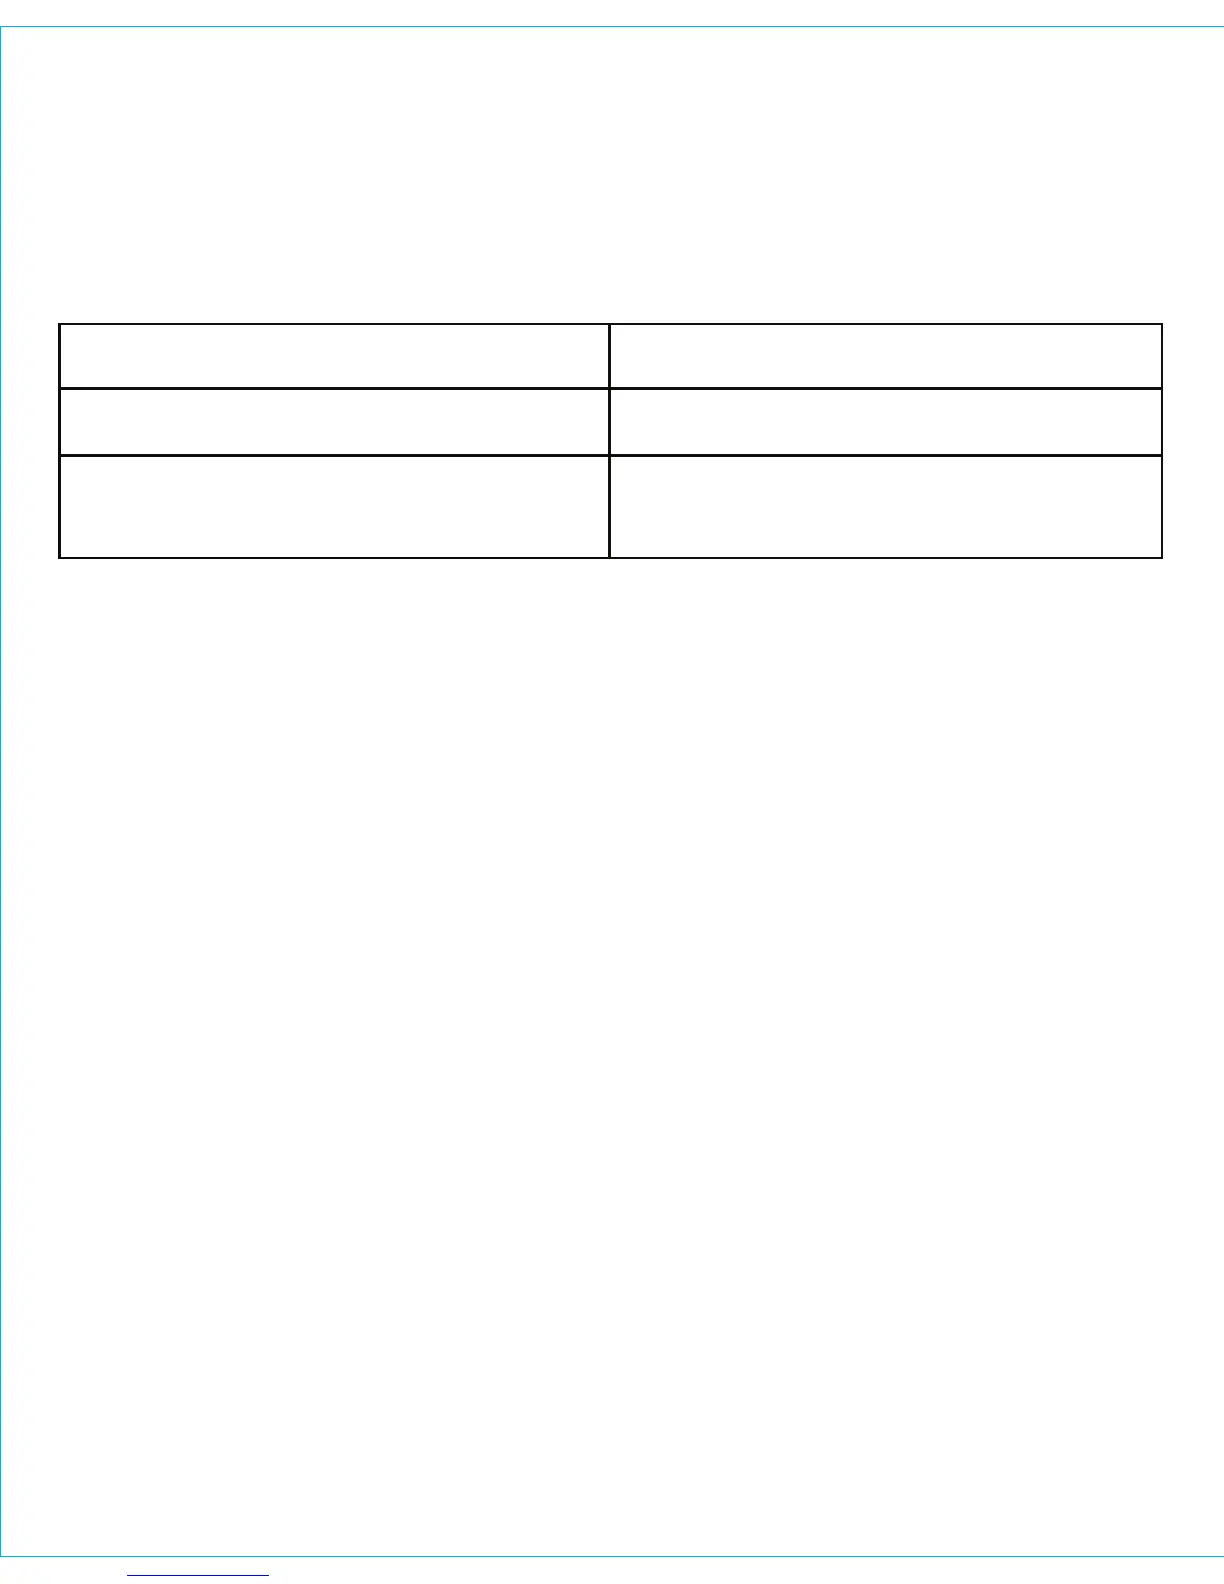
Picture Mode Use
Movie To view videos and still images
Document
To view text based data such as word
programs or presentations.
 Loading...