A) If one reading shows a value and the other reading shows OL, the
diode is good.
B) If both readings show OL, the device is open.
C) If both readings are very small or zero, the device is shorted.
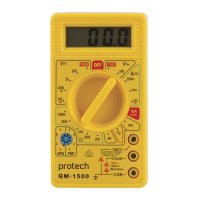
CAPACITANCE MEASUREMENTS
To avoid electric shock, disconnect power to the area being tested and
discharge all capacitors before taking any capacitance measurements.
1) Set the function switch to the Ω CAP position.
2) Insert the black test lead banana plug into the negative COM jack.
3) Insert the red test lead banana plug into the positive VΩCAP jack.
4) Press the MODE button until “nF” displays on the screen.
5) Touch the test leads to the capacitor being tested.
6) The test may take up to three minutes or more for large capacitors to
charge. Wait until the readings settle before ending the test.
7) Read the capacitance value displayed on the screen.
TEMPERATURE MEASUREMENTS
The temperature probe is tted with a type K mini connector. A mini
connector to banana connector adaptor is supplied for connection to the
input banana jacks.
1) Set the function switch to the temp position.
2) Insert the temperature probe into the input jacks, making sure to
observe the correct polarity.
3) Press the MODE button to indicate “ºF” or “ºC”.
4) Touch the temperature probe head to the part you wish to measure.
Ensure the probe remains in contact with the part until the reading
stabilises (about 30 seconds).
5) Read the temperature displayed on the screen.
FREQUENCY MEASUREMENT
1) Set the function switch to the HZ% position.
2) Insert the black test lead banana plug into the negative COM jack.
3) Insert the red test lead banana plug into the negative VΩCAP jack.
4) Touch the test probes to the circuit being tested.
5) Read the frequency displayed on the screen.
11