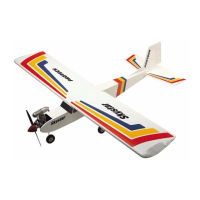
Skystar - 11
Installing the rudder / Monteren van het richtingsroer /
Installation de la dérive
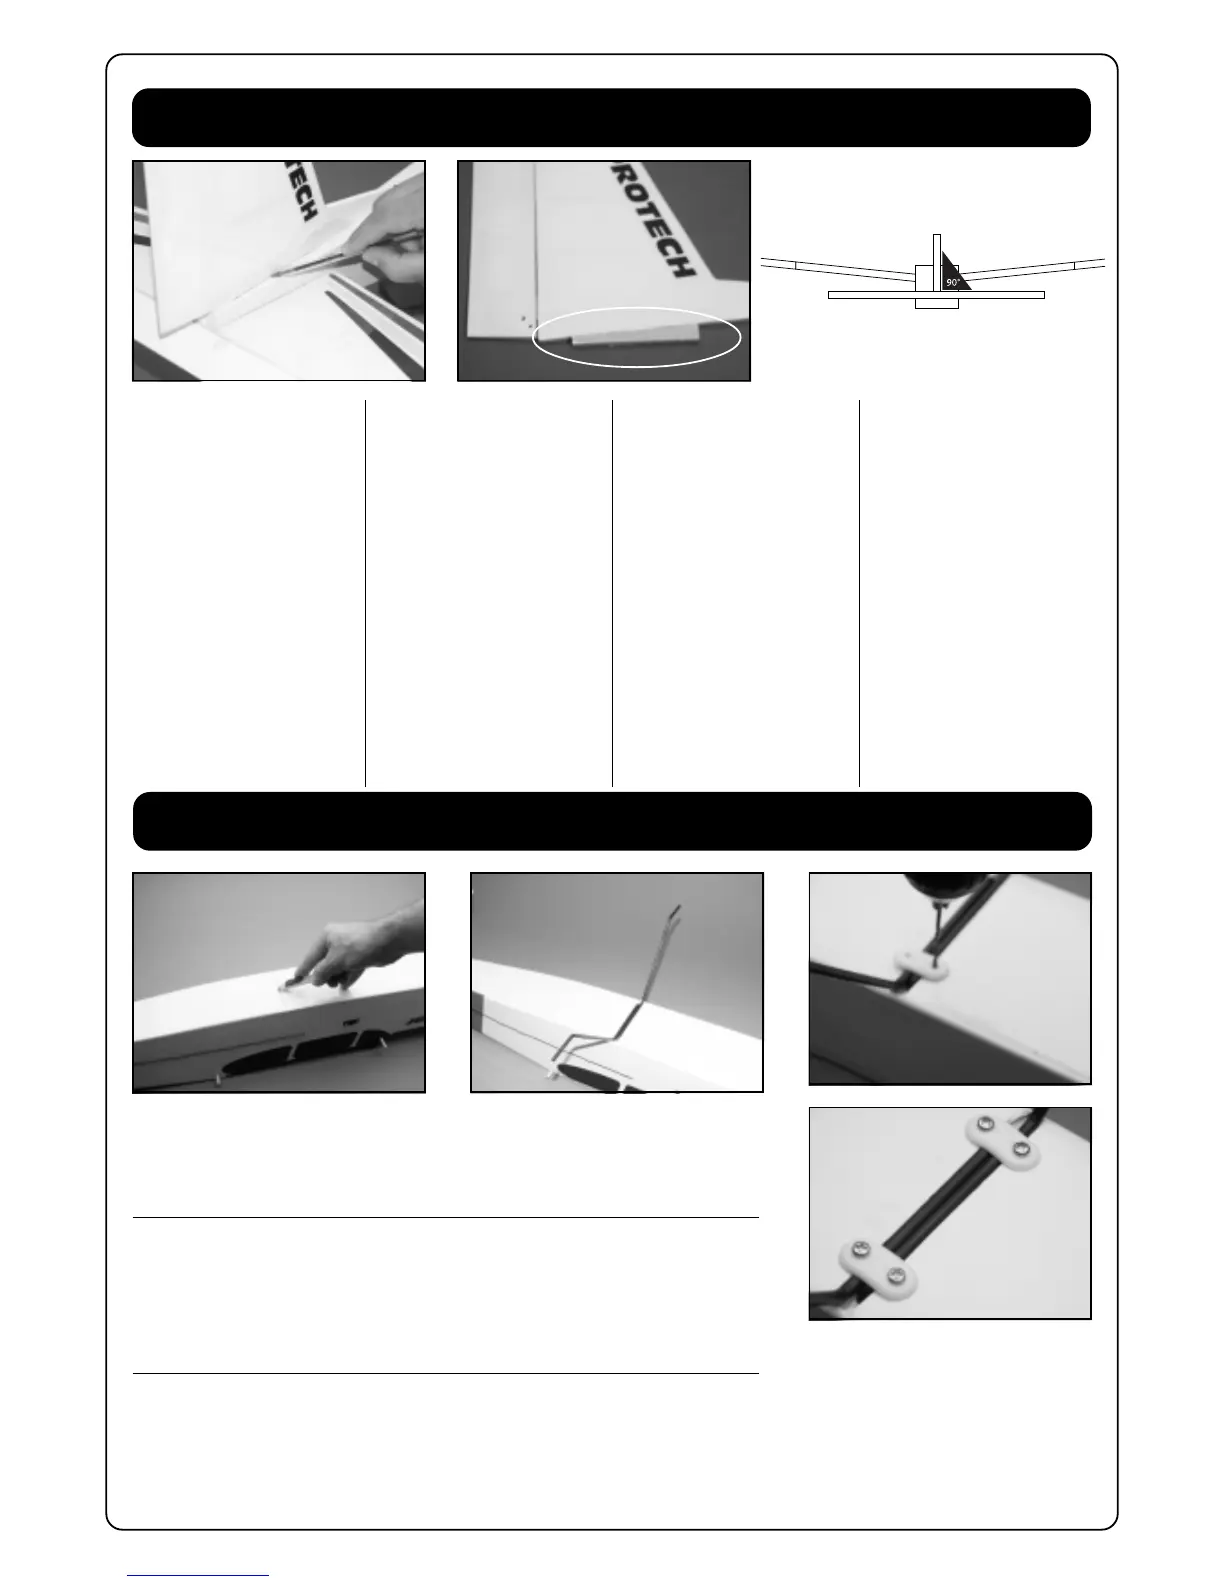
Slide the fin into the fin slot of the
fuselage.
When the fin is well positioned. Draw
lines on the fin as shown in Pic. 19.
Do this for the left and right side.
Remove the fin. Cut with a sharp
hobby knife 1mm inside the marked
lines. Remove the covering film for a
better adhesion of the glue. DO NOT
CUT TRUE THE WOOD, ONLY THE
COVERING SHOULD BE REMOVED.
Do this for both sides of the fin.
(Pic. 20)
Apply epoxy glue to the exposed
wood on the fin.
Slide the fin into the fin slot. Make
sure that the fin is at a 90° angle to
the tailplane (Drw. 9)
Schuif het richtingsroer in de
uitsparing van de romp.
Teken met een pen een lijn op het
richtingsroervlak aan beide zijden
langsheen de romp
Snij met een scherp hobbymes 1mm
naast de lijn de folie weg voor een
betere hechting van de lijm. NIET
DOOR HET HOUT SNIJDEN, ENKEL
DE FOLIE VERWIJDEREN. Doe dit
aan de beide zijden van het
richtingsroervlak.
(Pic. 20)
Breng epoxy lijm aan op het
vrijgemaakte gedeelte alsook op de
plaatsen waar het richtingsroervlak de
romp raakt.
Schuif vervolgens het
richtingsroervlak in de romp en
verifieer goed dat het richtingsroer
haaks t.o.v. het hoogteroer staat.
(Drw. 9)
Installing main landing gear / Monteren van het landingsgestel /
Installation du train d’attérissage
Cut open the slot of the main landing gear with a sharp hobby knife (Pic.21).
Mount the 2 pre-bend undercarriage legs into position (Pic.22).
Place the plastic saddle clamps over the undercarriage legs. Drill 4 wholes with a 2mm drill(Pic.23).
Fix the plastic saddle clamps with the 4 supplied 2,9X13mm self-tapping screws (Pic.24).
Snij met een scherp hobbymes de uitsparing voor het landingsgestel uit (Pic.21).
Monteer de 2 verenstaal landingsbenen in de uitsparing (Pic.22).
Plaats de plastiekplaatjes over de landingsbenen en boor 4 gaatjes voor met een spiraalboor van
2mm (Pic.23).
Fixeer vervolgens de plastiek plaatjes met 4 zelftapschroeven van 2,9X13 mm.(Pic.24).
Pic. 19 Pic. 20
Drw. 9
Pic. 21
Pic. 22
Pic. 23
Pic. 24
Insérez la dérive dans le fuselage.
Quand elle est bien positionnée,
tracez une ligne sur les 2 côtés de la
dérive comme indiqué (Pic.19).
Retirez la dérive, découpez au
cutter le film de recouvrement
1mm à l’intérieur de votre tracé.
NE PAS COUPER À TRAVERS LE
BOIS, SEUL LE FILM DOIT ETRE
RETIRE. Retirez le film des 2
côtés de la dérive (Pic.20).
Appliquez de la colle époxy sur
la zone en bois de la dérive que
vous venez de découvrir.
(appliquez sur les 2 côtés).
Insérez la dérive dans le fuselage
et vérifiez avec une équerre
qu’elle est bien à 90° par rapport
au stabilisateur (Drw. 9).
Découpez au cutter le film de recouvrement à l’endroit du logement du train d’attérissage (Pic.21).
Installez les 2 jambes de train principal dans le logement (Pic.22).
Positionnez les 2 fixations en plastique sur le fuselage, marquez, percez 4 trous de 2 mm (Pic.23).
Vissez-les en place avec les vis à bois de 2,9x13mm fournies (Pic.24).
 Loading...